Free Shipping on Domestic Orders $75+

Texas Instruments TI-83 Plus Keyboard Mat Replacement

What you need

  1. Texas Instruments TI-83 Plus Keyboard Mat Replacement, Backup Battery: step 1, image 1 of 2 Texas Instruments TI-83 Plus Keyboard Mat Replacement, Backup Battery: step 1, image 2 of 2
    • Remove the battery cover.

    • Remove the AAA batteries from the calculator.

    Ask FixBot

    Add Comment

  2. Texas Instruments TI-83 Plus Keyboard Mat Replacement: step 2, image 1 of 1
    • Remove the 5mm Philips #00 screw holding backup battery cover.

    • Remove the backup battery cover.

    Ask FixBot

    Add Comment

  3. Texas Instruments TI-83 Plus Keyboard Mat Replacement: step 3, image 1 of 1
    • Use plastic opening tool to remove the backup battery. Place the tool in the small cut-out next to the battery and pry the battery out.

    • Be careful, the backup battery is spring loaded and may shoot up when you remove it.

    Ask FixBot

    Add Comment

  4. Texas Instruments TI-83 Plus Keyboard Mat Replacement, Back Case: step 4, image 1 of 1
    • Unscrew the six 7.5mm T6 screws on the back case. You will need to use a screwdriver with a long and skinny head.

    Ask FixBot

    Add Comment

  5. Texas Instruments TI-83 Plus Keyboard Mat Replacement: step 5, image 1 of 2 Texas Instruments TI-83 Plus Keyboard Mat Replacement: step 5, image 2 of 2
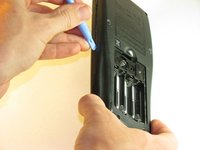
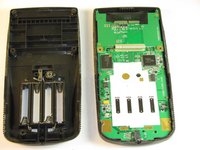
    • Pry back case off. Insert the plastic opening tool in the track for the protective cover and pry the halves of the case apart.

    Ask FixBot

    Add Comment

  6. Texas Instruments TI-83 Plus Keyboard Mat Replacement, Motherboard & Screen: step 6, image 1 of 2 Texas Instruments TI-83 Plus Keyboard Mat Replacement, Motherboard & Screen: step 6, image 2 of 2
    • Keep the screen face-down during this step. Only the motherboard is attached to the face-plate and the screen may fall out.

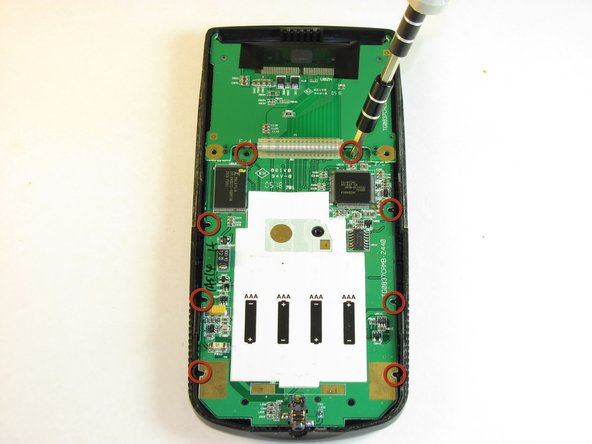
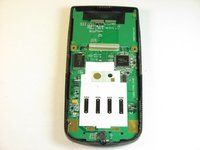
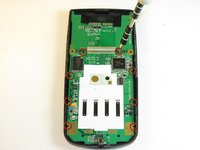
    • Remove the eight (8) 5mm Philips #00 screws on the motherboard.

    Ask FixBot

    Add Comment

  7. Texas Instruments TI-83 Plus Keyboard Mat Replacement: step 7, image 1 of 2 Texas Instruments TI-83 Plus Keyboard Mat Replacement: step 7, image 2 of 2
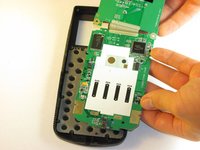
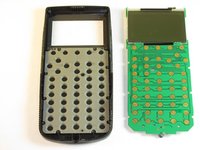
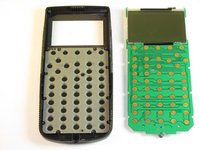
    • Carefully remove the motherboard and screen. Grab the board by its side with one hand and the screen with the other. Carefully lift the two parts up.

    • Keep the face-plate face-down to prevent the keys from falling out.

    Ask FixBot

    Add Comment

  8. Texas Instruments TI-83 Plus Keyboard Mat Replacement, Keyboard Mat: step 8, image 1 of 2 Texas Instruments TI-83 Plus Keyboard Mat Replacement, Keyboard Mat: step 8, image 2 of 2
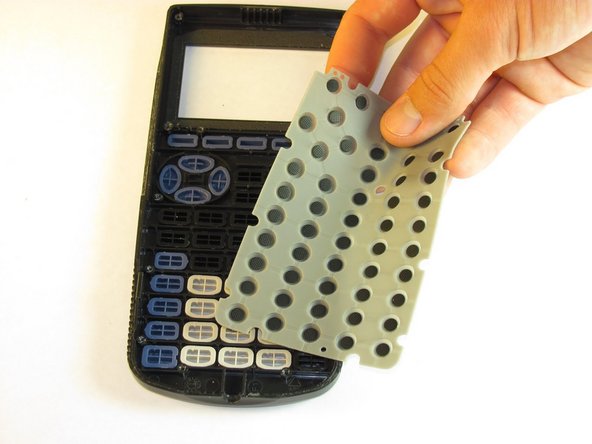
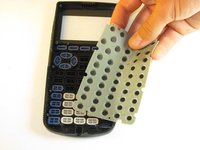
    • Remove light gray rubber keyboard mat.

    • Keep your calculator face down to ensure the individual keys do not fall out.

    Ask FixBot

    Add Comment

  9. Texas Instruments TI-83 Plus Keyboard Mat Replacement: step 9, image 1 of 1
    • Clean the contacts on the keyboard with a soft cloth.

    Ask FixBot

    Add Comment

Conclusion

To reassemble your device, follow these instructions in reverse order.

Cancel: I did not complete this guide.

One other person completed this guide.

corey

Member since: 10/02/12

11 Reputation

1 Guide authored

Team

Cal Poly, Team 18-37, Regan Fall 2012 Member of Cal Poly, Team 18-37, Regan Fall 2012

CPSU-REGAN-F12S18G37

5 Members

5 Guides authored

0 Guide Comments

Add Comment

View Statistics:

Past 24 Hours: 1

Past 7 Days: 8

Past 30 Days: 49

All Time: 5,149