
Texas Instruments TI-80 Motherboard and Screen Replacement

brian decater and 5 other contributors
Last updated on May 13, 2021
Views: 1.4K
View statistics:
- Past 24 Hours:
- 1
- Past 7 Days:
- 24
- Past 30 Days:
- 111
- All Time:
- 1,386
Comments: 0
No one has left comments on this guide. Will you be first?
Go to guide commentsCompleted: 0 1
No one has marked this guide "completed." Will you be the first?
1 person has marked this guide "completed." It's you — great job!
Favorites: 0 1
No one has favorited (and subscribed to) this guide. Will you be the first?
1 person has favorited (and subscribed to) this guide — and that's you!
Introduction
Go to step 1 ↓If your screen is damaged or your mother board is not working, you will need to access and replace both.
What you need
Tools
-
Spudger4.9
-


-
-
-
Locate battery cover on the back of the case.
-
Slide battery cover to the right reveal the batteries.
 Ask FixBot
-
-
-
Remove battery cover.
-
Slide the red lock down.
-
Slide the metal tab to the right of the top battery.
-
Remove the 3-Volt Lithium Coin Cell Battery.
-
Slide the red lock up.
-
Slide the metal tab to the right of the bottom battery.
-
Remove the 3-Volt Lithium Coin Cell Battery.
-
-
-
-
-
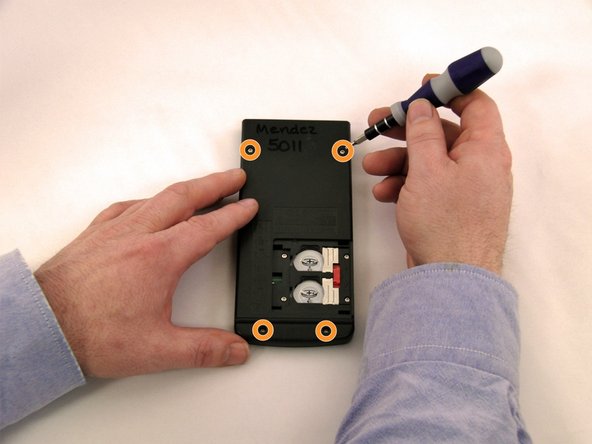
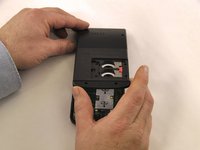
Using a Torx, T-6 star-bit screwdriver, unscrew four 7.38 mm screws from battery housing.
-
Unscrew four 7.15 mm screws from back casing.
-
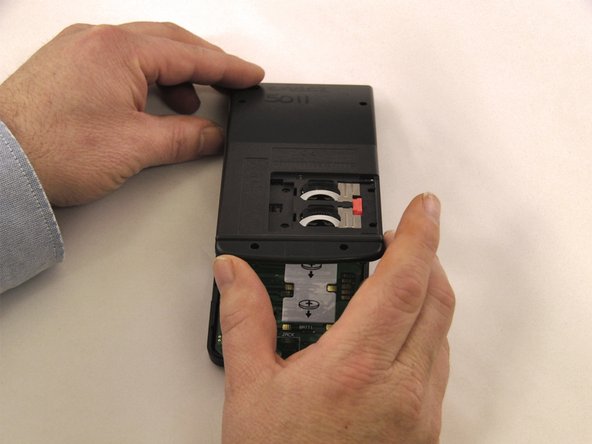
Using the blue plastic opener tool along the seam of the case, pry off front casing.
-
-
-
-
-
-
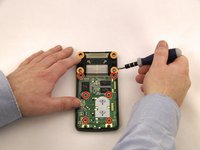
Using a Philips PH0 screwdriver, remove the 6 screws. 2 from the top of the Motherboard, 2 from the middle, and 2 from the bottom of the Motherboard.
-
Using a Phillips Ph0 screwdriver, remove 4 screws from the screen mount.
-
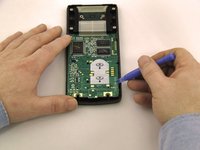
Using the blue plastic opening tool, pry the Motherboard up.
-
Using the blue plastic opening tool, pry up the screen from the screen mount.
-
-




To reassemble your device, follow these instructions in reverse order.

Team

Eastern Washington University, Team 1-1, Carnegie Winter 2015 Member of Eastern Washington University, Team 1-1, Carnegie Winter 2015
EWU-CARNEGIE-W15S1G1
4 Members
60 Guides authored
