
Texas Instruments TI-80 Keyboard Mat Replacement

brian decater and 7 other contributors
Last updated on May 13, 2021
Views: 809
View statistics:
- Past 24 Hours:
- 4
- Past 7 Days:
- 15
- Past 30 Days:
- 99
- All Time:
- 809
Comments: 0
No one has left comments on this guide. Will you be first?
Go to guide commentsCompleted: 0 1
No one has marked this guide "completed." Will you be the first?
1 person has marked this guide "completed." It's you — great job!
Favorites: 0 1
No one has favorited (and subscribed to) this guide. Will you be the first?
1 person has favorited (and subscribed to) this guide — and that's you!
Introduction
Go to step 1 ↓Keyboard mats are occasionally prone to wear and tear. Dirt and debris may also find its way onto the pad. This guide will help you get to the keyboard mat to clean or replace it.
What you need
Tools
-
Spudger4.9
-


-
-
-
Locate battery cover on the back of the case.
-
Slide battery cover to the right reveal the batteries.
 Ask FixBot
-
-
-
Remove battery cover.
-
Slide the red lock down.
-
Slide the metal tab to the right of the top battery.
-
Remove the 3-Volt Lithium Coin Cell Battery.
-
Slide the red lock up.
-
Slide the metal tab to the right of the bottom battery.
-
Remove the 3-Volt Lithium Coin Cell Battery.
-
-
-
-
-
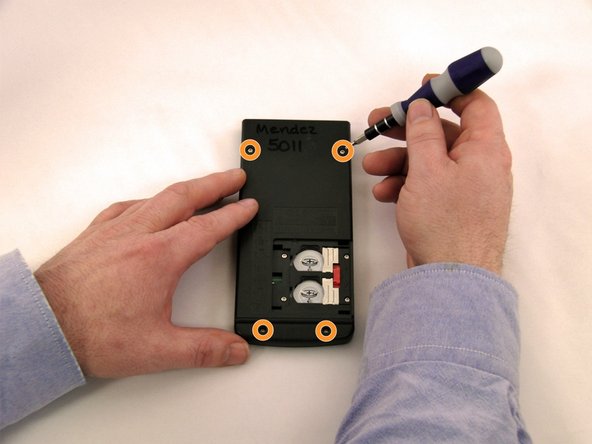
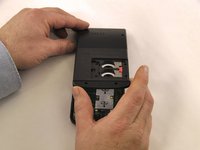
Using a Torx, T-6 star-bit screwdriver, unscrew four 7.38 mm screws from battery housing.
-
Unscrew four 7.15 mm screws from back casing.
-
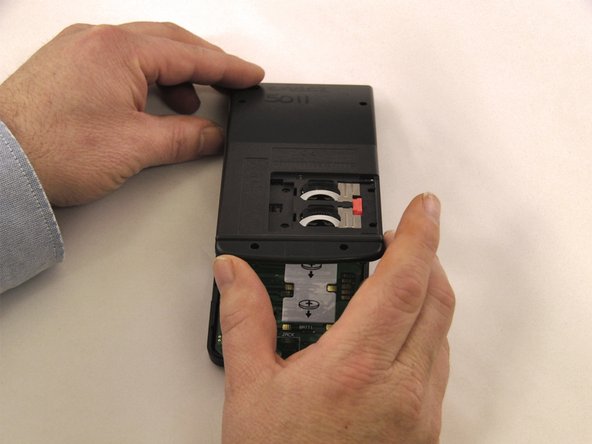
Using the blue plastic opener tool along the seam of the case, pry off front casing.
-
-
-
-
-
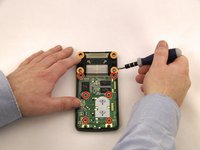
Using a Philips PH0 screwdriver, remove the 6 screws. 2 from the top of the Motherboard, 2 from the middle, and 2 from the bottom of the Motherboard.
-
Using a Phillips Ph0 screwdriver, remove 4 screws from the screen mount.
-
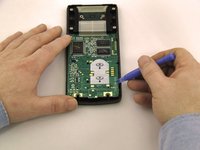
Using the blue plastic opening tool, pry the Motherboard up.
-
Using the blue plastic opening tool, pry up the screen from the screen mount.
-
-
-
-
-
-
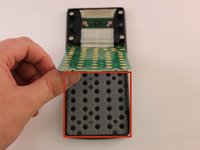
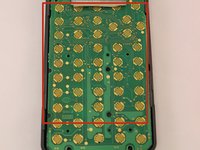
Check the rubber mat for damage or obstruction at the location of non-functioning buttons.
-
Flip the mat over to assess dirt and damage.
-
-






To reassemble your device, follow these instructions in reverse order.

Team

Eastern Washington University, Team 1-1, Carnegie Winter 2015 Member of Eastern Washington University, Team 1-1, Carnegie Winter 2015
EWU-CARNEGIE-W15S1G1
4 Members
60 Guides authored
