Introduction
Humidity and water ingress cause the main PCB of the Tefal GV6760 Effectis Steam Generator Iron to become corroded. This causes the iron to stop functioning or causes error LEDs to flash. The repair is relatively easy. A full teardown and 99% alcohol wash of the PCB solves the issue most of the time.
What you need
-
-
-
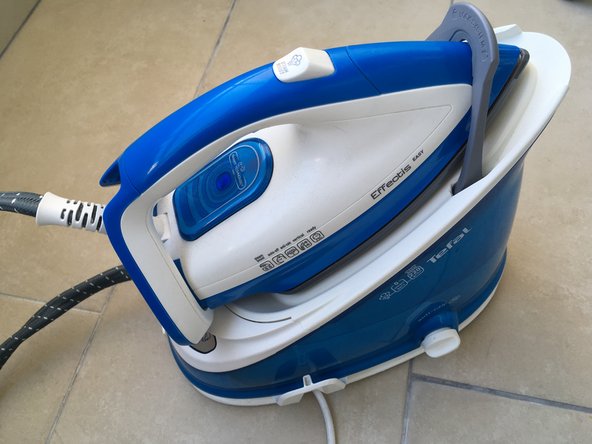
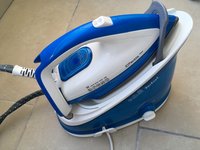
This is the device we are going to teardown for repair. Other Tefal Steam irons may be similarly constructed.
-
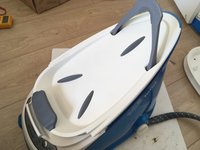
When you remove the base the cord comes off and stays in the base. (photo two) Thus the difficult removal of the power cord is optional. If you wish to anyway, you can use a prying tool and remove it from base.
-
Use a Torx 20 bit to remove the four screws marked with red circles on the base.
 Ask FixBot
-
-
-
Once the base is off, we can see the inner workings of the iron. The steam generator unit is the large round steel vessel with the heating element and thermal safety sensors attached. This large steel part is now free. If the iron was used very recently, it may still be very hot, so be careful.
-
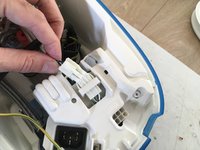
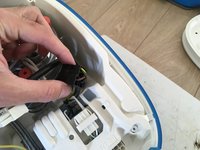
Remove the cord connector coming from the iron's handle by pulling it upwards. Remove the ground cable marked in the first photo (red circle) also.
-
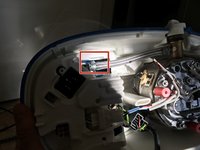
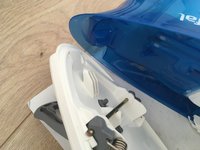
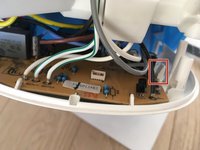
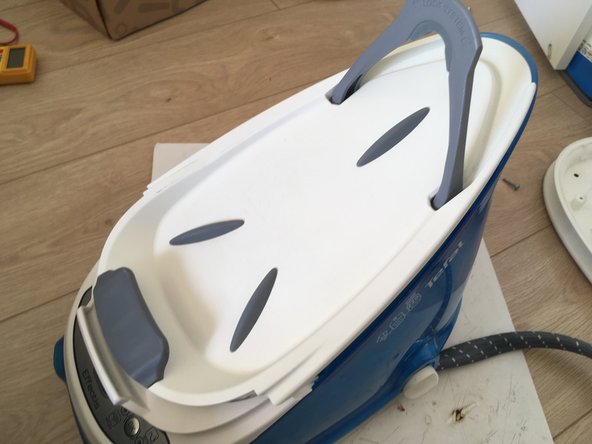
Locate two plastic tabs that hold the upper cover inside the plastic casing. Second (gold rectangle) and third photos show openings through which you can reach the tabs.
-
-
-
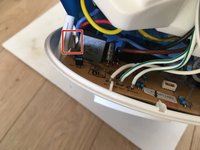
The tab you need to pry is visible in the first photo. (The Blue plastic tab in the red rectangle)
-
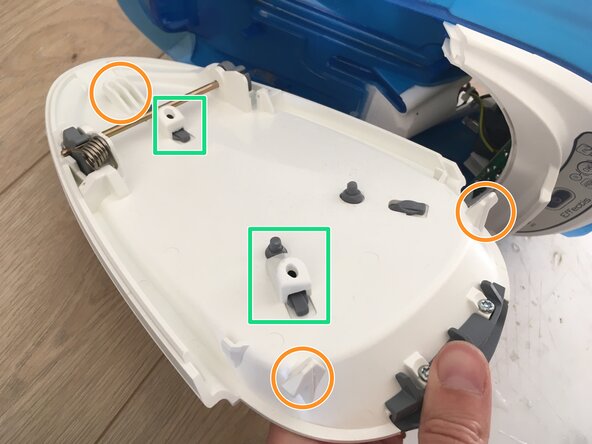
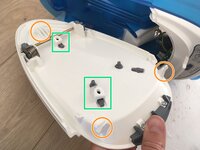
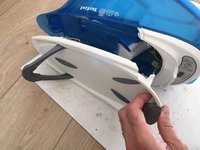
The second photo shows the underside of the (base's) top cover. See the orange marked latching tabs on the top cover.
-
-
-
-
Now, we need to unplug these connectors to facilitate circuit board removal.
-
-
-
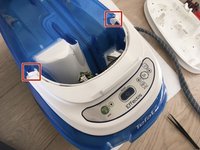
Locate the two tabs (red squares) that will enable you to remove the control panel.
-
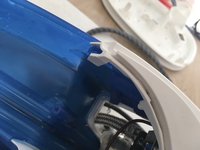
Gently pry the tabs and the control panel will come free when you pull it forward.
-
-
-
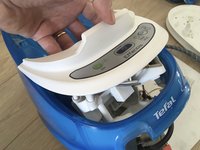
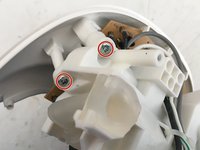
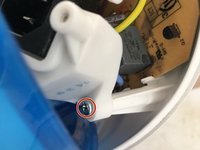
There are three screws (circled in red in photos one and two) holding the top 'decorative' panel, use a Philips 0 bit to remove them.
-
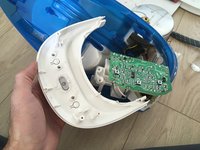
Now the PCB can be seen, separated from the bottom part and held in place with tabs inside the top decoration.
-
-
-
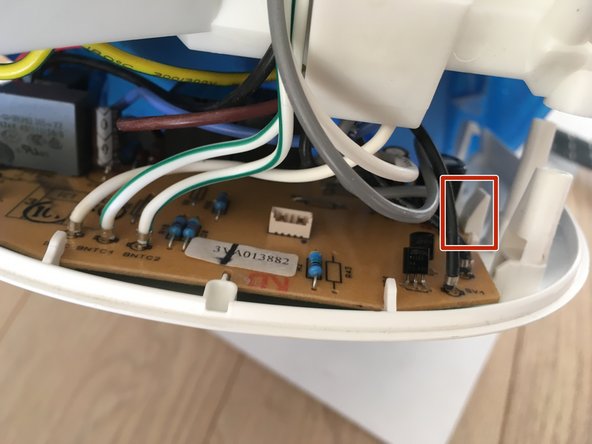
Pry the tabs (shown in red squares in the first and second photos) that hold the main PCB in place.
-
Remove the PCB.
-
-
-
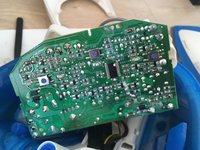
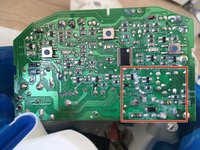
Even though the PCB has conformal coating; corrosion has somehow formed on it. I have seen this failure on two different irons. I think it must be a very common issue.
-
Use 99% isopropyl alcohol and a soft brush to clean the oxidation. In my case I had to use brake cleaner, too. I am not sure if this has damaged the existing conformal coating.
-
If you have 'paint on' conformal coating available, applying some may be a good idea. I haven't done it.
-
Use a hairdryer to dry the PCB before re-assembly.
-
-
-
Do everything in reverse order to re-assemble the iron.
-
Make sure all connectors fit snugly.
-
Well-done. If the corrosion was not extensive and didn't 'eat' traces, your iron will work properly again. If there is further damage, I'm afraid you will need to repair or replace the board.
-
-














To reassemble your device, follow these instructions in reverse order.
Cancel: I did not complete this guide.
10 other people completed this guide.

4 Guide Comments
Very useful! I had no idea about how to remove the top cover.
Super! Vous avez expliqué ça très bien. Merci beaucoup 🥳
Merci beaucoup. J'ai une centrale vapeur CALOR Effectis, model GV6820. Elle a une conception très très similaire et se démonte de la même façon. Pouvez-vous changer dans le titre du tutoriel "Tefal" par "Tefal ou Calor". Ce serait utile lors de la recherche. Merci.
I have the same model of iron, and the water light flashes when there is water. Is this the problem? Is the machine new?
