Free Shipping on Domestic Orders $75+

Teenage Engineering OP-Z Volume Potentiometer Replacement

What you need

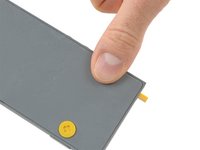
  1. Teenage Engineering OP-Z Volume Potentiometer Replacement, Back Cover: step 1, image 1 of 3 Teenage Engineering OP-Z Volume Potentiometer Replacement, Back Cover: step 1, image 2 of 3 Teenage Engineering OP-Z Volume Potentiometer Replacement, Back Cover: step 1, image 3 of 3
    • Unlock the four rubber feet by turning them 90° counterclockwise using your thumb or finger tip.

    • There is a tiny mark on every foot facing the bottom edge of the OP-Z. After turning them they should face towards the short edge where the on/off switch is.

    Ask FixBot

    Add Comment

  2. Teenage Engineering OP-Z Volume Potentiometer Replacement: step 2, image 1 of 2 Teenage Engineering OP-Z Volume Potentiometer Replacement: step 2, image 2 of 2
    • When turning the OP-Z over again the bottom plate should come off by itself (thanks gravity).

    • If the bottom plate won’t come off you might want to make sure every foot is rotated correctly and gently tug on one of them.

    Ask FixBot

    Add Comment

  3. Teenage Engineering OP-Z Volume Potentiometer Replacement: step 3, image 1 of 1
    • Remove the bottom plate including the rubber feet.

    Ask FixBot

    Add Comment

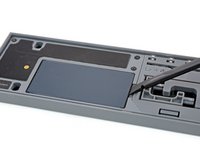
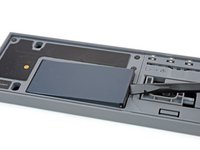
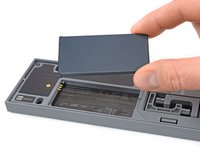
  4. Teenage Engineering OP-Z Volume Potentiometer Replacement, Battery: step 4, image 1 of 2 Teenage Engineering OP-Z Volume Potentiometer Replacement, Battery: step 4, image 2 of 2
    • Use your fingernail or a spudger to lift the battery on the right side where the notch is.

    Ask FixBot

    Add Comment

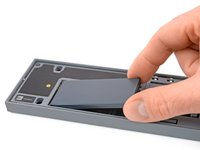
  5. Teenage Engineering OP-Z Volume Potentiometer Replacement: step 5, image 1 of 2 Teenage Engineering OP-Z Volume Potentiometer Replacement: step 5, image 2 of 2
    • Remove the battery.

    • When installing the new battery make sure you put it in contact side first.

    Ask FixBot

    Add Comment

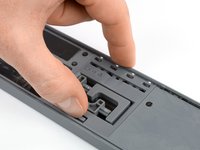
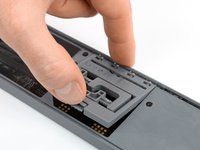
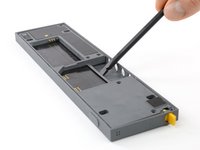
  6. Teenage Engineering OP-Z Volume Potentiometer Replacement, Expansion Module: step 6, image 1 of 2 Teenage Engineering OP-Z Volume Potentiometer Replacement, Expansion Module: step 6, image 2 of 2
    • Use your finger or a spudger to push up on the small tab on the bottom of the module.

    • Lift the module up and out of its recess bottom first.

    Ask FixBot

    Add Comment

  7. Teenage Engineering OP-Z Volume Potentiometer Replacement: step 7, image 1 of 1
    • Remove the module.

    • When inserting another module make sure you put it in outputs first. Then push down the bottom part for the tab to engage.

    Ask FixBot

    Add Comment

  8. Teenage Engineering OP-Z Volume Potentiometer Replacement, Midframe: step 8, image 1 of 1
    • Remove the five Torx T4 screws.

    Ask FixBot

    Add Comment

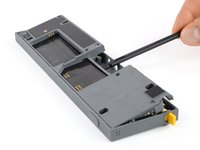
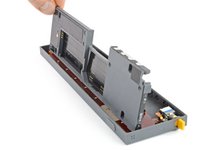
  9. Teenage Engineering OP-Z Volume Potentiometer Replacement: step 9, image 1 of 2 Teenage Engineering OP-Z Volume Potentiometer Replacement: step 9, image 2 of 2
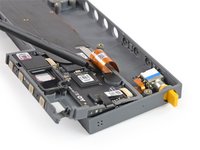
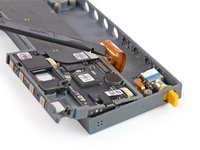
    • Place a spudger in the cutout of the extension module to lift the midframe.

    • Be careful not to damage the highway flex cable underneath.

    • Don’t remove the midframe yet. It is still connected to the rest of the OP-Z.

    Ask FixBot

    Add Comment

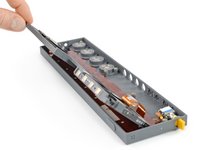
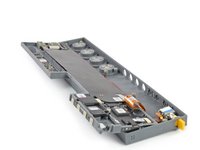
  10. Teenage Engineering OP-Z Volume Potentiometer Replacement: step 10, image 1 of 3 Teenage Engineering OP-Z Volume Potentiometer Replacement: step 10, image 2 of 3 Teenage Engineering OP-Z Volume Potentiometer Replacement: step 10, image 3 of 3
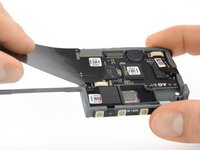
    • Flip the midframe over to gain access to the flex cable connector underneath.

    Ask FixBot

    Add Comment

  11. Teenage Engineering OP-Z Volume Potentiometer Replacement: step 11, image 1 of 2 Teenage Engineering OP-Z Volume Potentiometer Replacement: step 11, image 2 of 2
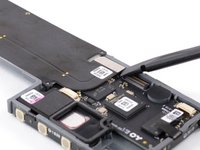
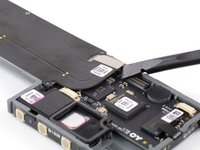
    • Use the flat end of a spudger to disconnect the flex cable from the front panel assembly.

    Ask FixBot

    Add Comment

  12. Teenage Engineering OP-Z Volume Potentiometer Replacement, Highway Flex Cable: step 12, image 1 of 2 Teenage Engineering OP-Z Volume Potentiometer Replacement, Highway Flex Cable: step 12, image 2 of 2
    • Use a spudger to disconnect the highway flex cable from the DSP board.

    Ask FixBot

    Add Comment

  13. Teenage Engineering OP-Z Volume Potentiometer Replacement: step 13, image 1 of 2 Teenage Engineering OP-Z Volume Potentiometer Replacement: step 13, image 2 of 2
    • Use the spudger to disconnect the flex cable from the encoder board.

    Ask FixBot

    Add Comment

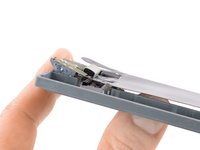
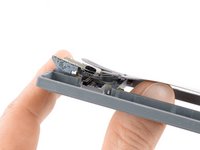
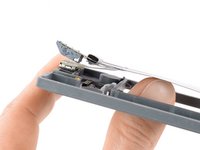
  14. Teenage Engineering OP-Z Volume Potentiometer Replacement: step 14, image 1 of 3 Teenage Engineering OP-Z Volume Potentiometer Replacement: step 14, image 2 of 3 Teenage Engineering OP-Z Volume Potentiometer Replacement: step 14, image 3 of 3
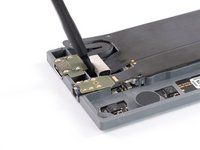
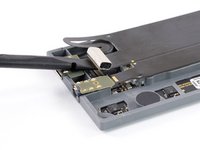
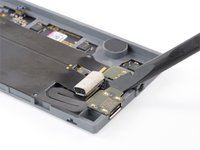
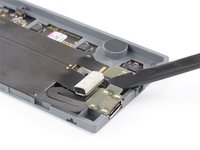
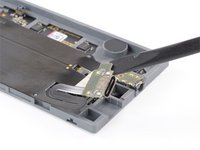
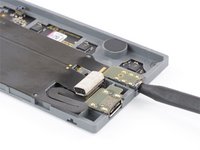
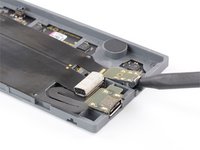
    • Slowly pry the USB-C connector out of its recess. Use the flat end of a spudger on the small nib on the USB-C board.

    • The connector is slightly glued down.

    Ask FixBot

    Add Comment

  15. Teenage Engineering OP-Z Volume Potentiometer Replacement: step 15, image 1 of 3 Teenage Engineering OP-Z Volume Potentiometer Replacement: step 15, image 2 of 3 Teenage Engineering OP-Z Volume Potentiometer Replacement: step 15, image 3 of 3
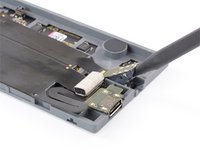
    • Insert the pointy end of the spudger into the line-out jack and lever it up carefully.

    • The jack connector might sit tight and is slightly glued down.

    Ask FixBot

    Add Comment

  16. Teenage Engineering OP-Z Volume Potentiometer Replacement: step 16, image 1 of 3 Teenage Engineering OP-Z Volume Potentiometer Replacement: step 16, image 2 of 3 Teenage Engineering OP-Z Volume Potentiometer Replacement: step 16, image 3 of 3
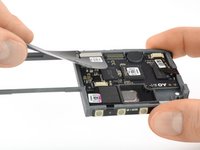
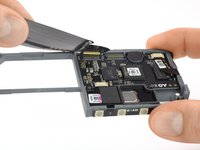
    • The highway flex cable is slightly adhered to the midframe. To remove it, gently push it out from underneath.

    • A small transparent part may pop out. This is the light guide for the bluetooth indicator. Just hinge it back onto the midframe as seen here.

    Ask FixBot

    Add Comment

  17. Teenage Engineering OP-Z Volume Potentiometer Replacement: step 17, image 1 of 3 Teenage Engineering OP-Z Volume Potentiometer Replacement: step 17, image 2 of 3 Teenage Engineering OP-Z Volume Potentiometer Replacement: step 17, image 3 of 3
    • Peel the highway flex cable off the midframe and remove it.

    Ask FixBot

    Add Comment

  18. Teenage Engineering OP-Z Volume Potentiometer Replacement, Volume Pot: step 18, image 1 of 2 Teenage Engineering OP-Z Volume Potentiometer Replacement, Volume Pot: step 18, image 2 of 2
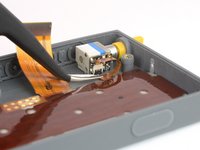
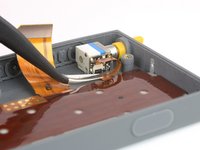
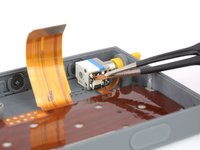
    • Use one arm of a tweezer to lift the small black flap of the ZIF connector.

    Ask FixBot

    Add Comment

  19. Teenage Engineering OP-Z Volume Potentiometer Replacement: step 19, image 1 of 2 Teenage Engineering OP-Z Volume Potentiometer Replacement: step 19, image 2 of 2
    Tool used on this step:
    Tweezers
    $4.99
    Buy
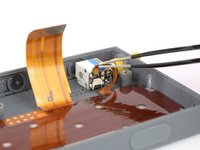
    • Use a pair of flat nose tweezers to pull the small flex cable up and out out the ZIF connector.

    • When reassembling make sure to insert the flex cable all the way.

    Ask FixBot

    Add Comment

  20. Teenage Engineering OP-Z Volume Potentiometer Replacement: step 20, image 1 of 2 Teenage Engineering OP-Z Volume Potentiometer Replacement: step 20, image 2 of 2
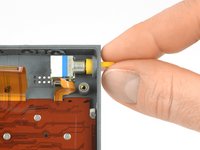
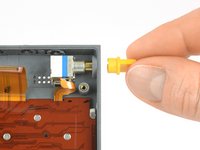
    • Grab the volume knob with your fingers or a pair of pliers and pull it off its axle.

    Ask FixBot

    Add Comment

  21. Teenage Engineering OP-Z Volume Potentiometer Replacement: step 21, image 1 of 2 Teenage Engineering OP-Z Volume Potentiometer Replacement: step 21, image 2 of 2
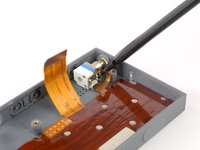
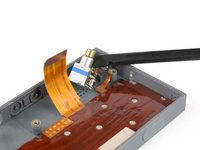
    • Use a spudger to lever up the axle of the volume potentiometer. This way it will clear the frame’s cutout.

    • The volume pot is slightly glued down.

    Ask FixBot

    Add Comment

  22. Teenage Engineering OP-Z Volume Potentiometer Replacement: step 22, image 1 of 1
    • Remove the volume potentiometer.

    Ask FixBot

    Add Comment

Conclusion

To reassemble your device, follow these instructions in reverse order.

Cancel: I did not complete this guide.

Tobias Isakeit

Member since: 03/31/14

134,207 Reputation

189 Guides authored

Team

0 Guide Comments

Add Comment

View Statistics:

Past 24 Hours: 2

Past 7 Days: 6

Past 30 Days: 77

All Time: 1,884