Free Shipping on Domestic Orders $75+

Tapwave T2907US Zodiac 2 Directional Pad Replacement

What you need

    1. Tapwave T2907US Zodiac 2 Directional Pad Replacement, Back Cover: step 1, image 1 of 1
      • Remove the four Torx T5 screws from the back panel.

      Ask FixBot

      Add Comment

    2. Tapwave T2907US Zodiac 2 Directional Pad Replacement: step 2, image 1 of 1
      • Wedge a spudger in between the front and back panel.

      • Apply leverage downwards to the spudger in order to remove the back panel.

      Ask FixBot

      Add Comment

    1. Tapwave T2907US Zodiac 2 Directional Pad Replacement, Battery: step 3, image 1 of 1
      • Slide the battery out from under the brown wire-tape.

      • Be careful of the wires still connected to the other end of the battery. Do not pull or damage may occur.

      Ask FixBot

      Add Comment

    2. Tapwave T2907US Zodiac 2 Directional Pad Replacement: step 4, image 1 of 1
      Tool used on this step:
      Tweezers
      $4.99
      Buy
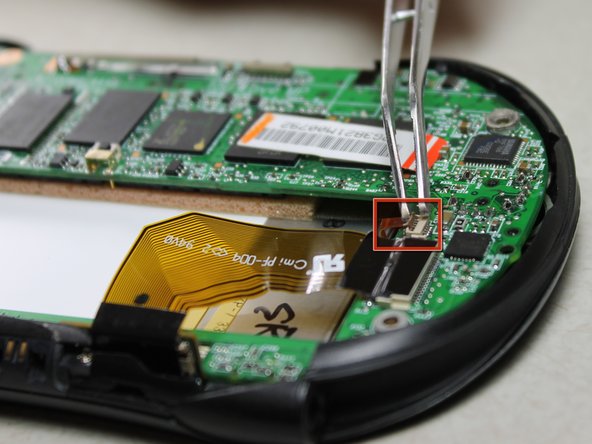
      • Slowly pull the white plug from its receptor. Grasp its sides firmly with a pair of tweezers and gently wiggle from side to side.

      Ask FixBot

      Add Comment

    1. Tapwave T2907US Zodiac 2 Directional Pad Replacement, Directional Pad: step 5, image 1 of 1
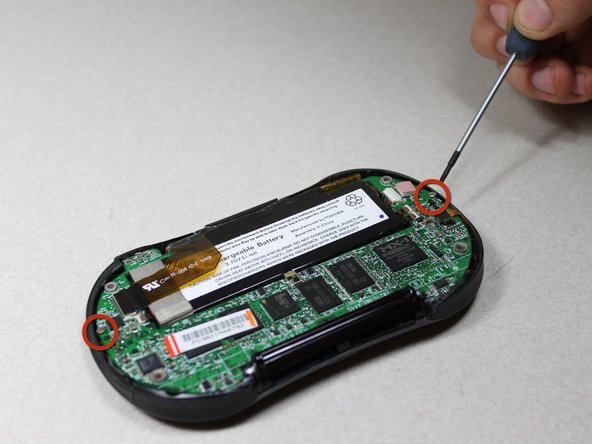
      • Unscrew the 2 Philips #00 screws on each end of the motherboard.

      Ask FixBot

      Add Comment

    2. Tapwave T2907US Zodiac 2 Directional Pad Replacement: step 6, image 1 of 1
      • Pull off the black memory card slot piece.

      Ask FixBot

      Add Comment

    3. Tapwave T2907US Zodiac 2 Directional Pad Replacement: step 7, image 1 of 1
      • Unscrew the 2 Philips #00 screws on each side of the charging port.

      Ask FixBot

      Add Comment

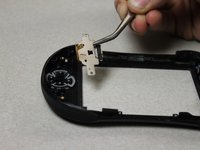
    4. Tapwave T2907US Zodiac 2 Directional Pad Replacement: step 8, image 1 of 2 Tapwave T2907US Zodiac 2 Directional Pad Replacement: step 8, image 2 of 2
      Tool used on this step:
      Tweezers
      $4.99
      Buy
      • Disconnect 2 brown wire-tape ends from each end of the motherboard. Gently pull straight out with tweezers.

      Ask FixBot

      Add Comment

    5. Tapwave T2907US Zodiac 2 Directional Pad Replacement: step 9, image 1 of 1
      • Grasp the upper left edge of the motherboard and slide diagonally up and left away from the auxiliary port entrance.

      • Glue connecting the port to the casing may make it difficult to remove. Gently apply force as needed.

      Ask FixBot

      Add Comment

    6. Tapwave T2907US Zodiac 2 Directional Pad Replacement: step 10, image 1 of 1
      • Unscrew the 2 silver Philips #00 screws from both sides of the directional pad component on the front casing.

      Ask FixBot

      Add Comment

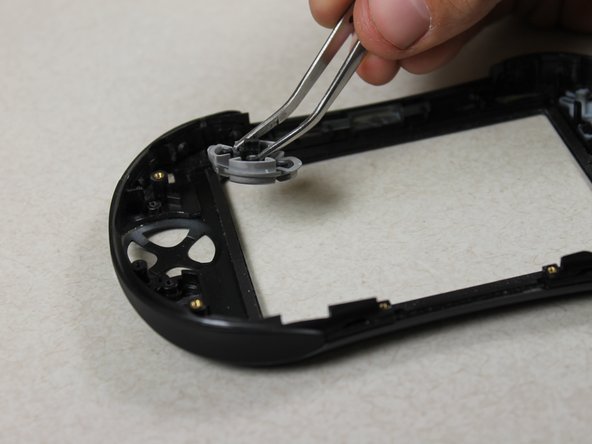
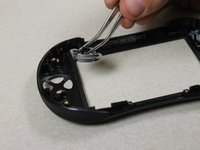
    7. Tapwave T2907US Zodiac 2 Directional Pad Replacement: step 11, image 1 of 2 Tapwave T2907US Zodiac 2 Directional Pad Replacement: step 11, image 2 of 2
      • Take out the 2 pieces of the directional pad with tweezers.

      Ask FixBot

      Add Comment

Conclusion

To reassemble your device, follow these instructions in reverse order.

Cancel: I did not complete this guide.

One other person completed this guide.

Daniel Wiseman

Member since: 01/20/12

133 Reputation

6 Guides authored

Team

Cal Poly, Team 10-33, Amido Winter 2012 Member of Cal Poly, Team 10-33, Amido Winter 2012

CPSU-AMIDO-W12S10G33

4 Members

66 Guides authored

0 Guide Comments

Add Comment

View Statistics:

Past 24 Hours: 0

Past 7 Days: 2

Past 30 Days: 34

All Time: 1,000