
Tagital T7X Camera Replacement

Hanlong Chen and 3 other contributors
Last updated on May 3, 2016
Views: 552
View statistics:
- Past 24 Hours:
- 4
- Past 7 Days:
- 18
- Past 30 Days:
- 89
- All Time:
- 552
Comments: 0
No one has left comments on this guide. Will you be first?
Go to guide commentsCompleted: 1 2
1 person has marked this guide "completed." Will you be next?
2 people have marked this guide "completed." Including you — great job!
Favorites: 0 1
No one has favorited (and subscribed to) this guide. Will you be the first?
1 person has favorited (and subscribed to) this guide — and that's you!
Introduction
Go to step 1 ↓The front and back cameras in this tablet are connected as one piece. Both cameras have to be replaced if either one is broken.
What you need
Tools
-
Spudger4.9


-
-
-
Place the Tagital T7X on a sturdy surface.
-
Insert the plastic opening tool into the crack and pry open the tablet. Move the tool along the edge, while continuing to pry up the casing.
 Ask FixBot
-
-
-
-
-
Use a spudger to hold the cameras in place.
-
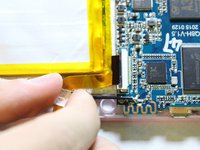
Gently pull the black tape away using your finger.
-
-
-
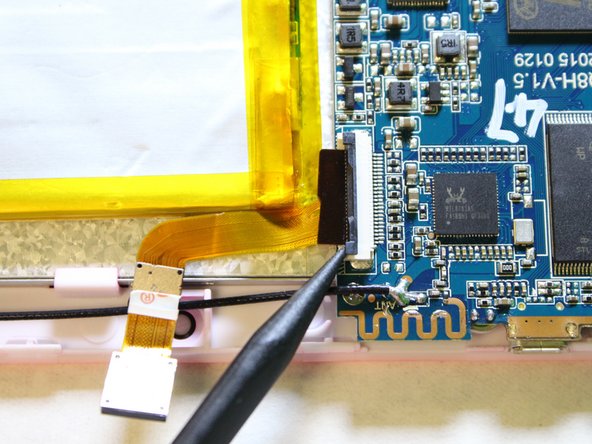
Remove the ribbon cable from the motherboard.
-
Use a spudger to lift the two tabs, freeing the ribbon cable from the socket.
-
-
-






To reassemble your device, follow these instructions in reverse order.
Cancel: I did not complete this guide.
One other person completed this guide.

Team

USF Tampa, Team 2-1, Sullivan Spring 2016 Member of USF Tampa, Team 2-1, Sullivan Spring 2016
USFT-SULLIVAN-S16S2G1
4 Members
72 Guides authored
