What you need
-
-
-
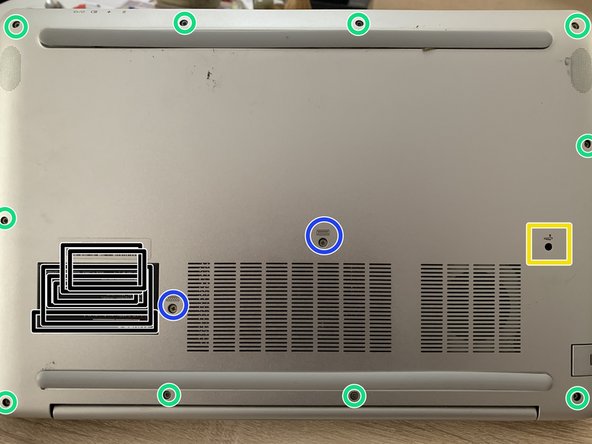
To remove the bottom cover, we must first remove all the screws that can be reached from below.
-
These are 10 marked in green. These connect the bottom cover plate to the top case
-
There are also 2 marked in blue. These connect the bottom cover to the keyboard assembly.
-
The keyboard can then be easily lifted through the opening (here yellow) using a blunt object.
 Ask FixBot
-
-
-
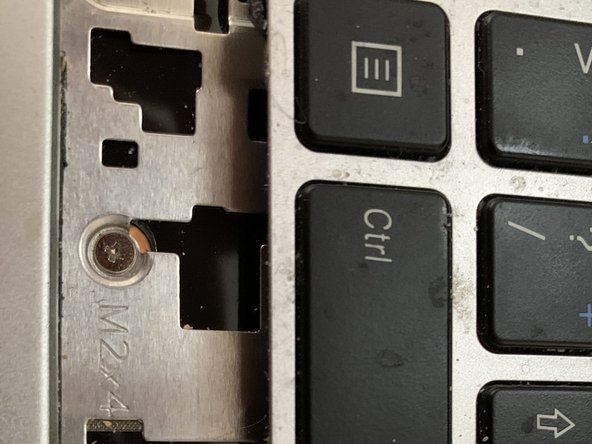
By lifting the keyboard slightly from the underside, it can be reached from below.
-
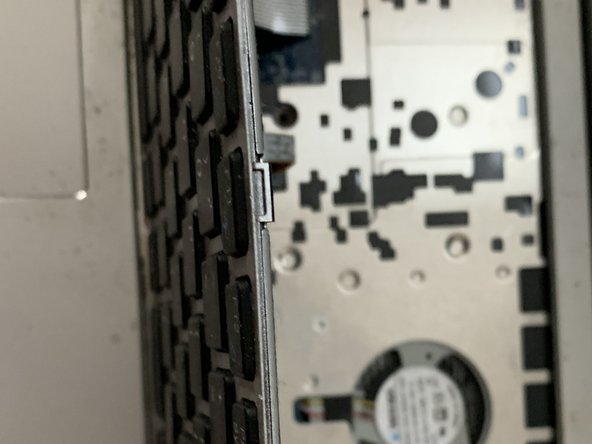
The keyboard assembly has clips at the bottom that reach under the housing. These are only clamped on the other sides.
-
It can be lifted out of the housing step by step using a thin, stable object.
-
-
-
-
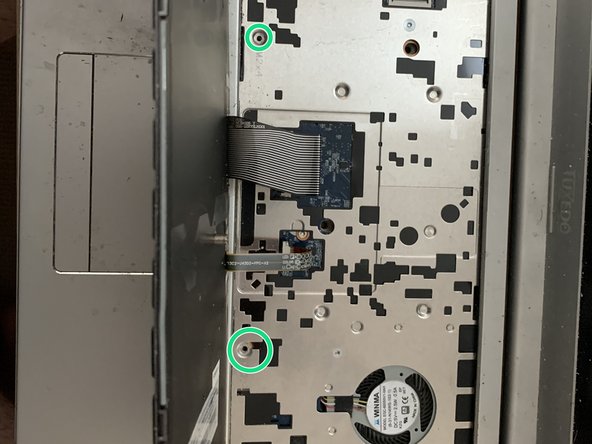
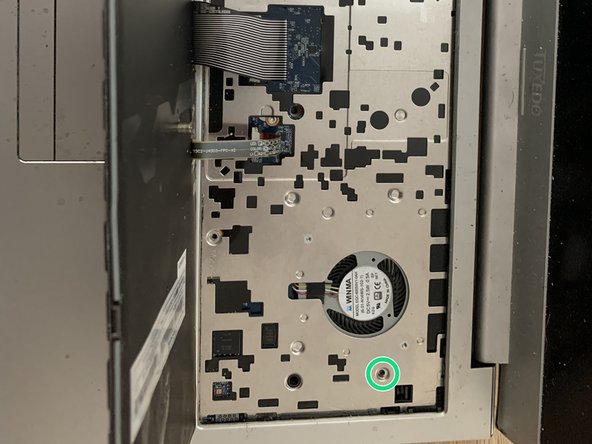
Once the keyboard is loose, we can remove 3 more screws.
-
Once these have been tightened, the bottom cover can be removed without any difficulty.
-
-
-
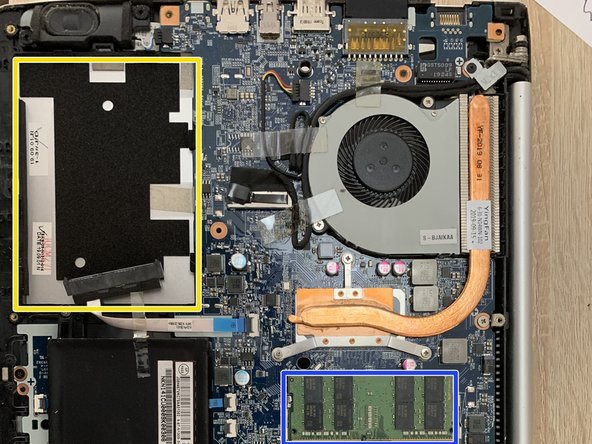
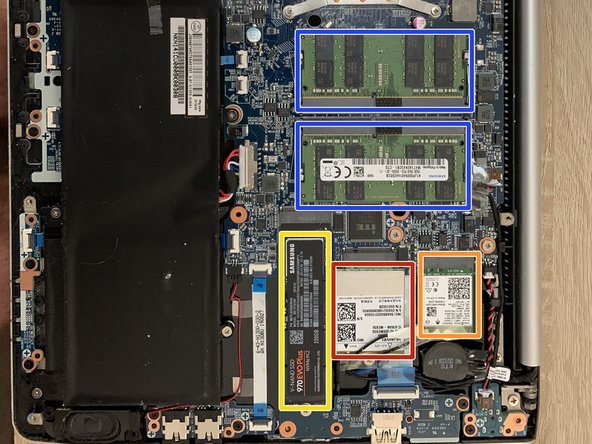
Without the bottom cover, the two hard disks (yellow) are easy to reach
-
In the example, the 2.5” Sata hard disk is missing, but the NVMe can be seen.
-
Other interesting components: RAM (blue), Wifi (orange), LTE (red).
-
-






Work through the steps in reverse order to reassemble your device.
Cancel: I did not complete this guide.
One other person completed this guide.
Special thanks to these translators:
100%

oldturkey03 is helping us fix the world! Want to contribute?
Start translating ›

