
TMY V08 Button Circuit Board Replacement

Joanna Jimenez and 3 other contributors
Last updated on Dec 21, 2023
Views: 454
View statistics:
- Past 24 Hours:
- 0
- Past 7 Days:
- 9
- Past 30 Days:
- 53
- All Time:
- 454
Comments: 0
No one has left comments on this guide. Will you be first?
Go to guide commentsCompleted: 0 1
No one has marked this guide "completed." Will you be the first?
1 person has marked this guide "completed." It's you — great job!
Favorites: 0 1
No one has favorited (and subscribed to) this guide. Will you be the first?
1 person has favorited (and subscribed to) this guide — and that's you!
Introduction
Go to step 1 ↓If you need to replace the buttons in the TMY V08, the replacement process can be found in this guide. The buttons may need to be replaced if you click them and they don't perform the function they are supposed to do. If you need any additional help check out our Troubleshooting Guide.
In order to keep the motherboard safe, before beginning the replacement, make sure the TMY V08 is on a solid surface. Also make sure the TMY V08 is away from non-hardwood flooring and carpets. This will reduce the risk of static electric shocks that may damage the circuit or other components.
What you need
Tools

-
-
-
Turn the projector upside-down.
-
Remove the six 10.8 mm screws from the bottom of the projector using a Phillips #1 screwdriver.
-
Turn the projector back over and lift the top casing panel off the projector.
 Ask FixBot
-
-
-
Pinch and pull the bundled cable connector from the top panel.
-
Remove the top panel from the projector.
-
-
-
-
-
-
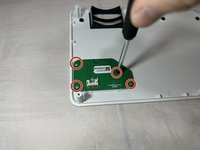
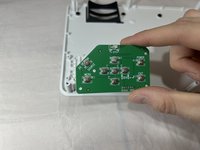
Remove the four 4.8 mm screws from the button circuit board beneath the top cover using a Phillips #1 screwdriver.
-
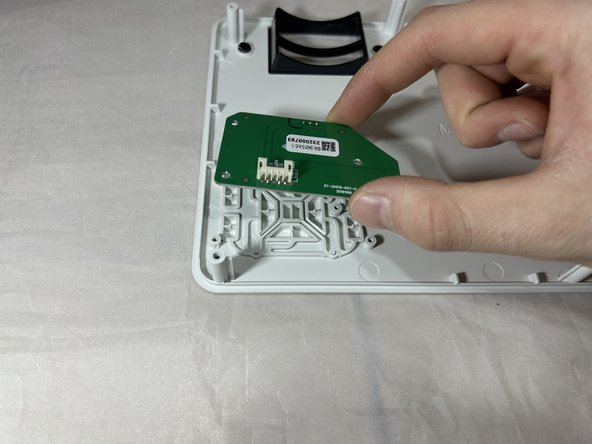
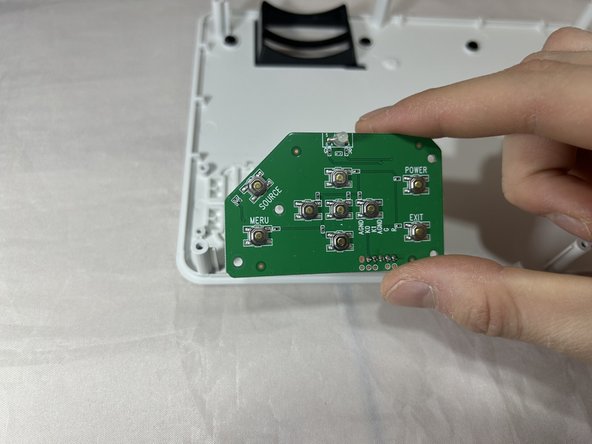
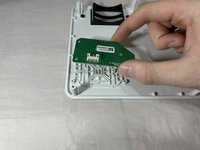
Remove the button circuit board.
-
-


To reassemble your device, follow these instructions in reverse order.

Team

Eastern Washington University, Team 1-5, Carnegie Fall 2023 Member of Eastern Washington University, Team 1-5, Carnegie Fall 2023
EWU-CARNEGIE-F23S1G5
4 Members
60 Guides authored
