
TI-84 Plus Disassembly

martijn muntenaar and 6 other contributors
Last updated on May 15, 2025
Views: 14K
View statistics:
- Past 24 Hours:
- 3
- Past 7 Days:
- 53
- Past 30 Days:
- 247
- All Time:
- 14,339
Comments: 2
1 comment on steps, 1 guide comment.
Go to guide commentsCompleted: 12 13
12 people have marked this guide "completed." Will you be next?
13 people have marked this guide "completed." Including you — great job!
Favorites: 0 1
No one has favorited (and subscribed to) this guide. Will you be the first?
1 person has favorited (and subscribed to) this guide — and that's you!
Community-Contributed Guide
An awesome member of our community made this guide. It was not created by iFixit staff.
What you need
Tools
-
-
Spudger4.9
-


-
-
-
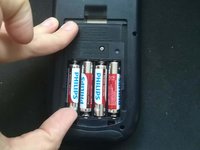
Remove the batteries.
-
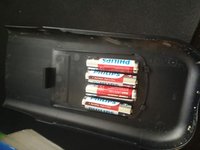
You can use the battery cover as a plate to keep the batteries.
-
-
-
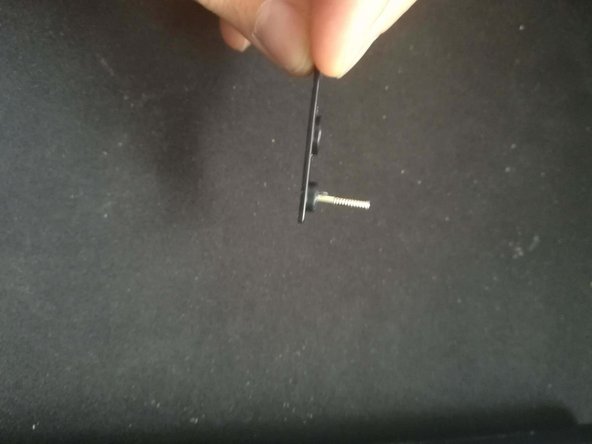
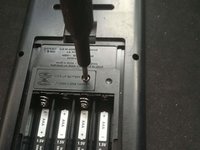
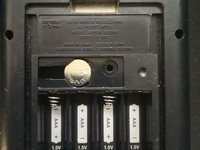
Use a Phillips #0 to remove the plate from the back up battery.
-
-
-
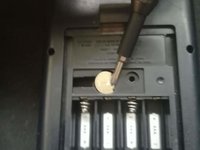
Remove the backup battery with either a screwdriver or the spudger.
-
-
-
-
Use a T6 Torx screwdriver to remove the six screws securing the back cover.
-
-
-
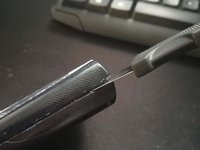
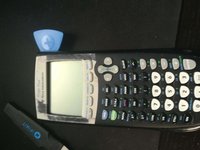
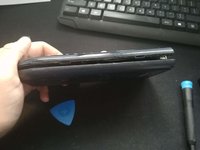
Use a prying tool to get a pick into the side and then move it down until it's open.
-


 Ask FixBot








To reassemble your device, follow these instructions in reverse order.
Cancel: I did not complete this guide.
12 other people completed this guide.

1 Guide Comment
Nice! My calculator wasn't turning on, took it apart and rebent the contacts for the batteries, works great now!
