
TI-36X Pro Button Replacement

Robert Sekerak and 5 other contributors
Last updated on May 7, 2024
Views: 3.3K
View statistics:
- Past 24 Hours:
- 3
- Past 7 Days:
- 28
- Past 30 Days:
- 122
- All Time:
- 3,277
Comments: 0
No one has left comments on this guide. Will you be first?
Go to guide commentsCompleted: 3 4
3 people have marked this guide "completed." Will you be next?
4 people have marked this guide "completed." Including you — great job!
Favorites: 1 2
1 person has favorited (and subscribed to) this guide. Will you be next?
2 people have favorited (and subscribed to) this guide — including you!
Introduction
Go to step 1 ↓For this guide you will remove all of the internal components in order to replace the buttons.
What you need


-
-
-
Remove the calculator's protective cover.
-
Place the calculator face down.
 Ask FixBot
-
-
-
Using a Phillips #1 screwdriver, remove the six 6mm screws from the back of the case and place them to the side.
-
Start from the notches on the top edge and use your fingers or a prying tool to carefully pry the back cover from the calculator.
-
-
-
-
-
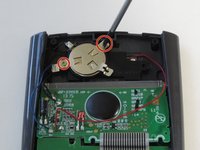
Use a Phillips #00 screwdriver to remove the two 7.5 mm screws holding the battery cover to the case.
-
Use your finger to move the battery cover to the side.
-
-
-
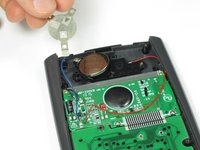
Use the flat side of a spudger to remove the battery by lifting the bottom edge.
-
-
-
-
-
After removing the battery, use a Phillips #00 screwdriver to take out the 4.5mm screw directly to the right of the solar panel.
-
-
-
Next, use a Phillips #00 screwdriver to remove the two screws located on each side of the striped ribbon between the two green circuit boards.
-
-
-
Carefully chisel off the 11 circular pieces that connect the lower circuit board to the calculator.
-
-
-
-
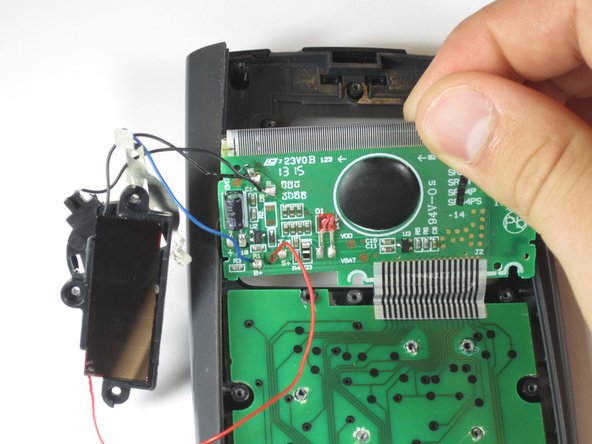
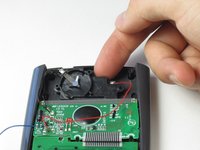
Lift the top edge of the solar panel with a finger and slide it away from the circuit board to disconnect it from the calculator.
-
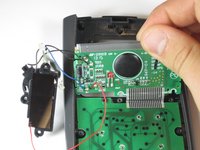
Carefully pry the screen out of the calculator with a prying tool or spudger.
-
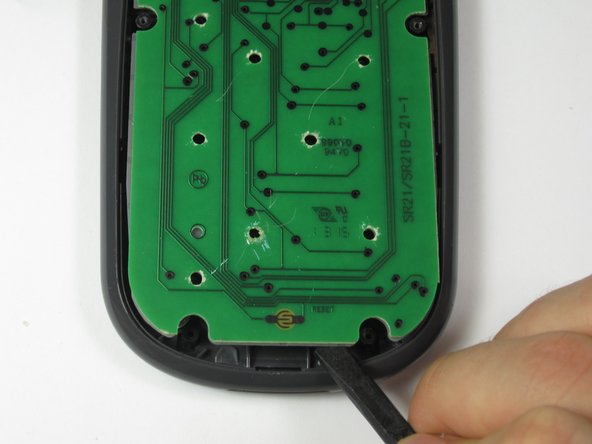
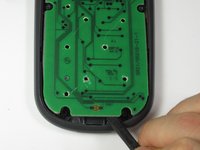
Pry the lower circuit board from the calculator by inserting a prying tool between the base of the calculator and the circuit board.
-
-
-
Grab one of the top corners of the gray rubber button pad and peel it off of the buttons.
-
-
Tool used on this step:Tweezers$4.99
-
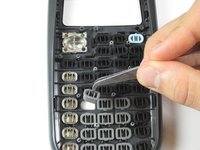
Locate the button that needs replacement and lift it out of the calculator with tweezers.
-
-








To reassemble your device, follow these instructions in reverse order.
Cancel: I did not complete this guide.
3 other people completed this guide.

Team

Cal Poly, Team 11-52, Amido Spring 2014 Member of Cal Poly, Team 11-52, Amido Spring 2014
CPSU-AMIDO-S14S11G52
4 Members
60 Guides authored
