
TDS Trimble Spectra Precision Recon 400X LCD Digitizer Replacement

Last updated on Aug 6, 2024
Views: 1.3K
View statistics:
- Past 24 Hours:
- 4
- Past 7 Days:
- 22
- Past 30 Days:
- 88
- All Time:
- 1,293
Comments: 0
No one has left comments on this guide. Will you be first?
Go to guide commentsCompleted: 0 1
No one has marked this guide "completed." Will you be the first?
1 person has marked this guide "completed." It's you — great job!
Favorites: 1 2
1 person has favorited (and subscribed to) this guide. Will you be next?
2 people have favorited (and subscribed to) this guide — including you!
Community-Contributed Guide
An awesome member of our community made this guide. It was not created by iFixit staff.
Introduction
Go to step 1 ↓How to replace the LCD Digitizer assembly on a Recon 400X.
What you need
Tools
-
-
Spudger4.9


-
-
-
Twist both screws 180 degrees using a small flathead screwdriver. The arrows should be pointing to unlock. Slide the boot module down and out of the data collector.
 Ask FixBot
-
-
-
Remove both screws using a phillips head screwdriver. Pull the top cover up and out of the data collector.
-
-
-
Using a T6 torx driver, remove the 8 torx screws and then lift the back cover off. There is a rubber gasket between the front and back of the case. Make note of how it fits in for when you reassemble.
-
-
-
-
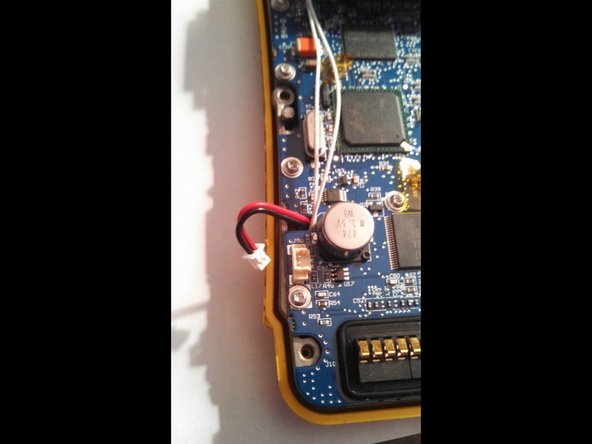
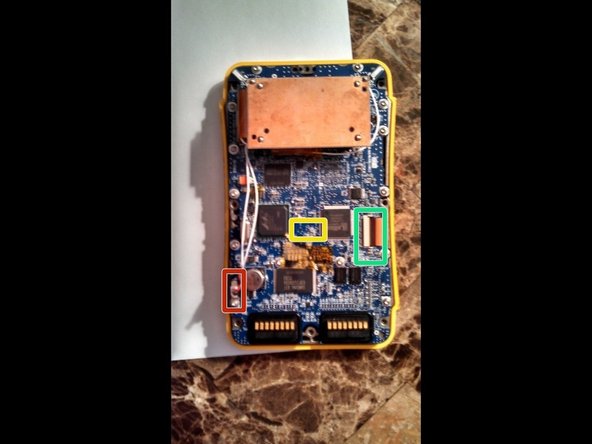
Flip up the connector using a spudger and gently pull the ribbon cable out. This is the display assembly connector. Next we will gently pull the power cable up using a spudger or pry tool. The area marks by the yellow rectangle comes into play in the next step. This is where the keypad connects to the motherboard.
-
-
-
Now we can remove the motherboard. Simply remove the 11 screws using a T6 torx driver. The motherboard must be lifted straight up. The keypad is connected from underneath the motherboard. It will unplug as you lift the board. That is what you want to happen
-
-




To reassemble your device, follow these instructions in reverse order.

