Introduction
Replacing the battery is a fairly straightforward and easy process, which may need to be done if the device isn't charging or isn't turning on. A replacement battery, which can be obtained from the TDK website, is needed, along with a Torx screwdriver. Be gentle when working around the wires, as they are fairly thin and can break easily. Overall, this is an easy fix which almost anyone can do.
What you need
-
-
-
Remove all (6) 5mm Torx (Star) screws on the bottom panel of the device using the T4 screwdriver.
 Ask FixBot
-
-
-
-
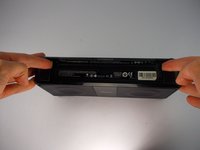
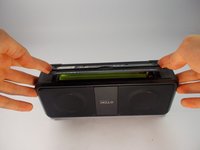
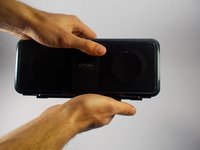
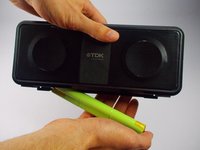
Remove the bottom panel from the A33 by inserting both fingers in the gaps on the edge of the panel and lifting up until the bottom panel comes off of the device.
-
-
-
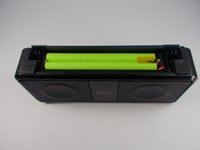
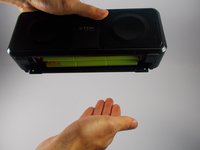
Remove the old battery from its housing in the A33 by holding the device up and gently tapping the bottom on your hand until the battery pops out of the A33.
-
-
-
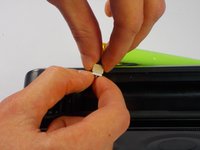
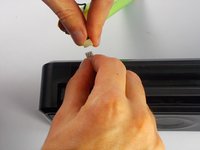
Disconnect the old battery from the plug that is attached to the device by grabbing both ends of the plug and pulling them apart.
-
-






To reassemble your device, follow these instructions in reverse order.
Cancel: I did not complete this guide.
20 other people completed this guide.

Team

UMass Dartmouth, Team 4-2, Catania Fall 2015 Member of UMass Dartmouth, Team 4-2, Catania Fall 2015
UMASSD-CATANIA-F15S4G2
4 Members
15 Guides authored
5 Guide Comments
This was a GREAT tutorial.
I did find on step 3 that I could not dislodge the cover with my fingernails. I had to use a jeweler's screwdriver to carefully pry it loose. I also found that it was easier to put the new battery in flat end first and then laying it down and putting the wires into the pocket.
Thanks for sharing.
Beautifully done, 5 star
Use the T5 Not T4
