Free Shipping on Domestic Orders $75+

TCA PRC 152A Disassembly

What you need

    1. TCA PRC 152A Disassembly, Prepare the radio for dissasembly: step 1, image 1 of 1
      • Remove antenna and battery before dissasembly

      • Prepare the tools before starting We'll start with the radio and then the accessories...

      Ask FixBot

      Add Comment

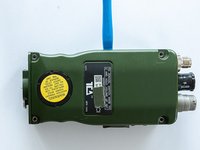
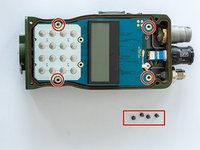
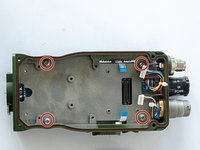
    2. TCA PRC 152A Disassembly, Removing the backpannel: step 2, image 1 of 3 TCA PRC 152A Disassembly, Removing the backpannel: step 2, image 2 of 3 TCA PRC 152A Disassembly, Removing the backpannel: step 2, image 3 of 3
      • Remove 4 screws on the backpannel

      • Phillips PH3

      • The small retention piece is held by the screw. Be careful not to lose the spring

      Ask FixBot

      Add Comment

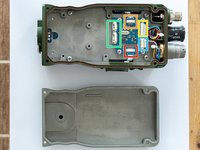
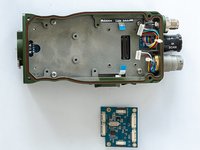
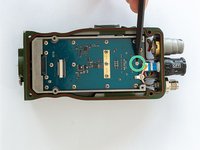
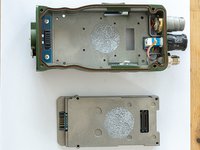
    3. TCA PRC 152A Disassembly, Removing the backpanel: step 3, image 1 of 2 TCA PRC 152A Disassembly, Removing the backpanel: step 3, image 2 of 2
      • Carefully open the rear panel with the opener's plastic tool.

      • You can see the connection map of the different terminals.

      • GPS option (Does not work)

      • PTT and config button socket

      • U283 6PIN connector

      • ON/OFF/Volume knob

      • Side connector (Does not work)

      Ask FixBot

      Add Comment

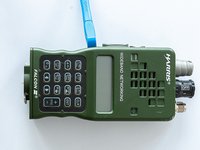
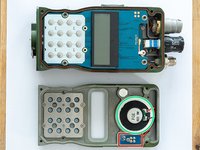
    4. TCA PRC 152A Disassembly, Removing frontpannel: step 4, image 1 of 3 TCA PRC 152A Disassembly, Removing frontpannel: step 4, image 2 of 3 TCA PRC 152A Disassembly, Removing frontpannel: step 4, image 3 of 3
      • Carefully open the front panel with the opener's plastic tool.

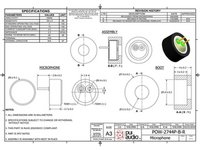
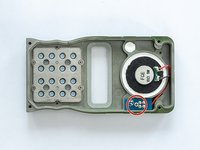
      • Microphone attached to the PCB board (1.080KOhm).Can be replaced by POW-2744P-B-R

      • Speaker FCE 16Ohm 1Watt.

      • Beware of silicone for the sealing of the elements.

      Ask FixBot

      Add Comment

    5. TCA PRC 152A Disassembly, Frontpannel microphone removal: step 5, image 1 of 3 TCA PRC 152A Disassembly, Frontpannel microphone removal: step 5, image 2 of 3 TCA PRC 152A Disassembly, Frontpannel microphone removal: step 5, image 3 of 3
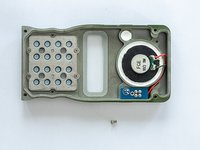
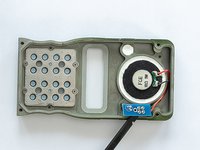
      • Remove 1 screw

      • Phillips PH1

      • Carefully remove withe the plastic tool

      Ask FixBot

      Add Comment

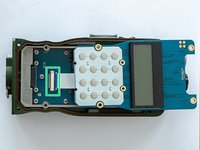
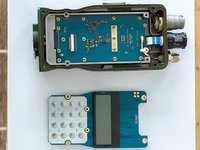
    6. TCA PRC 152A Disassembly, Display and keyboard front card: step 6, image 1 of 3 TCA PRC 152A Disassembly, Display and keyboard front card: step 6, image 2 of 3 TCA PRC 152A Disassembly, Display and keyboard front card: step 6, image 3 of 3
      • Remove 4 screws

      • Phillips PH2

      • Disconnect the flat connector

      • Use caution when you remove the flat connector

      Ask FixBot

      Add Comment

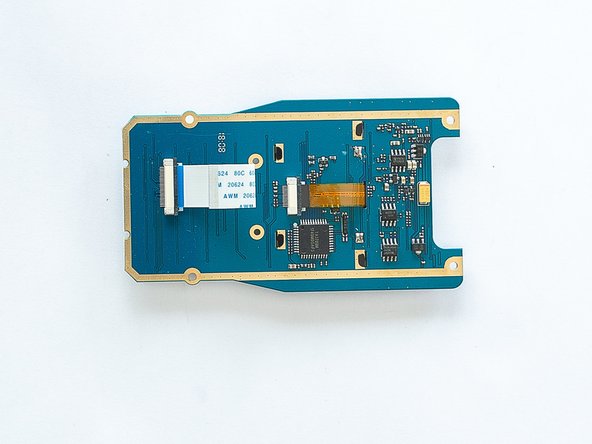
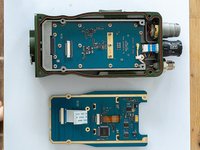
    7. TCA PRC 152A Disassembly, Display and keyboard front card: step 7, image 1 of 2 TCA PRC 152A Disassembly, Display and keyboard front card: step 7, image 2 of 2
      • Place the electronics elements on ESD bags

      Ask FixBot

      Add Comment

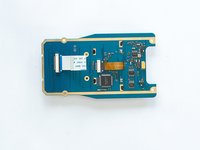
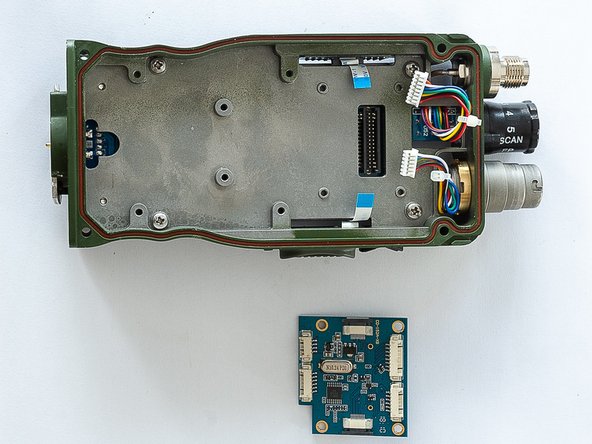
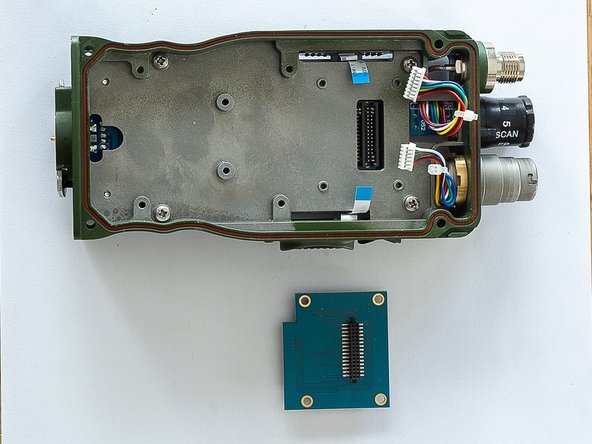
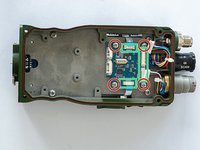
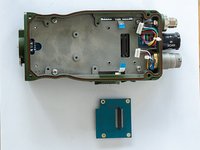
    8. TCA PRC 152A Disassembly, Peripheral back card: step 8, image 1 of 3 TCA PRC 152A Disassembly, Peripheral back card: step 8, image 2 of 3 TCA PRC 152A Disassembly, Peripheral back card: step 8, image 3 of 3
      • Disconnect 2 JSP connectors and 2 flat connector

      • Remove 4 screws

      • Phillips PH2

      • Carefully disconect the connectors and the board

      Ask FixBot

      Add Comment

    9. TCA PRC 152A Disassembly, Mainboard removal: step 9, image 1 of 3 TCA PRC 152A Disassembly, Mainboard removal: step 9, image 2 of 3 TCA PRC 152A Disassembly, Mainboard removal: step 9, image 3 of 3
      • Remove 4 screws

      • Phillips PH2

      • Disconnect the antenna connector

      • Carefully removing the mainboard

      • Thermal paste between the card and the body

      Ask FixBot

      Add Comment

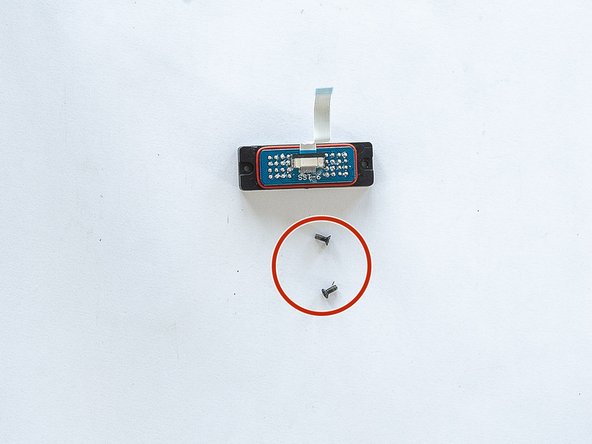
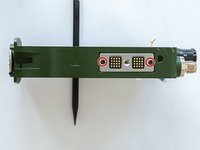
    10. TCA PRC 152A Disassembly, Side connectors removal: step 10, image 1 of 2 TCA PRC 152A Disassembly, Side connectors removal: step 10, image 2 of 2
      • Remove 2 screws

      • Phillips PH1

      • Carefully removing the connector

      Ask FixBot

      Add Comment

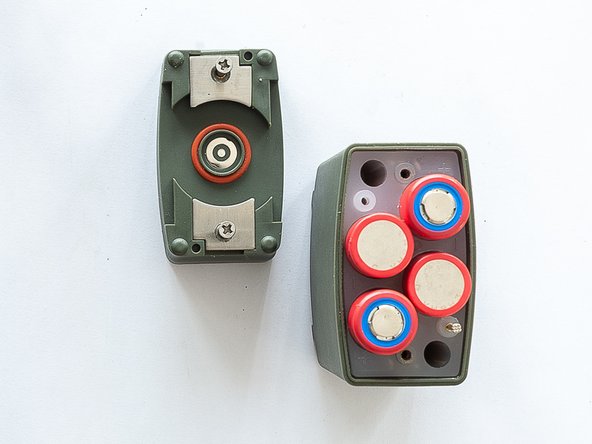
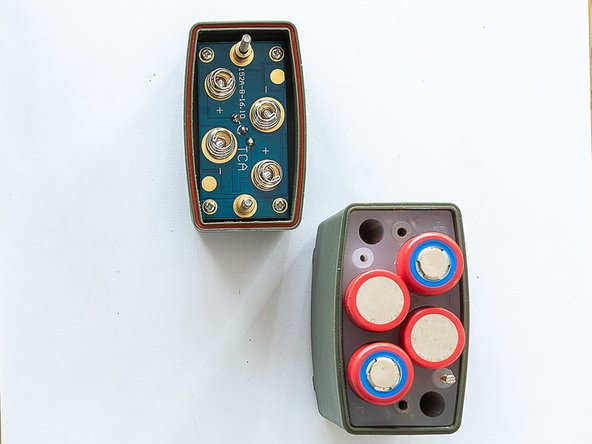
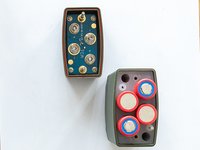
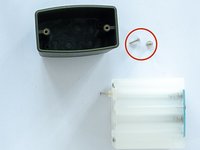
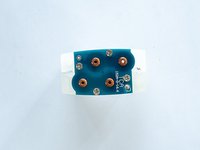
    11. TCA PRC 152A Disassembly, Batterybloc dissasembly: step 11, image 1 of 3 TCA PRC 152A Disassembly, Batterybloc dissasembly: step 11, image 2 of 3 TCA PRC 152A Disassembly, Batterybloc dissasembly: step 11, image 3 of 3
      • Remove 2 screws

      • Phillips PH3

      • Remove the topcover, take care about short circuit

      Ask FixBot
      Add Comment

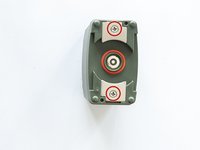
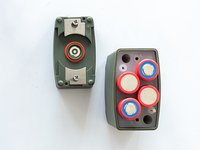
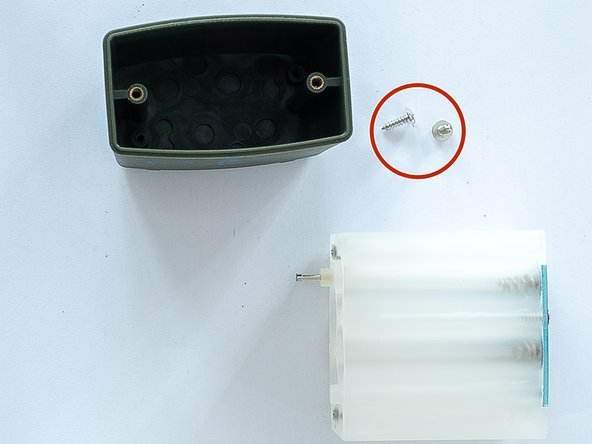
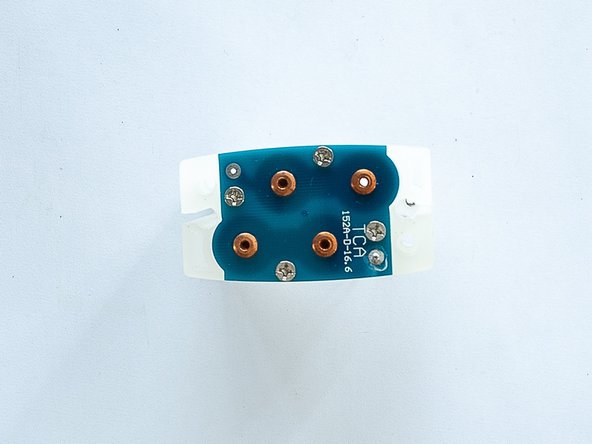
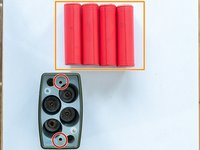
    12. TCA PRC 152A Disassembly, Batterybloc dissasembly: step 12, image 1 of 3 TCA PRC 152A Disassembly, Batterybloc dissasembly: step 12, image 2 of 3 TCA PRC 152A Disassembly, Batterybloc dissasembly: step 12, image 3 of 3
      • Remove battery stick (18650 Panasonic)

      • Remove 2 screws

      • Phillips PH3

      • Take off the inner white retainer

      Ask FixBot

      Add Comment

Finish Line

Cancel: I did not complete this guide.
3 other people completed this guide.

Tomazo_88

Member since: 06/09/20

449 Reputation

1 Guide authored

0 Guide Comments

Add Comment

View Statistics:

Past 24 Hours: 4

Past 7 Days: 26

Past 30 Days: 131

All Time: 5,330