
System x3650 CPU and Memory Replacement

Serguei Potechnykh and 3 other contributors
Last updated on Jul 28, 2022
Views: 3.7K
View statistics:
- Past 24 Hours:
- 2
- Past 7 Days:
- 20
- Past 30 Days:
- 99
- All Time:
- 3,684
Comments: 0
No one has left comments on this guide. Will you be first?
Go to guide commentsCompleted: 2 3
2 people have marked this guide "completed." Will you be next?
3 people have marked this guide "completed." Including you — great job!
Favorites: 0 1
No one has favorited (and subscribed to) this guide. Will you be the first?
1 person has favorited (and subscribed to) this guide — and that's you!
Introduction
Go to step 1 ↓In this guide we will be upgrading the CPU(s) and RAM on the IBM System x3650 server, type 7979. By installing a faster CPU, a second CPU, or more main memory, the performance of this machine can be increased. This server is built with maintenance in mind, so the procedure is fairly straightforward. Some system components are even hot-swappable. Let us look at the upgrade in more detail.
Note that while performing computer maintenance, the power cable should be unplugged for safety purposes. The item should rest on a solid surface. Due to the form factor and weight, seek assistance when transporting this item to another location.
What you need
Tools

-
-
-
Press the two latches on the riser card assembly, indicated by blue arrows and outlines.
-
Slowly take the the riser card assembly out.
-
Doing so will allow you to remove the white plastic airflow guides.
-
-
-
Move the heat sink bracket lever to the open position and remove the heat sink.
-
-
-
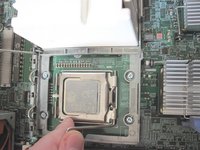
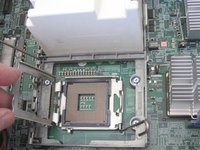
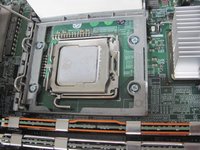
Open the CPU retention bracket lever.
-
Remove the old processor from the socket.
-
-
-
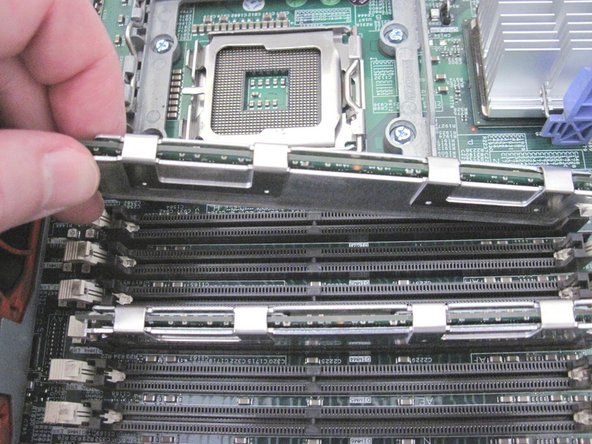
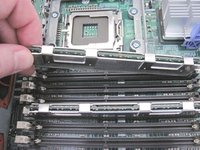
Remove the old RAM if it is being replaced.
-
Unfasten the clamps on both ends of the slot.
-
Take out the memory module.
-
-
-
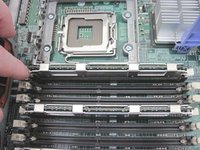
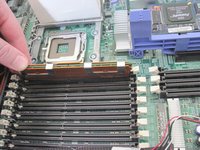
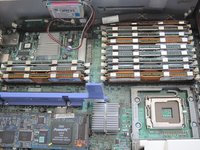
Insert the new memory modules into the empty RAM slots securely.
-
The clamps on both ends of the slot should click into place.
-
-
-
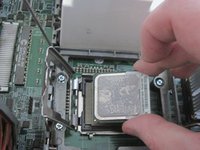
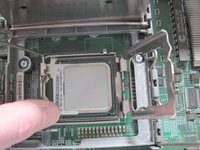
Insert new CPU into socket.
-
Ensure that the CPU chip is positioned correctly (i.e. its marked corner is facing bottom left).
-
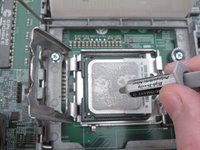
Apply thermal paste to the top of the processor if necessary.
-
Close the CPU retention bracket lever.
-
-
-
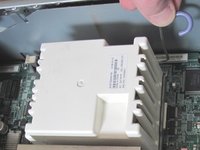
Place the heat sink on top of the CPU.
-
Move the heat sink bracket lever to closed position.
-
-
-
-
If you need to add a second processor, move the heat sink bracket lever to open position.
-
Take out the white plastic cover on the second socket.
-
Repeat steps 7 and 8 for the second CPU/socket (insert a CPU and a heat sink).
-
-
-
Insert the plastic airflow guides back in their places.
-
Insert the riser card assembly, pushing it into its slot.
-
-
-
Slide the top cover in place firmly.
-
Ensure that the latch is in the down position.
-


 Ask FixBot









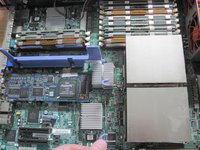


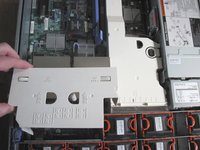
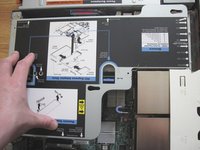
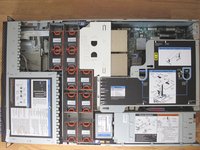

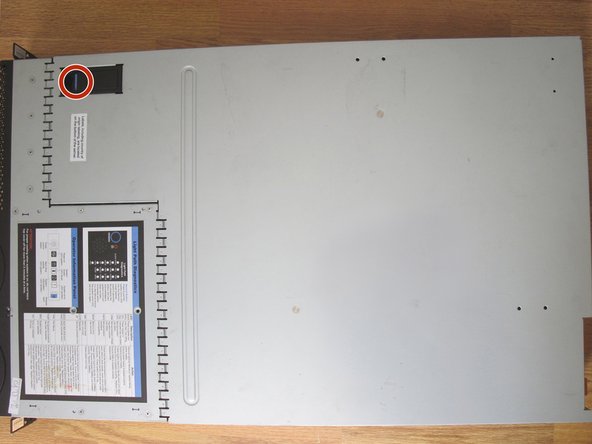
Follow this guide to replace or upgrade CPU and memory on IBM System x3650. Up to 2 processors can be installed. Up to 48 GB of RAM can be installed.
Cancel: I did not complete this guide.
2 other people completed this guide.

Team

York University, Team S2-G21, Melo-Thaiss Fall 2020 Member of York University, Team S2-G21, Melo-Thaiss Fall 2020
YORK-MELO-THAISS-F20S2G21
1 Member
12 Guides authored
