
Syntus ST150 Ultrasonic Plate Replacement

Alejandro R. Calderin Anzueta and one other contributor
Last updated on Jun 3, 2022
Views: 1.9K
View statistics:
- Past 24 Hours:
- 1
- Past 7 Days:
- 15
- Past 30 Days:
- 102
- All Time:
- 1,933
Comments: 0
No one has left comments on this guide. Will you be first?
Go to guide commentsCompleted: 0 1
No one has marked this guide "completed." Will you be the first?
1 person has marked this guide "completed." It's you — great job!
Favorites: 0 1
No one has favorited (and subscribed to) this guide. Will you be the first?
1 person has favorited (and subscribed to) this guide — and that's you!
Featured Student Guide
This guide has been the hard work of our awesome students and is found to be exceptionally cool by the iFixit staff.
Introduction
Go to step 1 ↓An ultrasonic plate in an essential oil diffuser is an electric component that vibrates at a very fast rate, creates a mist with water and essential oils, and disperses the mist into the air. A typical ultrasonic plate lasts around 5000 hours, but when it is damaged it has to be replaced. This guide will show you how to disassemble and replace the ultrasonic plate of your Syntus Ultrasonic Diffuser model number ST150.
Before beginning the repair, be sure to unplug the power adapter.
What you need


-
-
-
With a Phillips #1 screwdriver, remove the three 10 mm screws on the bottom of the diffuser.
-
-
-
Lift the water tank while holding the base of the diffuser.
-
Disconnect the three cables form the board.
-
-
-
To separate the board from the water tank, unscrew the three Phillips #1 10 mm screws securing the board.
-
-
-
With a Phillips #0 screwdriver, remove the three 7 mm screws from the ultrasonic sensor cover.
-
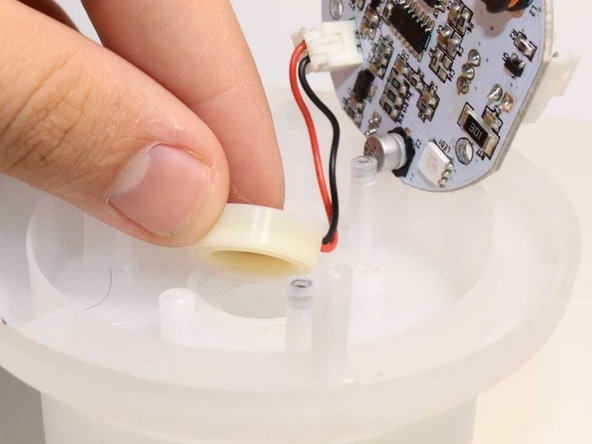
Remove the cover to expose the ultrasonic sensor.
-
-
-
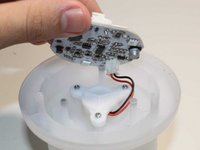
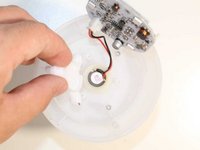
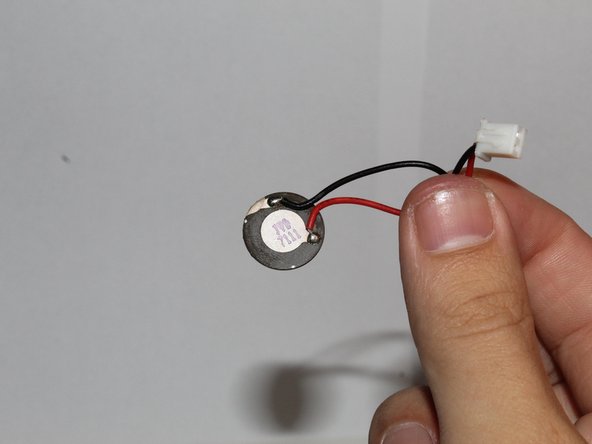
Detach the ultrasonic sensor from the water tank.
-
Detach the ultrasonic sensor connector from the board.
-
-

 Ask FixBot







To reassemble your device, follow these instructions in reverse order.

Team

University of Puerto Rico Mayagüez, Team 2-26, Cools Stephens Spring 2022 Member of University of Puerto Rico Mayagüez, Team 2-26, Cools Stephens Spring 2022
UPRM-COOLS STEPHENS-S22S2G26
1 Member
12 Guides authored
