Introduction
These days disposing of things that do not work in the house is more common than trying to repair them. I believe people should learn how to fix things before they spend more money on another product. Today I will revive and restore the Swiffer WetJet, this guide will help anyone with a broken Swiffer to change the motor in order for it to work again.
What you need
-
-
Remove the cleaning solution, batteries and the battery container.
-
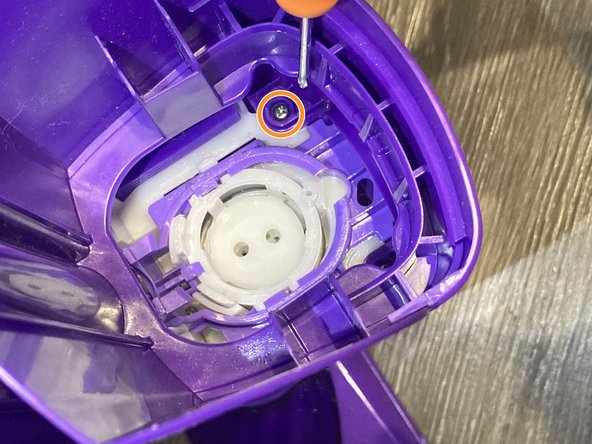
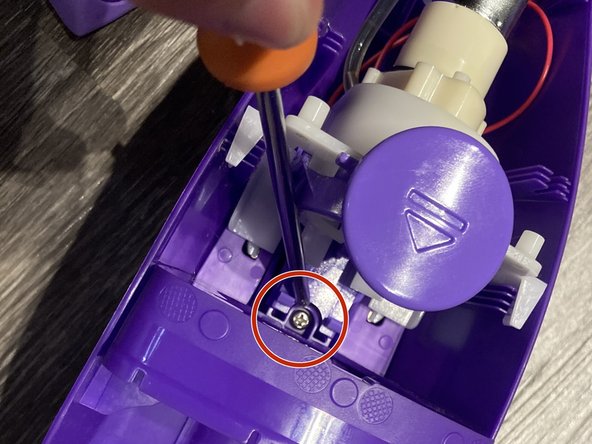
Use a Phillips #1 screwdriver to remove the screw (1.4x6.0mm) at the bottom of the WetJet.
-
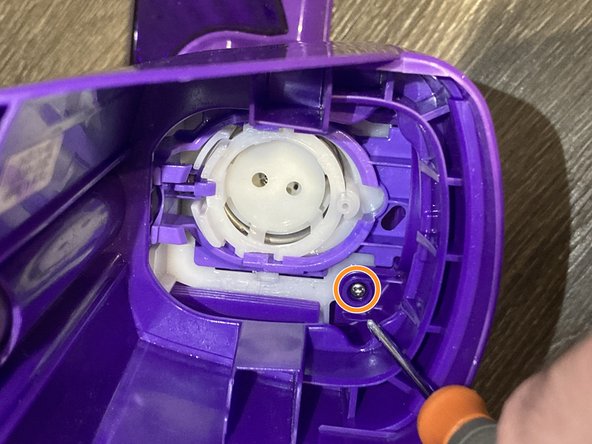
Remove two more screws (1.4x5.0mm) in the interior where the cleaning solution is placed.
 Ask FixBot
-
-
-
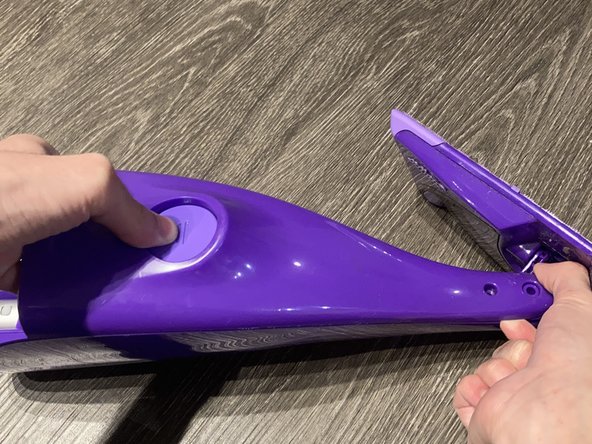
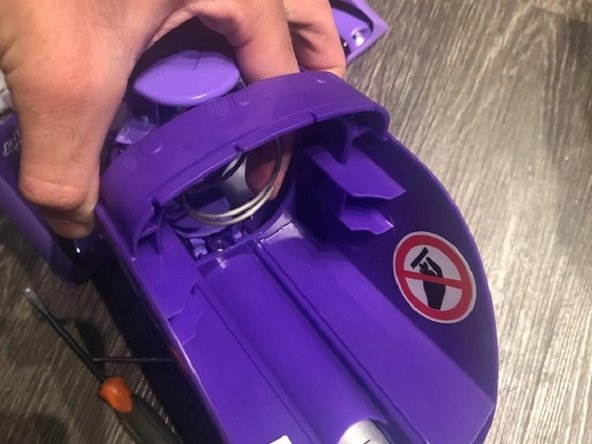
Use two hands to remove the cover of the Swiffer by lifting the bottom part with one hand while with the other hand pull the cover from the cleaning solution release button.
-
-
-
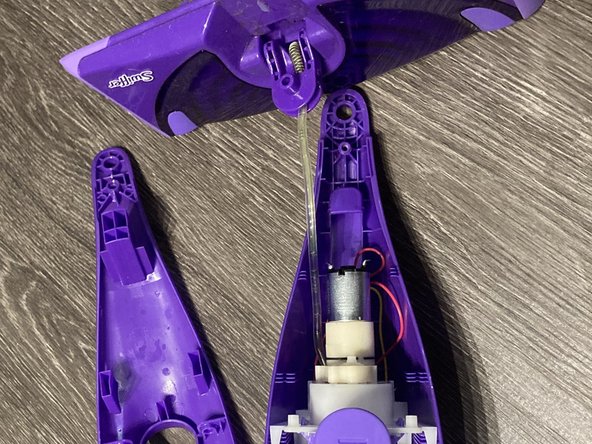
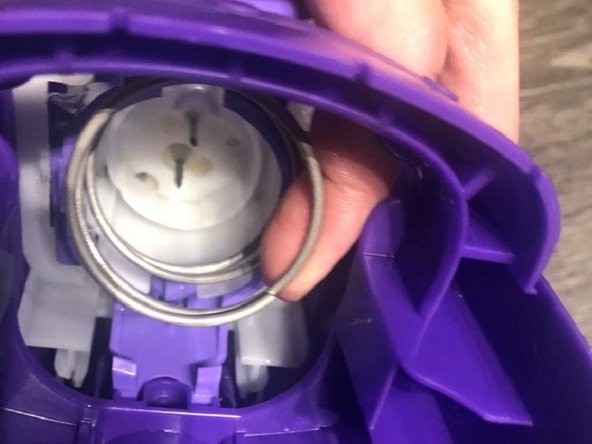
Dissasemble the head of the Swiffer WetJet to leave the engine alone and be able to work with it freely.
-
-
-
-
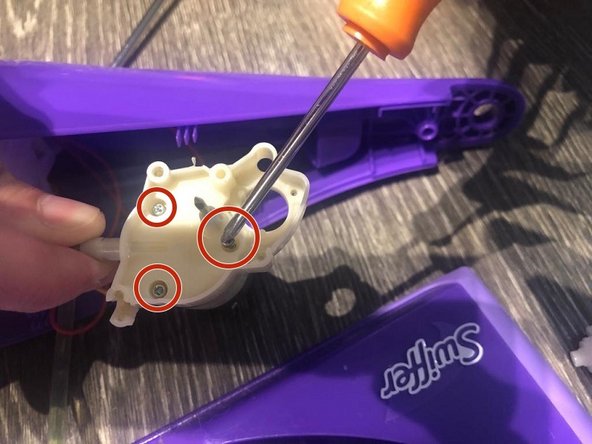
Remove the internal screw (1.4x5.0mm) that holds the release cleaning solution button.
-
-
-
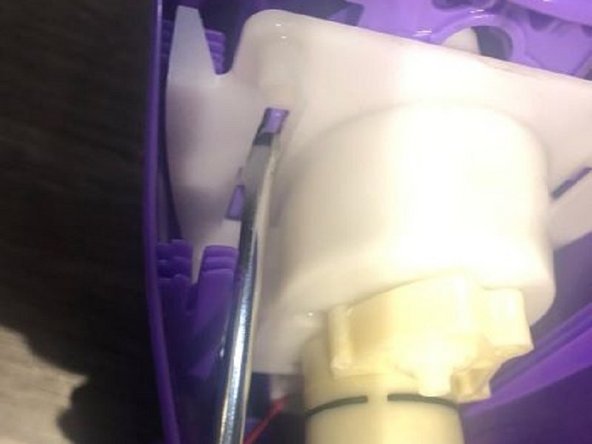
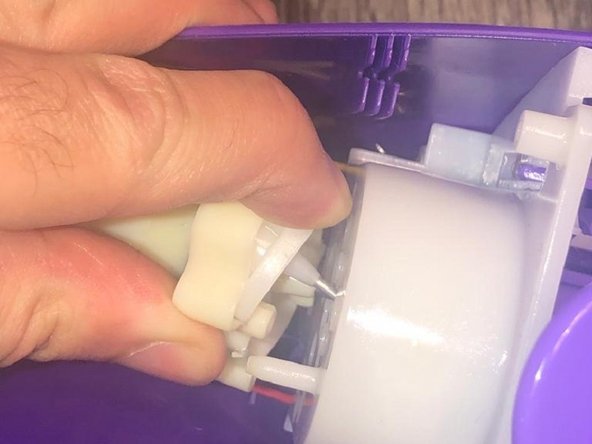
With a flathead screwdriver (1/4), deatach the button to release the cleaning solution by lifting it with your hands.
-
-
-
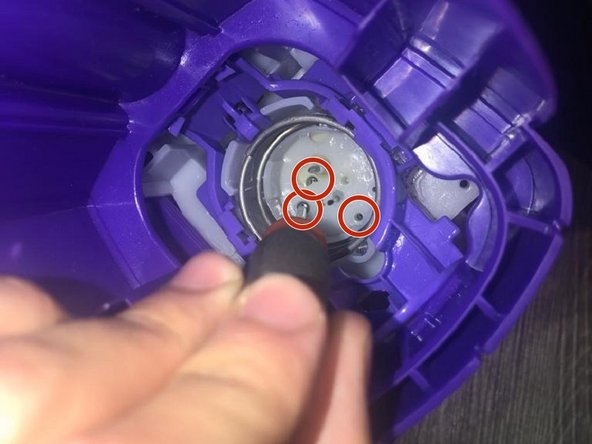
Use a Phillips #0 screwdriver to remove the three screws (1.4x6.0mm) that hold the motor compartment.
-
-
-
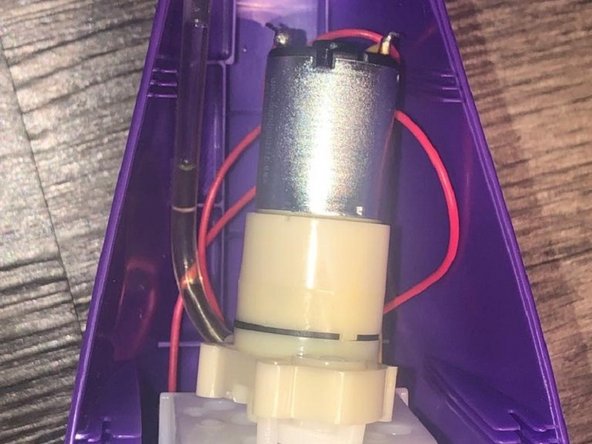
Using the same Phillips screwdriver (#0) remove another three screws (1.2x10mm) to release the motor.
-
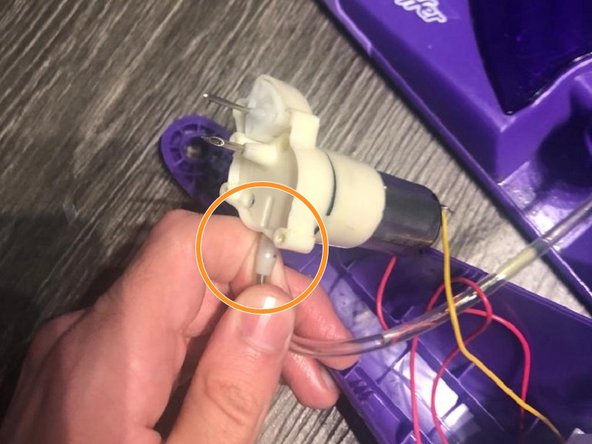
Detach the cleaning solution tube.
-
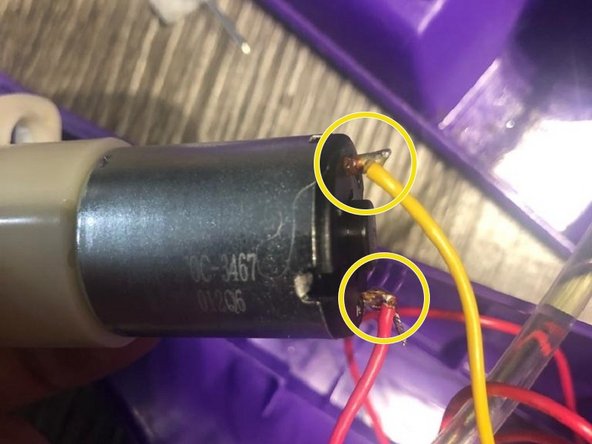
Remove the two power cables and the motor will be released.
-


To reassemble your device, follow these instructions in reverse order.
Cancel: I did not complete this guide.
3 other people completed this guide.

Team

Austin Community College, Team 1-13, Meigs Fall 2023 Member of Austin Community College, Team 1-13, Meigs Fall 2023
AUSTINCC-MEIGS-F23S1G13
1 Member
1 Guide authored
4 Guide Comments
Thanks for the guide! I was able to replace the motor in our Swiffer with a spare mini "370" pump motor that happened to have an identical motor section once the pump was taken apart. Refer to my Imgur gallery for more info on disassembly.
The motor I used was "DC 3V-5V 3.7V Micro 370 Motor Mini Air Pump Vacuum Pump Self-Priming Pump" something like this motor.
Imgur Gallery: imgur.com/a/YQ5SvgG
Thank you! You're resources were invaluable. I've been trying to fix things since I got pregnant. A weird existential nesting. I finally have a success! Thanks to you. I am not handy but %#*!^@ I fixed our 5 year old swiffer wet jet.
I need a link to a replacement motor.