
Swagtron T3 Wheel Replacement

Klara Perkins and 3 other contributors
Last updated on Jun 19, 2017
Views: 4.9K
View statistics:
- Past 24 Hours:
- 2
- Past 7 Days:
- 21
- Past 30 Days:
- 98
- All Time:
- 4,897
Comments: 3
3 guide comments.
Go to guide commentsCompleted: 1 2
1 person has marked this guide "completed." Will you be next?
2 people have marked this guide "completed." Including you — great job!
Favorites: 1 2
1 person has favorited (and subscribed to) this guide. Will you be next?
2 people have favorited (and subscribed to) this guide — including you!
Featured Student Guide
This guide has been the hard work of our awesome students and is found to be exceptionally cool by the iFixit staff.
Introduction
Go to step 1 ↓Replace one of your Swagtron's wheels with this guide. To avoid electric shock, discharge the capacitors using the capacitor discharge tool before making any changes to your Swagtron.
What you need

-
-
-
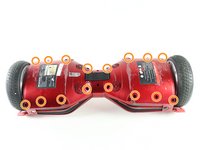
Flip the Swagtron so that the footpads are facing the ground.
-
Unscrew the sixteen 9.4 mm Phillips #1 machine screws on the side of the Swagtron that is now facing upwards.
 Ask FixBot
-
-
-
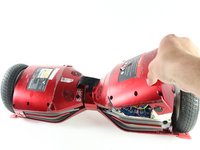
Slowly lift the backside cover.
-
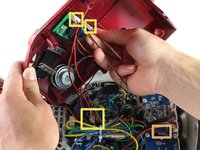
Detach the four cables connected to the cover by pinching the connector clips and pulling the cables out:
-
Three cables on the motherboard side.
-
Two red cables with white connectors and one white cable with a white connector.
-
One yellow cable with a black connector on the battery side.
-
-
-
-
-
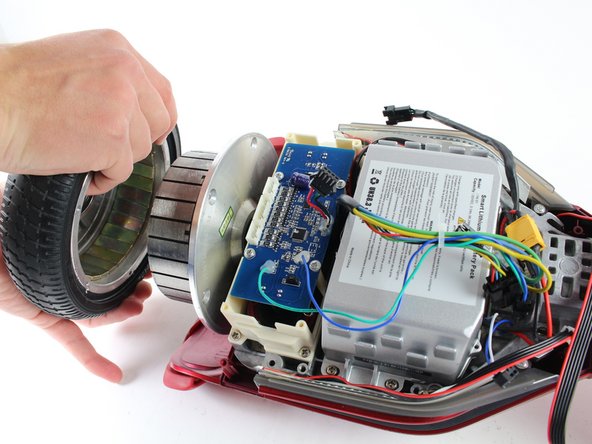
Unscrew the six 11.2 mm Phillips machine screws from the inside of the wheel.
-
-
-






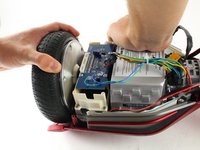
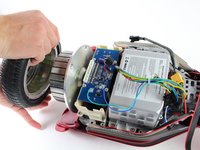
To reassemble your device, follow these instructions in reverse order.
Cancel: I did not complete this guide.
One other person completed this guide.

Team

Cal Poly, Team S13-G3, Forte Spring 2017 Member of Cal Poly, Team S13-G3, Forte Spring 2017
CPSU-FORTE-S17S13G3
4 Members
48 Guides authored
3 Guide Comments
Hi,
my girl Swagtron T6 wheel is flat. Probably it is a nail hole. We are faraway from US, so I have to do it by myself. Can I get the wheel out for tire repairing?
Can you help me please?
Thanks
Can't the wheel off
I have a T6 Swagtron and I am struggling to get the wheel off. Are these magnets really that strong? It feels like there is something else holding the wheel in place. I tried prying it but doesn’t seem like its doing enough.
