
SwagTron T1 Outer Shell Replacement

Gloria Whang and 4 other contributors
Last updated on Nov 15, 2017
Views: 2.7K
View statistics:
- Past 24 Hours:
- 4
- Past 7 Days:
- 18
- Past 30 Days:
- 102
- All Time:
- 2,659
Comments: 11
7 comments on steps, 4 guide comments.
Go to guide commentsCompleted: 1 2
1 person has marked this guide "completed." Will you be next?
2 people have marked this guide "completed." Including you — great job!
Favorites: 0 1
No one has favorited (and subscribed to) this guide. Will you be the first?
1 person has favorited (and subscribed to) this guide — and that's you!
Introduction
Go to step 1 ↓This guide will show you how to remove and replace the outer shell of your SwagTron T1
What you need
Tools

-
-
-
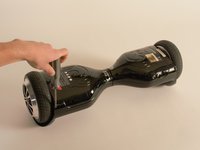
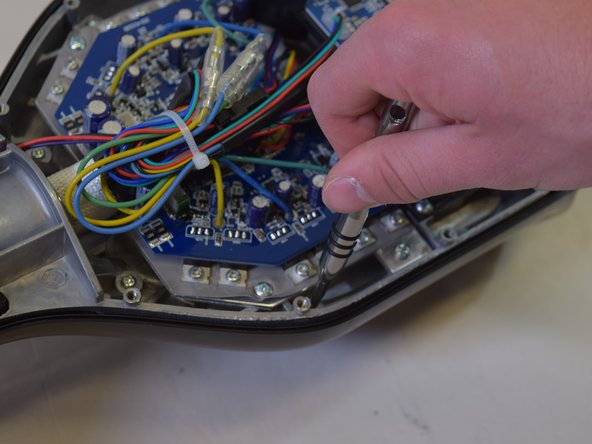
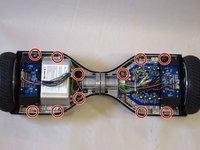
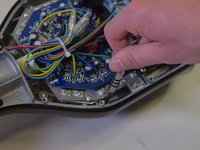
Unscrew the eighteen 10mm screws that secure the back panels using a Phillips #2 screwdriver.
-
Carefully lift the panels off
-
-
-
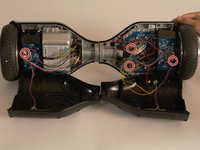
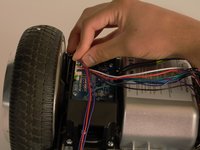
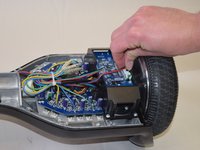
Follow the wires from the panels to the motherboard.
-
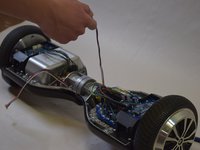
You may need to cut any zip ties that are holding the wires together.
-
There is one connection on the battery side and three on the other side that must be removed.
-
Your back panels are now completely removed.
-
-
-
-
Unscrew the twelve 10mm screws that connect the metal chassis to the top plastic panel.
-
-
-
-
Turn the SwagTron over and disconnect the wires from the motherboard.
-
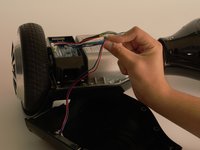
Follow the wires to the underside of the SwagTron.
-
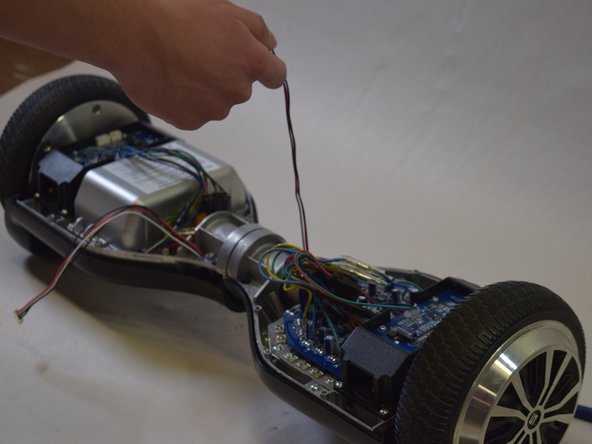
Carefully remove the cord and the panel together.
-
All the panels are now free from the SwagTron.
-
-

 Ask FixBot







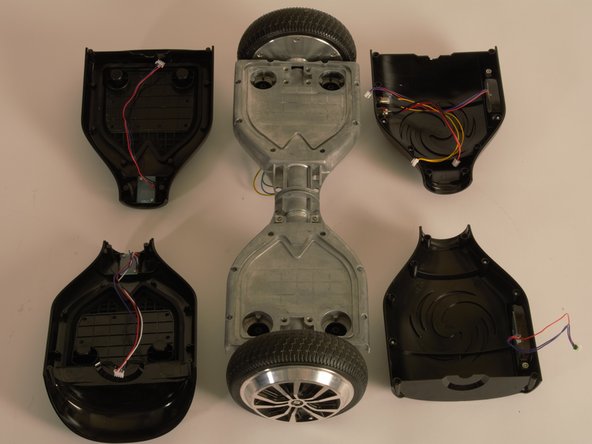
To reassemble your device, follow these instructions in reverse order.
Cancel: I did not complete this guide.
One other person completed this guide.

Team

Cal Poly, Team S17-G5, Banghart Spring 2017 Member of Cal Poly, Team S17-G5, Banghart Spring 2017
CPSU-BANGHART-S17S17G5
4 Members
60 Guides authored
4 Guide Comments
Where did you ind a replacement shell for the Swagtron T1? I need to buy a new one, but can’t seem to find a place to buy it online.
Where can I buy a Swagtron T1 replacement shell?
Amazon.com Keyword: CertiCable
