Free Shipping on Domestic Orders $75+

Surface Studio Power Supply Unit Replacement

What you need

    1. Surface Studio Power Supply Unit Replacement, Power Supply Unit: step 1, image 1 of 3 Surface Studio Power Supply Unit Replacement, Power Supply Unit: step 1, image 2 of 3 Surface Studio Power Supply Unit Replacement, Power Supply Unit: step 1, image 3 of 3
      • Lay the Surface face down on a padded surface

      • Be careful not to scratch the screen when laying it face down

      • Remove the four rubber feet at each corner concealing the Torx screws

      • Remove the four Torx screws under the rubber feet.

      • Two screws on the upper corners are longer than two screws on the lower corners.

      • Attach suction cups to the bottom cover and then pull on the suction cups to free the bottom cover.

      Ask FixBot

      Add Comment

    2. Surface Studio Power Supply Unit Replacement: step 2, image 1 of 2 Surface Studio Power Supply Unit Replacement: step 2, image 2 of 2
      • Remove five torx screws holding the two fans to the midframe

      • Remove the two fans

      • The fan connectors are behind the midframe and not yet accessible. Let the fans hang loosely until you can access the connectors.

      • Four large torx screws and four small torx screws hold the midframe to the upper frame.

      • Remove four large torx screws holding the midframe

      • Remove four small torx screws holding the midframe

      Ask FixBot

      Add Comment

    3. Surface Studio Power Supply Unit Replacement: step 3, image 1 of 1
      • Slowly remove the midframe

      • Be careful: the speaker on the midframe is still attached to the motherboard

      • Detach the connectors for the two fans and the speaker

      Ask FixBot

      Add Comment

    4. Surface Studio Power Supply Unit Replacement: step 4, image 1 of 3 Surface Studio Power Supply Unit Replacement: step 4, image 2 of 3 Surface Studio Power Supply Unit Replacement: step 4, image 3 of 3
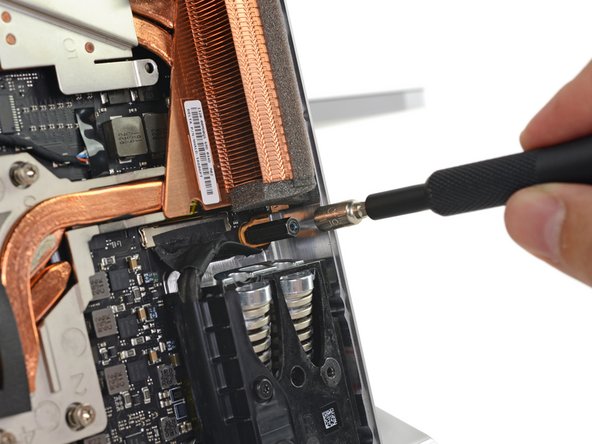
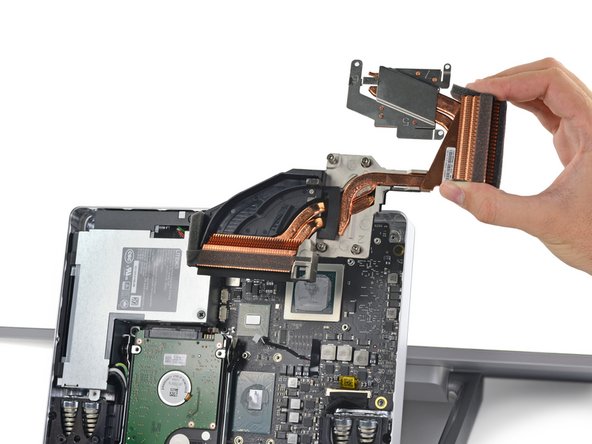
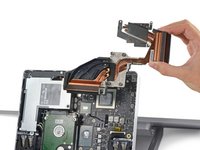
      • A screw retaining the power supply is under the hard drive so both the hard drive and the heat sink assembly must be removed

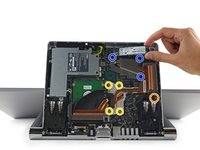
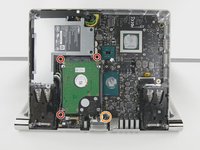
      • Remove four spring loaded torx screw labeled 1 to 4

      • Remove four torx screw labeled 5 to 7

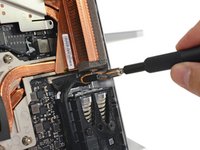
      • Remove 5mm hex mounting post

      • Use a spudger to remove the heatsink assembly from the motherboard

      Ask FixBot

      Add Comment

    5. Surface Studio Power Supply Unit Replacement: step 5, image 1 of 2 Surface Studio Power Supply Unit Replacement: step 5, image 2 of 2
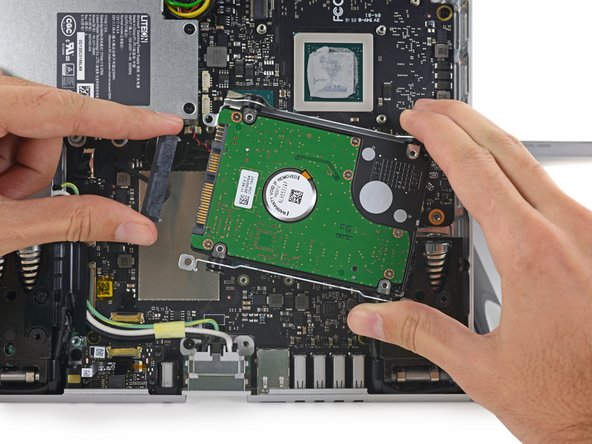
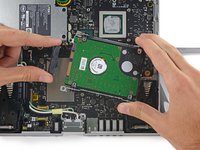
      • Remove three torx screws holding the hard drive brackets

      • Remove 5mm hex mounting post

      • Remove the hard drive and disconnect the SATA/SATA power cable

      Ask FixBot

      Add Comment

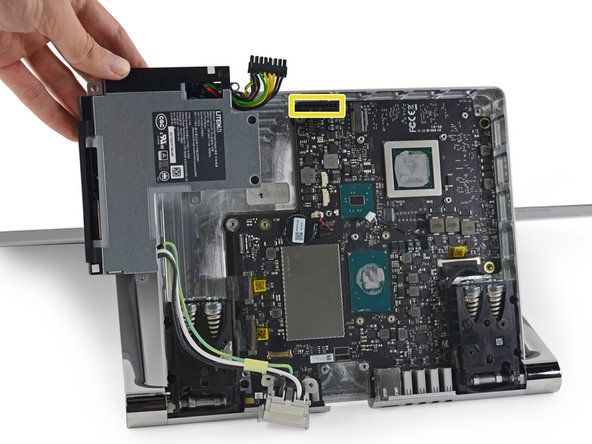
    6. Surface Studio Power Supply Unit Replacement: step 6, image 1 of 2 Surface Studio Power Supply Unit Replacement: step 6, image 2 of 2
      • Remove a Phillips screw still retaining the power supply

      • Remove a torx screw retaining the power supply cable

      • Unplug the power supply from the motherboard

      • Lift the power supply up and away from the base unit

      Ask FixBot

      Add Comment

Conclusion

To reassemble your device, follow these instructions in reverse order.

Cancel: I did not complete this guide.

5 other people completed this guide.

The Raptor

Member since: 11/27/16

6,358 Reputation

6 Guides authored

3 Guide Comments

Does anyone have a source for a new power supply?

AustinMike - Reply Share

Still no source fora power supply huh?

Steve - Reply Share

I recently purchased a MS Surface Studio 6th Generation computer and it seems that the USB ports don’t work properly and the headphone jack is dead…. Any ideas what I need to do to fix it before I send it back?

reowens - Reply Share

Add Comment

View Statistics:

Past 24 Hours: 0

Past 7 Days: 18

Past 30 Days: 58

All Time: 5,311