
Surface Laptop Studio Fan Replacement

Nate Ball and 2 other contributors
Last updated on May 16, 2023
Views: 8.5K
View statistics:
- Past 24 Hours:
- 3
- Past 7 Days:
- 63
- Past 30 Days:
- 298
- All Time:
- 8,518
Comments: 13
7 comments on steps, 6 guide comments.
Go to guide commentsCompleted: 2 3
2 people have marked this guide "completed." Will you be next?
3 people have marked this guide "completed." Including you — great job!
Favorites: 0 1
No one has favorited (and subscribed to) this guide. Will you be the first?
1 person has favorited (and subscribed to) this guide — and that's you!
Introduction
Go to step 1 ↓This guide will demonstrate how to replace your devices Fans. This guide is quick and simple. It will only take you 15-20 min and only uses a few tools. You might need to replace your devices fans if you can't hear them and your device is getting hot.
If the fans are spinning under load, use an ESD-safe brush to clean out the blades and remove any built-up debris.
What you need
Tools


-
-
Tool used on this step:Tweezers$4.99
-
Remove the rubber cosmetic strip along the outside edge of the back plate with tweezers.
 Ask FixBot
-
-
-
Use a hair dryer to lightly heat the rubber feet to soften the adhesive securing them to the case.
-
Remove the two rubber feet on the lower case with an opening tool.
-
-
-
-
-
Disconnect the battery cable by lifting the pull tab until it "clicks."
-
-
-
-
-
-
Flip up the ZIF locking flap on each socket.
-
Disconnect the ribbon cables attached to each fan.
-


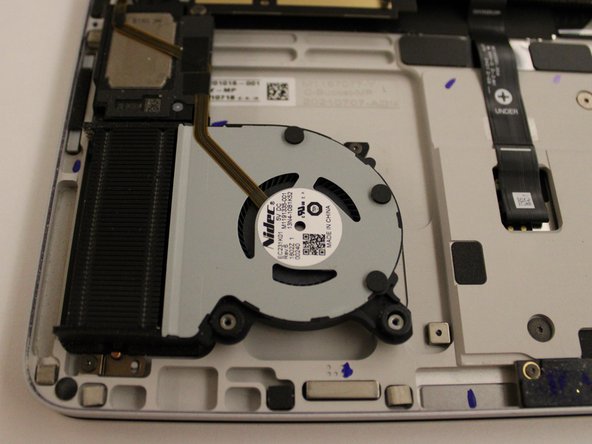
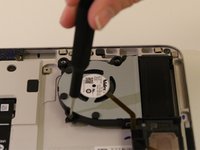
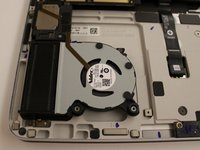


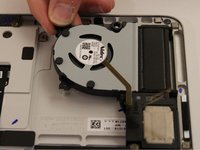

To reassemble your device, follow these instructions in reverse order.
Cancel: I did not complete this guide.
2 other people completed this guide.

Team

Western Carolina University, Team 1-3, Virtue Spring 2023 Member of Western Carolina University, Team 1-3, Virtue Spring 2023
WCU-VIRTUE-S23S1G3
4 Members
60 Guides authored
6 Guide Comments
Any idea where to buy the parts?
Any luck in getting the fan replacement part?
Same question, where I can buy those cover plastic stuff.
I am also looking for the fan parts
Hi, i am looking also for fan parts. If anybody knows, that would be awesome!
