Free Shipping on Domestic Orders $75+

SuperSonic Matrix Mid SC-999 Rear Facing Camera Replacement

What you need

    1. SuperSonic Matrix Mid SC-999 Rear Facing Camera Replacement, Back Cover: step 1, image 1 of 1
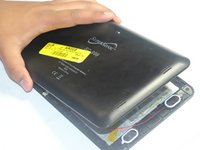
      • Wedge the plastic opening tool between the back cover of the device and the front panel.

      • You will hear a snapping sound as the cover is separated from the body of the device.

      Ask FixBot

      Add Comment

    2. SuperSonic Matrix Mid SC-999 Rear Facing Camera Replacement: step 2, image 1 of 1
      • Slide the opening tool along the seam between the front panel and the back cover to un-clip the remaining connections around the device.

      • Again, you will hear a snapping sound as the cover is separated from the body of the device.

      Ask FixBot

      Add Comment

    3. SuperSonic Matrix Mid SC-999 Rear Facing Camera Replacement: step 3, image 1 of 2 SuperSonic Matrix Mid SC-999 Rear Facing Camera Replacement: step 3, image 2 of 2
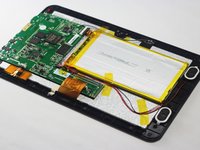
      • Lift the back cover from the body of the device to expose the internal components.

      Ask FixBot

      Add Comment

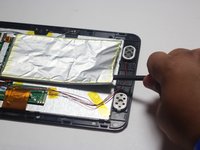
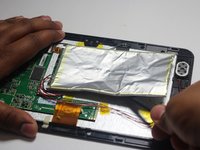
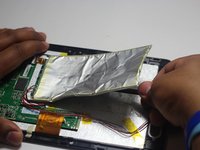
    1. SuperSonic Matrix Mid SC-999 Rear Facing Camera Replacement, Battery: step 4, image 1 of 3 SuperSonic Matrix Mid SC-999 Rear Facing Camera Replacement, Battery: step 4, image 2 of 3 SuperSonic Matrix Mid SC-999 Rear Facing Camera Replacement, Battery: step 4, image 3 of 3
      • Remove the Battery

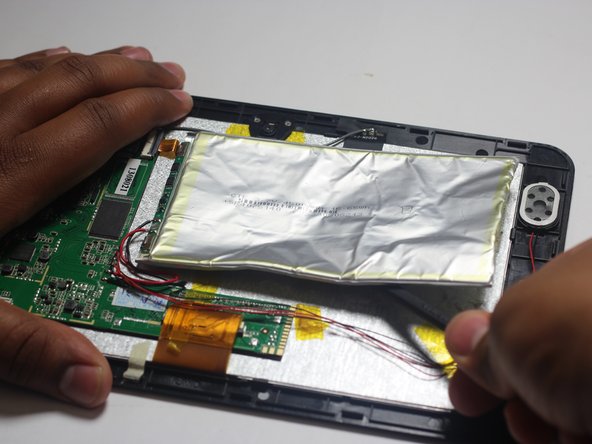
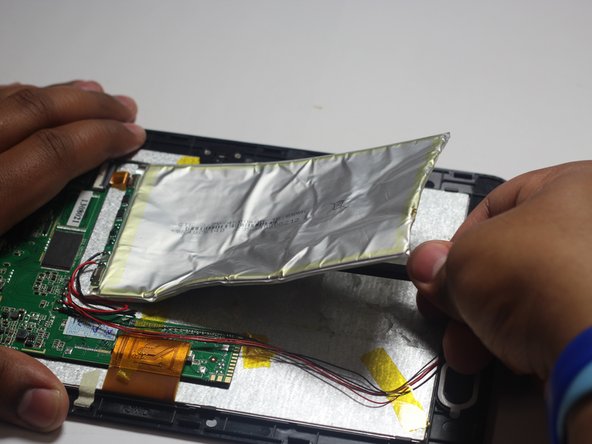
      • The battery is secured to the back panel with tape and glue.

      • Peel back the tape around the battery and discard it.

      • Tear through the adhesive holding the battery by using the spudger tool.

      Ask FixBot

      Add Comment

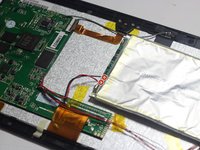
    2. SuperSonic Matrix Mid SC-999 Rear Facing Camera Replacement: step 5, image 1 of 3 SuperSonic Matrix Mid SC-999 Rear Facing Camera Replacement: step 5, image 2 of 3 SuperSonic Matrix Mid SC-999 Rear Facing Camera Replacement: step 5, image 3 of 3
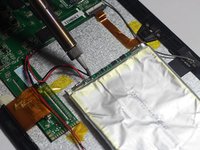
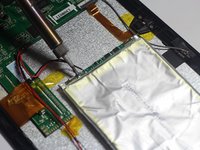
      • Desolder the 2 Battery Wires

      • The Battery has two wires connected to the motherboard (one black and one red).

      • If you're unfamiliar with soldering or desoldering check out this guide.

      • Be sure to wear protective eye wear. The soldering iron will become extremely hot and a potential danger, so make sure you are aware of your surroundings.

      Ask FixBot

      Add Comment

    1. SuperSonic Matrix Mid SC-999 Rear Facing Camera Replacement, Rear Facing Camera: step 6, image 1 of 2 SuperSonic Matrix Mid SC-999 Rear Facing Camera Replacement, Rear Facing Camera: step 6, image 2 of 2
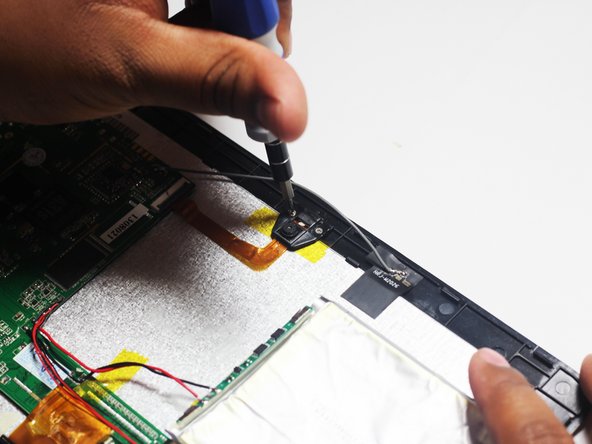
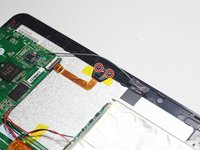
      • Remove the two Phillips #00 screws attaching the housing of the camera to the device.

      Ask FixBot

      Add Comment

    2. SuperSonic Matrix Mid SC-999 Rear Facing Camera Replacement: step 7, image 1 of 1
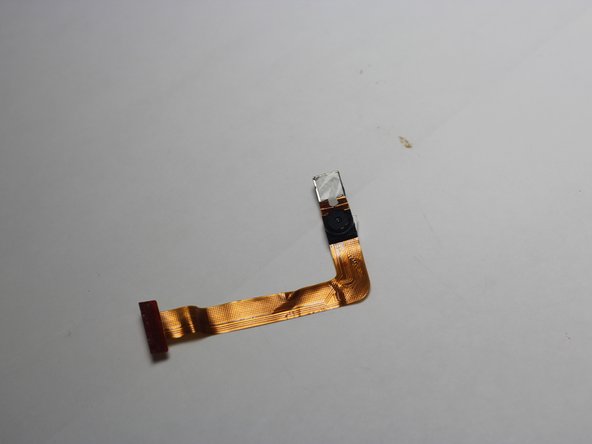
      • With the screws removed you should easily be able to remove the camera unit.

      Ask FixBot

      Add Comment

    3. SuperSonic Matrix Mid SC-999 Rear Facing Camera Replacement: step 8, image 1 of 2 SuperSonic Matrix Mid SC-999 Rear Facing Camera Replacement: step 8, image 2 of 2
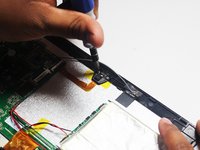
      • Follow the camera unit back to the motherboard.

      • Use the spudger tool to remove the camera.

      Ask FixBot

      Add Comment

Conclusion

To reassemble your device, follow these instructions in reverse order.

Cancel: I did not complete this guide.

One other person completed this guide.

Harris Dagha

Member since: 03/26/15

866 Reputation

7 Guides authored

Team

Dr Shaverz boyz Member of Dr Shaverz boyz

Community

3 Members

84 Guides authored

0 Guide Comments

Add Comment

View Statistics:

Past 24 Hours: 2

Past 7 Days: 29

Past 30 Days: 50

All Time: 511