
Stove Element Receptacle Replacement

My Danh and 2 other contributors
Last updated on Dec 22, 2022
Views: 3K
View statistics:
- Past 24 Hours:
- 1
- Past 7 Days:
- 27
- Past 30 Days:
- 123
- All Time:
- 3,040
Comments: 1
1 guide comment.
Go to guide commentsCompleted: 2 3
2 people have marked this guide "completed." Will you be next?
3 people have marked this guide "completed." Including you — great job!
Favorites: 0 1
No one has favorited (and subscribed to) this guide. Will you be the first?
1 person has favorited (and subscribed to) this guide — and that's you!
Introduction
Go to step 1 ↓Brand: KitchenAid Stove
Purpose of this guide: Replace a Stove Element Receptacle.
This guide will demonstrate how to replace a broken element receptacle in a stove. Make sure to disconnect your power supply before beginning.
What you need
Parts
-
Electric range receptacle (PM17X14) For sale from another site
This receptacle kit can fit in many different stove; you need to find the bracket which come close to your receptacle.
Tools


-
-
-
First, locate the the gas safety shut-off valve and turn off the power supply.
-
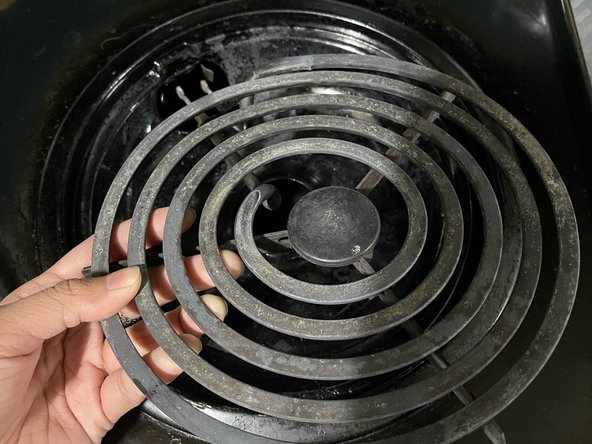
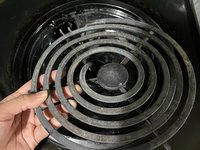
Remove the pitted scorched burner.
-
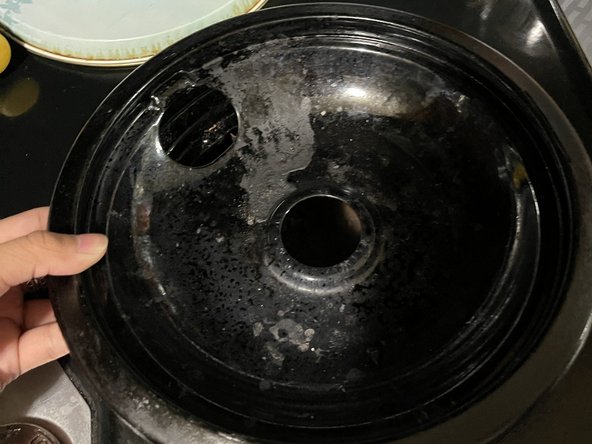
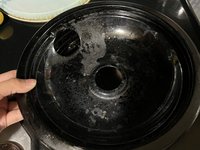
Remove the drip tray after removing the pitted scorched burner.
 Ask FixBot
-
-
-
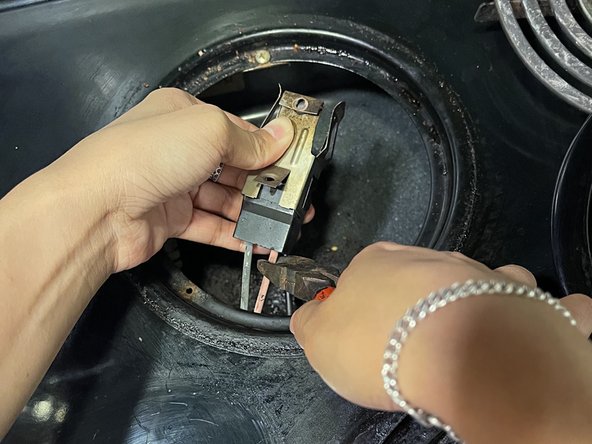
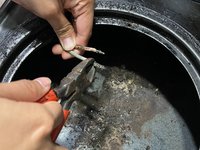
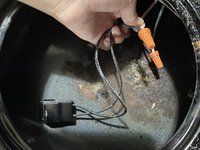
Pull the old receptacle block out and cut the receptacle block.
-
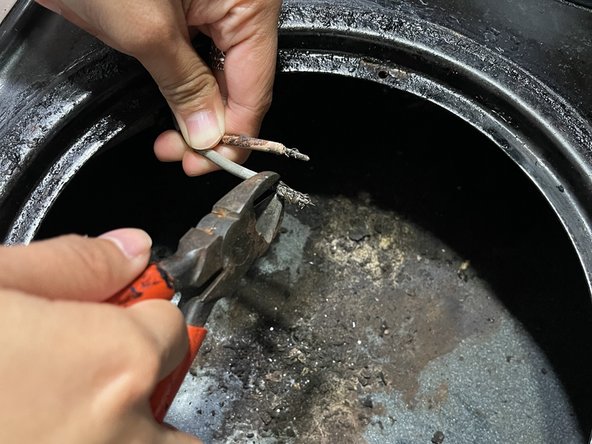
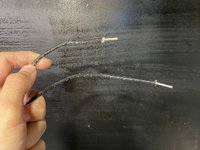
To strip the wires, place about an inch from the end of the wire into the mouth of the wire stripper. Carefully cut through the insulation without cutting through the copper wire.
-
With the mouth of the wire strippers still closed, pull the sheathing off to the end of the wire.
-
-
-
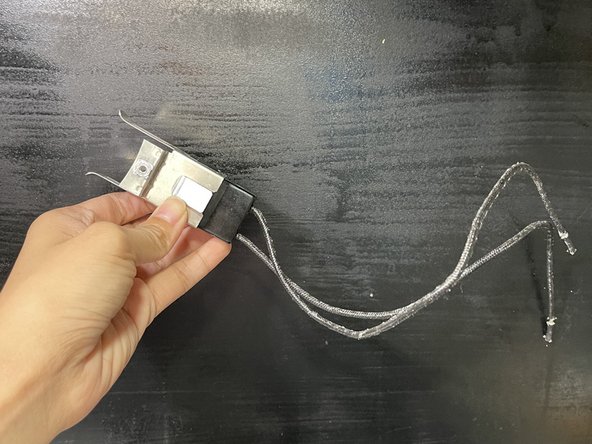
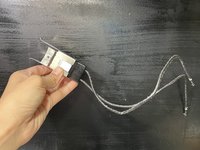
Assemble the new receptacle block by snapping the metal attachment to the terminal block.
-
Click the wires into the bottom opening of the terminal block.
-
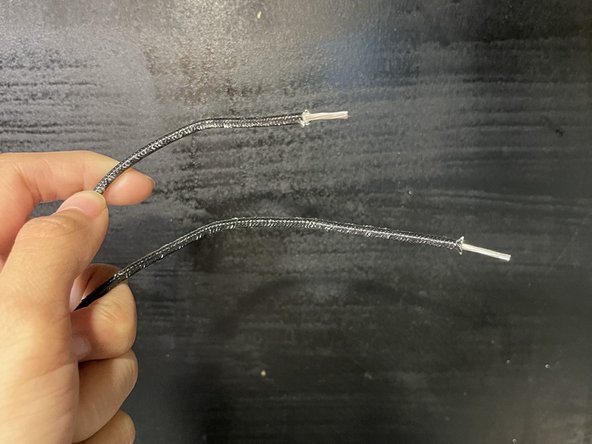
Next, strip the end of the wires.
-
-
-
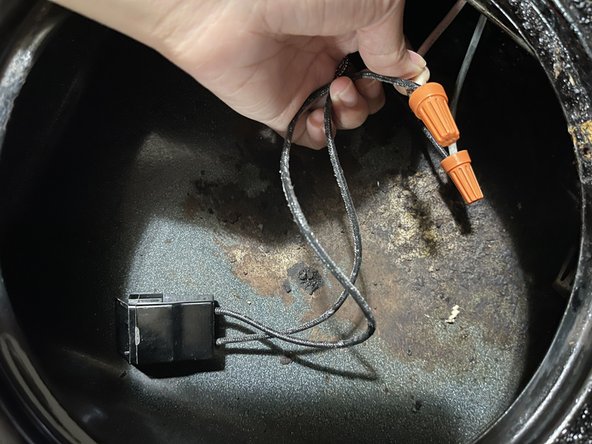
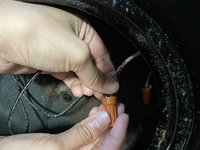
Connect the new receptacle block to the wiring harness and secure it with twist connectors.
-
-
-
-
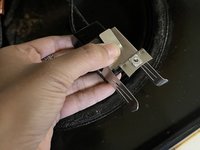
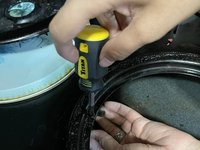
Install the new receptacle block and tighten the mounting screw securely to ensure proper grounding.
-
Put the drip tray back.
-
Then, put the pitted scorched burner back.
-
-






To reassemble your device, follow these instructions in reverse order.
Cancel: I did not complete this guide.
2 other people completed this guide.

Team

University of Memphis, Team 1-6, Cameron Fall 2022 Member of University of Memphis, Team 1-6, Cameron Fall 2022
UM-CAMERON-F22S1G6
2 Members
12 Guides authored
