Free Shipping on Domestic Orders $75+

SteelSeries Arctis Pro Plus GameDAC Potentiometer Replacement

What you need

  1. SteelSeries Arctis Pro Plus GameDAC Potentiometer Replacement, GameDAC Potentiometer: step 1, image 1 of 3 SteelSeries Arctis Pro Plus GameDAC Potentiometer Replacement, GameDAC Potentiometer: step 1, image 2 of 3 SteelSeries Arctis Pro Plus GameDAC Potentiometer Replacement, GameDAC Potentiometer: step 1, image 3 of 3
    • Remove the plastic cover using the iFixit opening tool to pry the cover open.

    • Insert opening picks to keep the cover open as you work your way around the GameDAC.

    • Pop the cover off.

    Ask FixBot

    Add Comment

  2. SteelSeries Arctis Pro Plus GameDAC Potentiometer Replacement: step 2, image 1 of 2 SteelSeries Arctis Pro Plus GameDAC Potentiometer Replacement: step 2, image 2 of 2
    • Remove the control wheel from the GameDAC by pulling on the knob.

    Ask FixBot

    Add Comment

  3. SteelSeries Arctis Pro Plus GameDAC Potentiometer Replacement: step 3, image 1 of 2 SteelSeries Arctis Pro Plus GameDAC Potentiometer Replacement: step 3, image 2 of 2
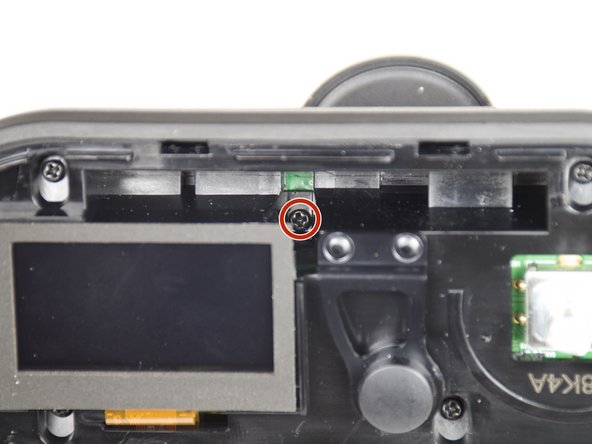
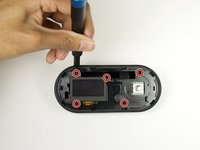
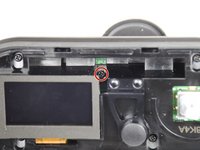
    • Remove the five 6mm screws using the Phillips #0 driver head.

    • There is one screw hidden on the upper right-hand side of the display.

    Ask FixBot

    Add Comment

  4. SteelSeries Arctis Pro Plus GameDAC Potentiometer Replacement: step 4, image 1 of 2 SteelSeries Arctis Pro Plus GameDAC Potentiometer Replacement: step 4, image 2 of 2
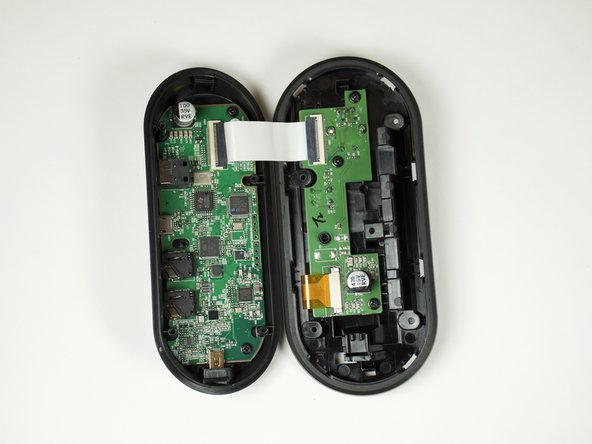
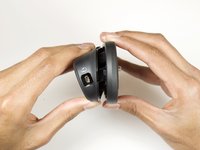
    • Hold the sides of the GameDAC and pull apart.

    • Don't pull the two sides apart quickly or forcefully to avoid tearing the wire connection between the two boards.

    Ask FixBot

    Add Comment

  5. SteelSeries Arctis Pro Plus GameDAC Potentiometer Replacement: step 5, image 1 of 1
    • Remove the three 4mm screws from the circuit board using the Phillips #0 driver head.

    Ask FixBot

    Add Comment

  6. SteelSeries Arctis Pro Plus GameDAC Potentiometer Replacement: step 6, image 1 of 2 SteelSeries Arctis Pro Plus GameDAC Potentiometer Replacement: step 6, image 2 of 2
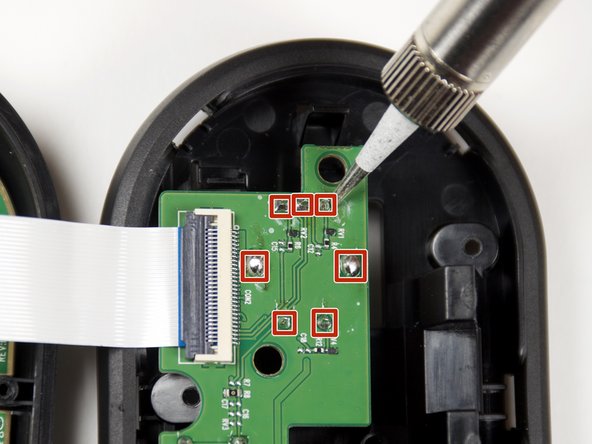
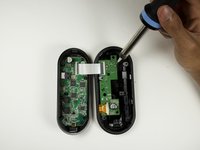
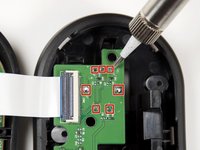
    • Desolder the seven potentiometer pins from the board to remove the button.

    • For help desoldering connections, follow this useful guide on How To Solder and Desolder Connections.

    • Use caution when soldering. The heated tip may cause damage to the board or burn you.

    Ask FixBot

    Add Comment

Conclusion

To reassemble your device, follow these instructions in reverse order.

Cancel: I did not complete this guide.

6 other people completed this guide.

Avinash Vadlamudi

Member since: 01/24/19

490 Reputation

1 Guide authored

Team

Cal Poly, Team S18-G1, White Winter 2019 Member of Cal Poly, Team S18-G1, White Winter 2019

CPSU-WHITE-W19S18G1

4 Members

22 Guides authored

4 Guide Comments

Hi there,

do you know what type of potentiometer is needed?

Greetings

Chris

Christian Humann - Reply Share

I would like to know too. Cause it failed for me as well!!

Antonis Lazarakis - Reply Share

Can I replace the Oled Screen with 2,42 inch arduino oled display that also have 24pin flex?

Muso!27 - Reply Share

most likley thats what they have on it. so probably but i cant promise if i get my hands on an oled for my future other project , ill try and let u know

Kim Jonasson - Reply Share

Add Comment

View Statistics:

Past 24 Hours: 0

Past 7 Days: 9

Past 30 Days: 65

All Time: 6,273