
Sprinkler Head Replacement

Adam Sylvia and 3 other contributors
Last updated on Aug 25, 2023
Views: 1.8K
View statistics:
- Past 24 Hours:
- 6
- Past 7 Days:
- 33
- Past 30 Days:
- 125
- All Time:
- 1,793
Comments: 0
No one has left comments on this guide. Will you be first?
Go to guide commentsCompleted: 1 2
1 person has marked this guide "completed." Will you be next?
2 people have marked this guide "completed." Including you — great job!
Favorites: 0 1
No one has favorited (and subscribed to) this guide. Will you be the first?
1 person has favorited (and subscribed to) this guide — and that's you!
Introduction
Go to step 1 ↓Many people have a sprinkler system and sprinkler heads tend to break occasionally. This guide will help people accomplish the task of replacing broken sprinkler heads themselves. Broken sprinkler heads can be diagnosed by the observance of poor water flow, incorrect water distribution or water shooting out like a geyser. By following the steps laid out in this guide, this project will reduce water usage and brown spots by assuring broken sprinkler heads are replaced properly.
What you need
Tools


-
-
-
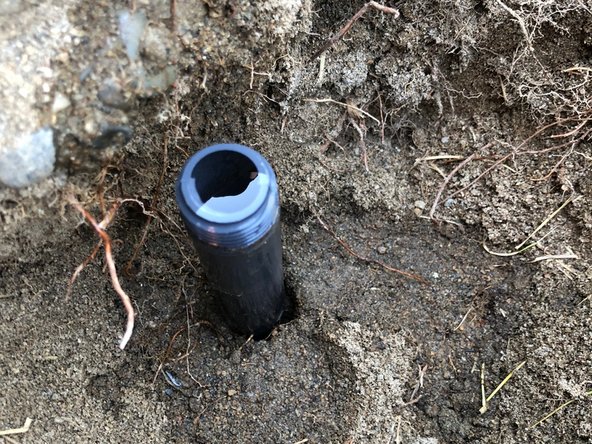
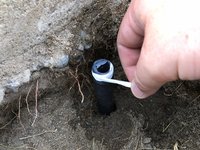
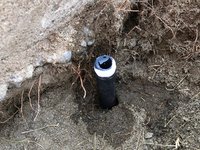
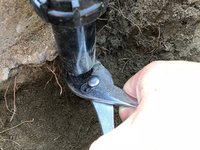
Using your hand or a gardening trowel, finish digging so that the sprinkler head is fully visible and is clear of dirt and debris.
-
-
-
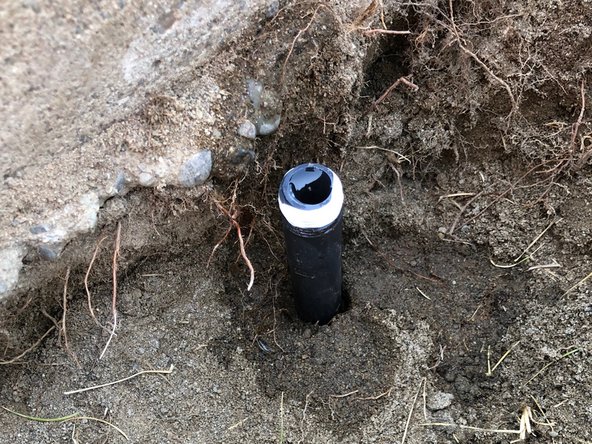
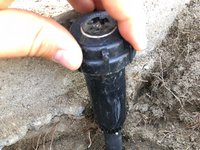
Using your hand, screw the new sprinkler head on over the teflon tape.
-
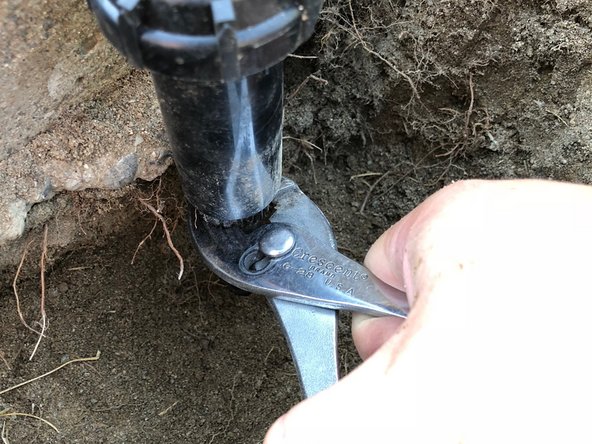
Once the sprinkler head is hand tight, use pliers to tighten it by another half turn.
-
-
-
Fill the hole in and pack it down to avoid unwanted movement of the new sprinkler head.
-
-

 Ask FixBot






Enjoy your green lawn and water savings.
Cancel: I did not complete this guide.
One other person completed this guide.

Team

Eastern Washington University, Team S2-G4, Crane Summer 2018 Member of Eastern Washington University, Team S2-G4, Crane Summer 2018
EWU-CRANE-SU18S2G4
4 Members
48 Guides authored
