Free Shipping on Domestic Orders $75+

Spiral Bound Notebook Cover Replacement

What you need

  1. Spiral Bound Notebook Cover Replacement, Cover: step 1, image 1 of 2 Spiral Bound Notebook Cover Replacement, Cover: step 1, image 2 of 2
    • Use a binder clip on either end to hold the paper block together, excluding the damaged cover.

    Ask FixBot

    Add Comment

  2. Spiral Bound Notebook Cover Replacement: step 2, image 1 of 3 Spiral Bound Notebook Cover Replacement: step 2, image 2 of 3 Spiral Bound Notebook Cover Replacement: step 2, image 3 of 3
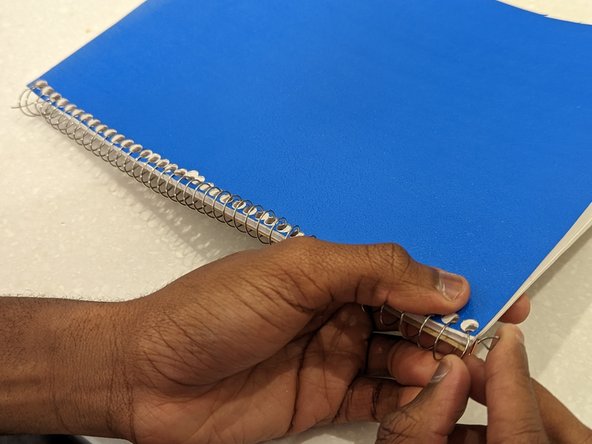
    • Uncoil the free end of the spiral.

    Ask FixBot

    Add Comment

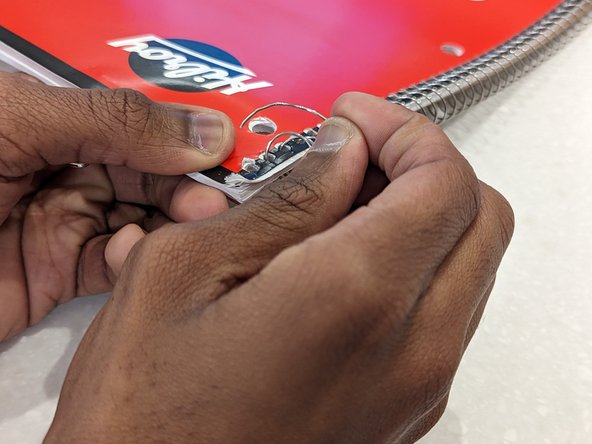
  3. Spiral Bound Notebook Cover Replacement: step 3, image 1 of 3 Spiral Bound Notebook Cover Replacement: step 3, image 2 of 3 Spiral Bound Notebook Cover Replacement: step 3, image 3 of 3
    • Push the spiral end back through the binding hole and pull it out.

    Ask FixBot

    Add Comment

  4. Spiral Bound Notebook Cover Replacement: step 4, image 1 of 1
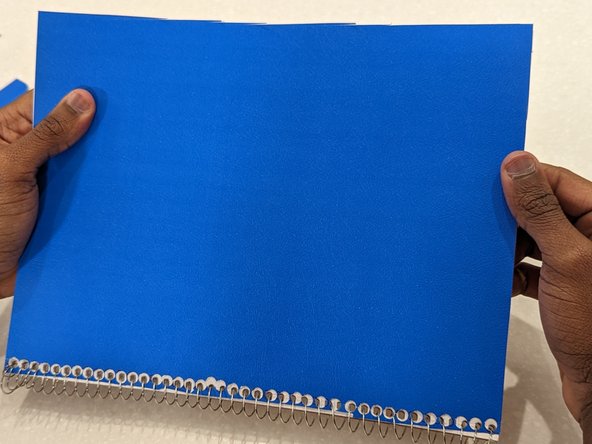
    • Repeat previous step until spiral is removed.

    Ask FixBot

    Add Comment

  5. Spiral Bound Notebook Cover Replacement: step 5, image 1 of 1
    • Take the damaged cover and place it over the cardstock, aligning them at the edges.

    Ask FixBot

    Add Comment

  6. Spiral Bound Notebook Cover Replacement: step 6, image 1 of 3 Spiral Bound Notebook Cover Replacement: step 6, image 2 of 3 Spiral Bound Notebook Cover Replacement: step 6, image 3 of 3
    • Trace the cover edges.

    Ask FixBot

    Add Comment

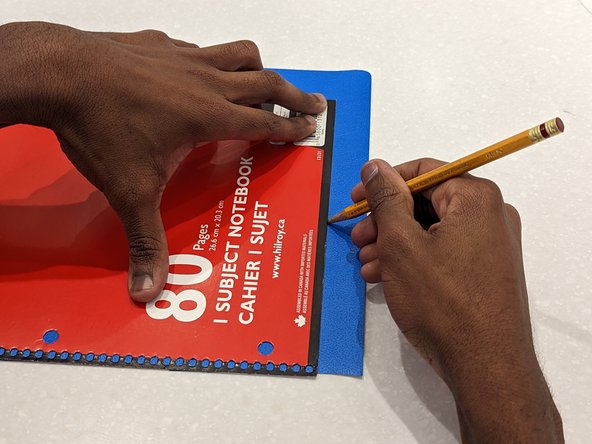
  7. Spiral Bound Notebook Cover Replacement: step 7, image 1 of 2 Spiral Bound Notebook Cover Replacement: step 7, image 2 of 2
    • Trace the cover binding holes.

    Ask FixBot

    Add Comment

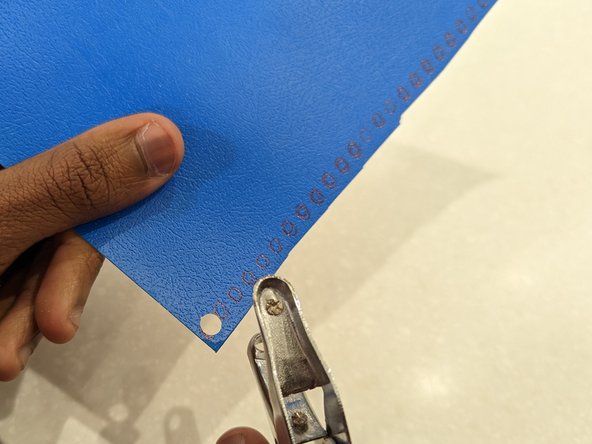
  8. Spiral Bound Notebook Cover Replacement: step 8, image 1 of 3 Spiral Bound Notebook Cover Replacement: step 8, image 2 of 3 Spiral Bound Notebook Cover Replacement: step 8, image 3 of 3
    • Using a hole punch, punch out the traced holes on the cardstock sheet.

    Ask FixBot

    Add Comment

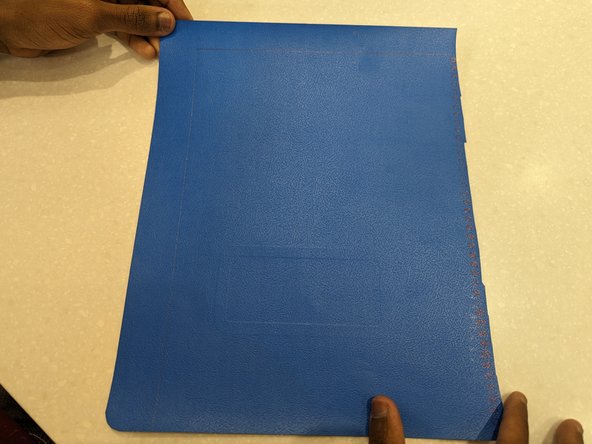
  9. Spiral Bound Notebook Cover Replacement: step 9, image 1 of 3 Spiral Bound Notebook Cover Replacement: step 9, image 2 of 3 Spiral Bound Notebook Cover Replacement: step 9, image 3 of 3
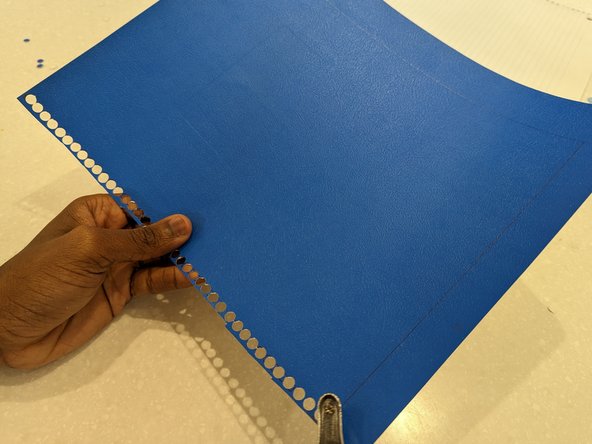
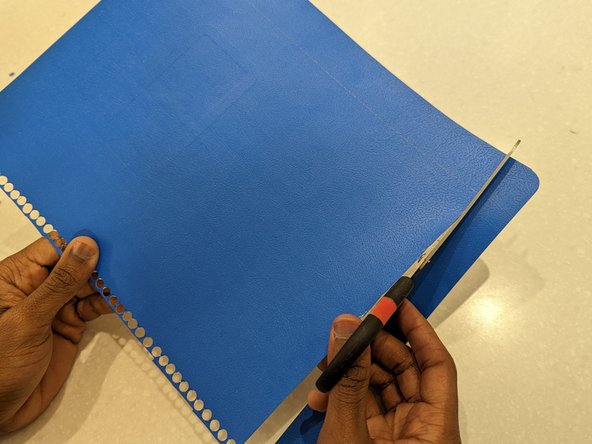
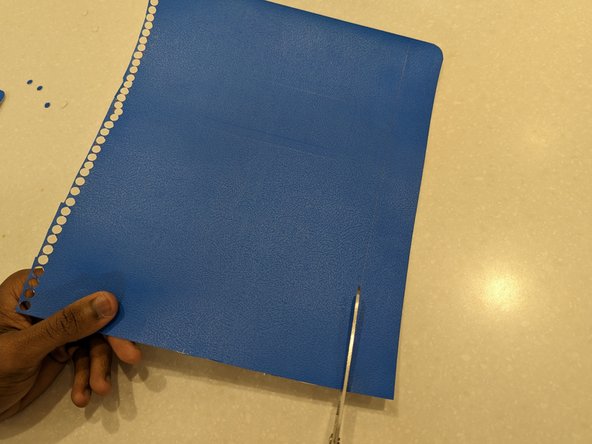
    • Cut off the traced edges on the cardstock sheet.

    Ask FixBot

    Add Comment

  10. Spiral Bound Notebook Cover Replacement: step 10, image 1 of 2 Spiral Bound Notebook Cover Replacement: step 10, image 2 of 2
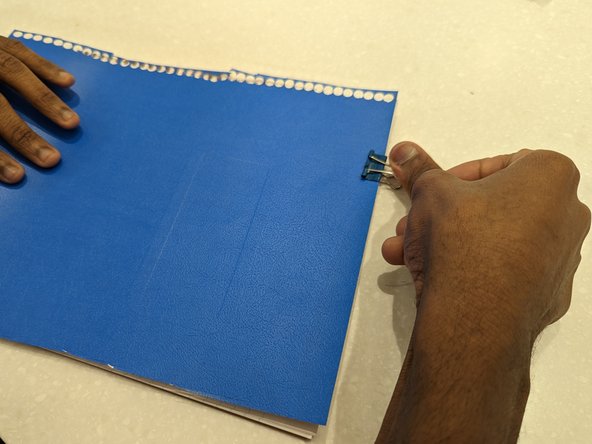
    • Without removing the binding clip, open it and slide the cardstock onto the paper block while making sure their holes aligned.

    Ask FixBot

    Add Comment

  11. Spiral Bound Notebook Cover Replacement: step 11, image 1 of 3 Spiral Bound Notebook Cover Replacement: step 11, image 2 of 3 Spiral Bound Notebook Cover Replacement: step 11, image 3 of 3
    • Perform Steps 1 through 4 in reverse to complete the replacement.

    Ask FixBot

    Add Comment

Conclusion

To reassemble your device, follow instructions 1 - 4 in reverse order.

Cancel: I did not complete this guide.

One other person completed this guide.

Abel Mbaziira

Member since: 01/18/23

220 Reputation

1 Guide authored

0 Guide Comments

Add Comment

View Statistics:

Past 24 Hours: 2

Past 7 Days: 28

Past 30 Days: 152

All Time: 5,782