Free Shipping on Domestic Orders $75+

Spin Master Hatchimal Draggle Nose Replacement

What you need

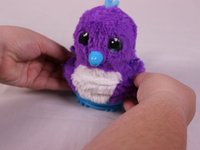
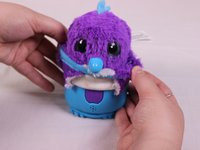
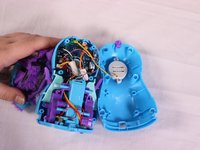
    1. Spin Master Hatchimal Draggle Nose Replacement, Plastic Wing Replacement: step 1, image 1 of 1
      • lay the Hatchimal on its side.

      Ask FixBot
      Add Comment

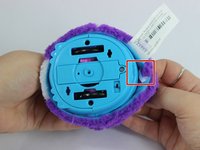
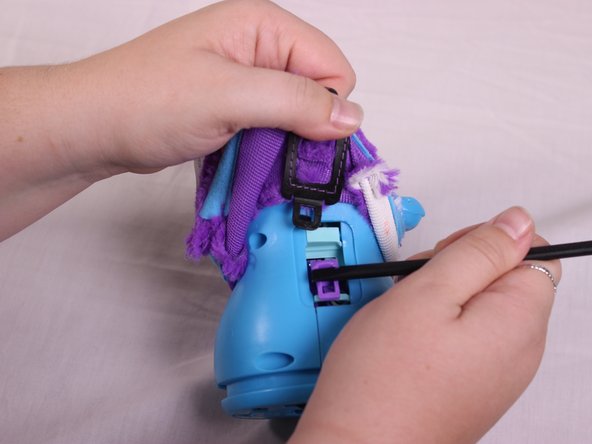
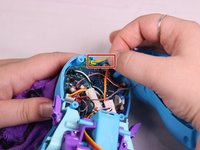
    2. Spin Master Hatchimal Draggle Nose Replacement: step 2, image 1 of 1
      • Using the plastic opening tool, push in on the purple clip.

      Ask FixBot
      Add Comment

    3. Spin Master Hatchimal Draggle Nose Replacement: step 3, image 1 of 1
      • Pull the wing off of the hatchimal.

      • The wing should come off with little resistance.

      Ask FixBot

      Add Comment

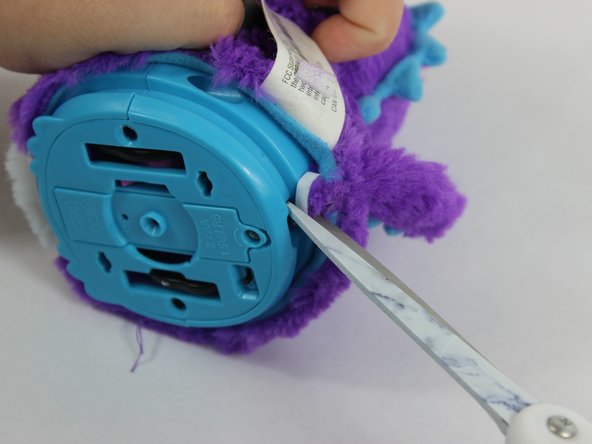
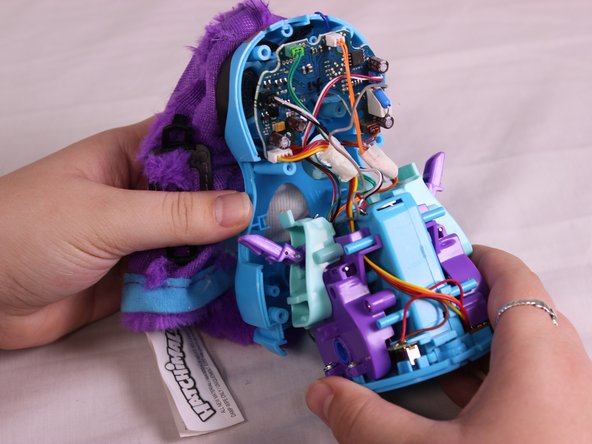
    1. Spin Master Hatchimal Draggle Nose Replacement, Fur Replacement: step 4, image 1 of 2 Spin Master Hatchimal Draggle Nose Replacement, Fur Replacement: step 4, image 2 of 2
      • Cut the fur retaining zip-tie with a pair of scissors.

      Ask FixBot
      Add Comment

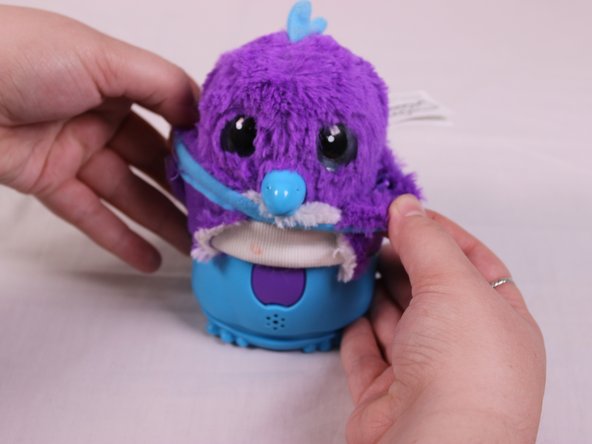
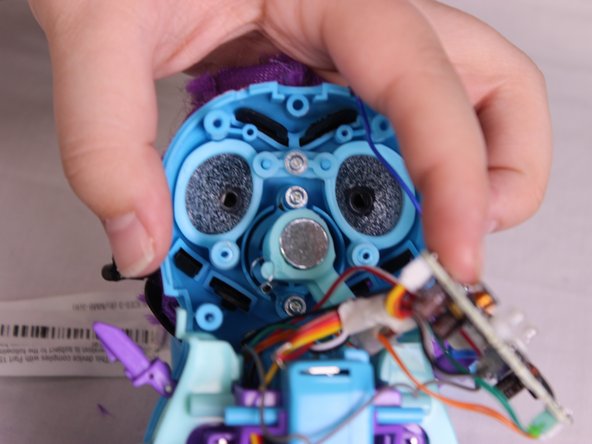
    2. Spin Master Hatchimal Draggle Nose Replacement: step 5, image 1 of 2 Spin Master Hatchimal Draggle Nose Replacement: step 5, image 2 of 2
      • Lift the fur up until it can't go further.

      Ask FixBot
      Add Comment

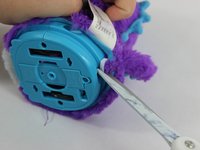
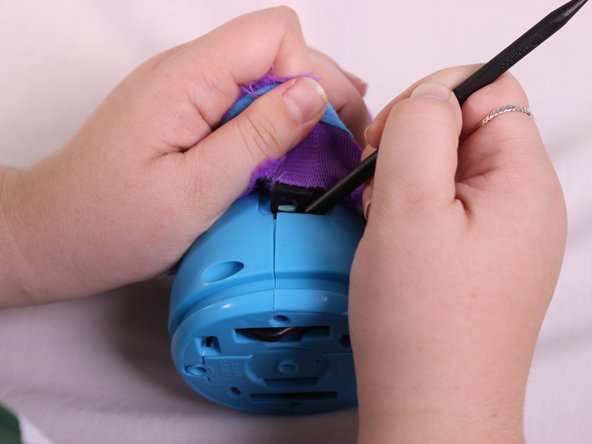
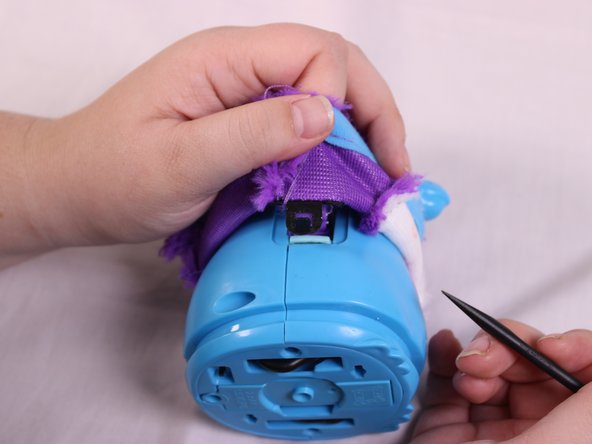
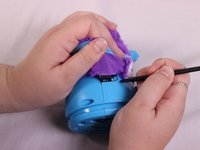
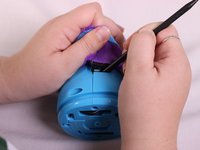
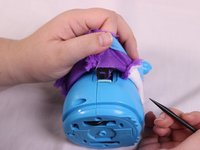
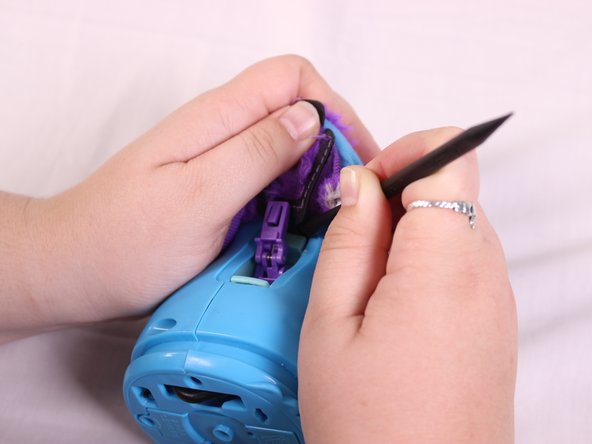
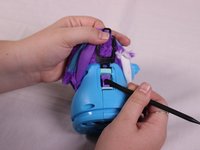
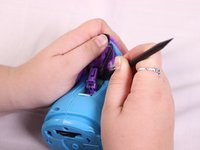
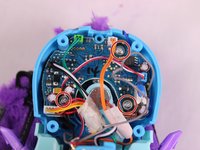
    3. Spin Master Hatchimal Draggle Nose Replacement: step 6, image 1 of 3 Spin Master Hatchimal Draggle Nose Replacement: step 6, image 2 of 3 Spin Master Hatchimal Draggle Nose Replacement: step 6, image 3 of 3
      • Use the spudger tool to push up on the black clip to free it.

      • Pull the clip out.

      Ask FixBot
      Add Comment

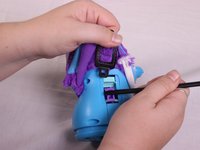
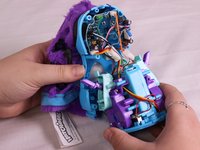
    4. Spin Master Hatchimal Draggle Nose Replacement: step 7, image 1 of 3 Spin Master Hatchimal Draggle Nose Replacement: step 7, image 2 of 3 Spin Master Hatchimal Draggle Nose Replacement: step 7, image 3 of 3
      • Lift fur up to reveal the next set of clips.

      • Insert a spudger to push up on the black clip to free it.

      • Pull out the clip.

      Ask FixBot
      Add Comment

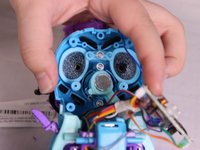
    5. Spin Master Hatchimal Draggle Nose Replacement: step 8, image 1 of 2 Spin Master Hatchimal Draggle Nose Replacement: step 8, image 2 of 2
      • Lift the fur up and over the Hatchimals Head.

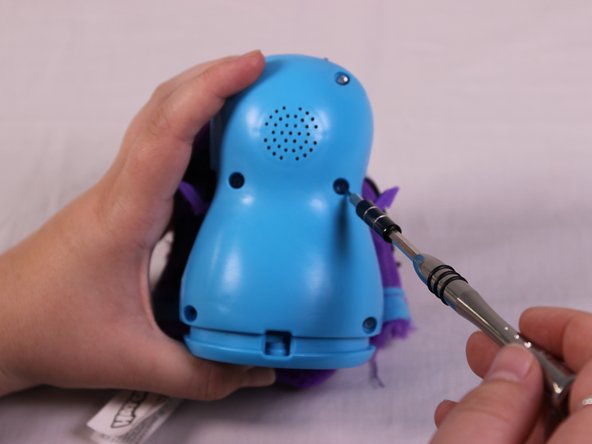
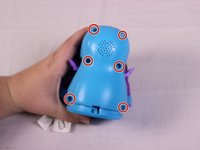
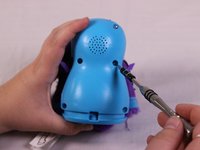
      • Remove the six 12mm Phillips #00 screws from then body.

      Ask FixBot
      Add Comment

    6. Spin Master Hatchimal Draggle Nose Replacement: step 9, image 1 of 2 Spin Master Hatchimal Draggle Nose Replacement: step 9, image 2 of 2
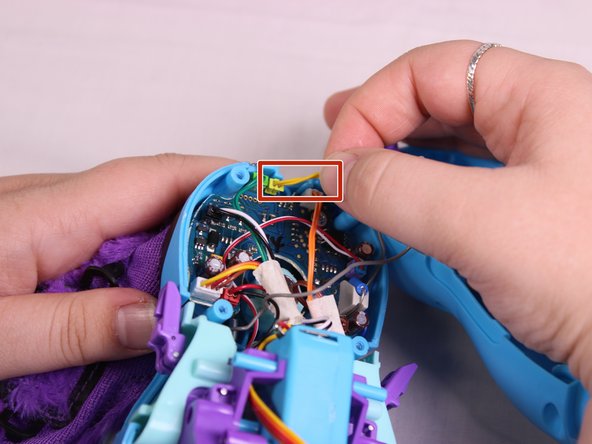
      • Pull the casing apart.

      • Remove the yellow speaker cable.

      Ask FixBot

      Add Comment

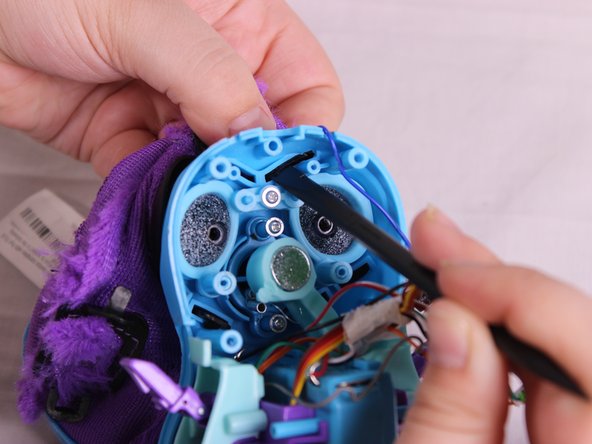
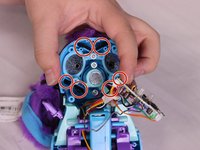
    7. Spin Master Hatchimal Draggle Nose Replacement: step 10, image 1 of 3 Spin Master Hatchimal Draggle Nose Replacement: step 10, image 2 of 3 Spin Master Hatchimal Draggle Nose Replacement: step 10, image 3 of 3
      • Remove the three 7mm Phillips #00 screws from the head.

      • Remove the wheel base and the circuit board carefully not to damage the spring.
      Ask FixBot
      Add Comment

    8. Spin Master Hatchimal Draggle Nose Replacement: step 11, image 1 of 2 Spin Master Hatchimal Draggle Nose Replacement: step 11, image 2 of 2
      • Push the six black fur clips out using the spudger.

      • Remove the fur completely.

      Ask FixBot

      Add Comment

    1. Spin Master Hatchimal Draggle Nose Replacement, Nose Spring Replacement: step 12, image 1 of 2 Spin Master Hatchimal Draggle Nose Replacement, Nose Spring Replacement: step 12, image 2 of 2
      Tool used on this step:
      Tweezers
      $3.99
      Buy
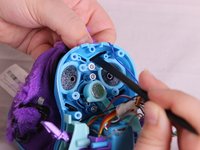
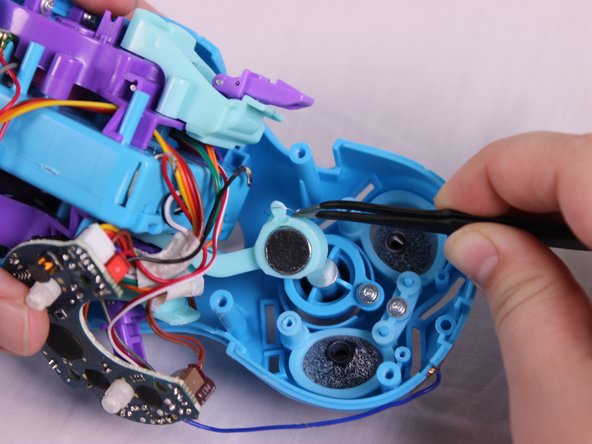
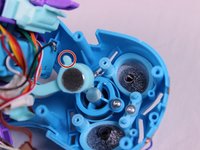
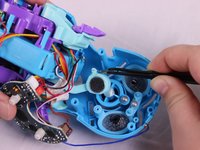
      • Using the angled tweezers tool, disconnect the spring that is attached to the nose from the lever.

      Ask FixBot

      Add Comment

    2. Spin Master Hatchimal Draggle Nose Replacement: step 13, image 1 of 1
      • Separate the body casing from the core and circuit board.

      • Don't damage the small wire connected from the top of the head to the circuit board.

      Ask FixBot

      Add Comment

    3. Spin Master Hatchimal Draggle Nose Replacement: step 14, image 1 of 1
      • Remove a single 7mm Phillips #00 screw from the break.

      • Remove the spring.

      Ask FixBot

      Add Comment

Conclusion

To reassemble your device, follow these instructions in reverse order.

Cancel: I did not complete this guide.

Hector Lopez

Member since: 02/14/18

269 Reputation

2 Guides authored

Team

USF Tampa, Team S1-G5, Nance Spring 2018 Member of USF Tampa, Team S1-G5, Nance Spring 2018

USFT-NANCE-S18S1G5

3 Members

10 Guides authored

0 Guide Comments

Add Comment

View Statistics:

Past 24 Hours: 0

Past 7 Days: 8

Past 30 Days: 27

All Time: 858