Introduction
This repair shows how to replace digitizer on Sony Xperia go.
What you need
-
-
-
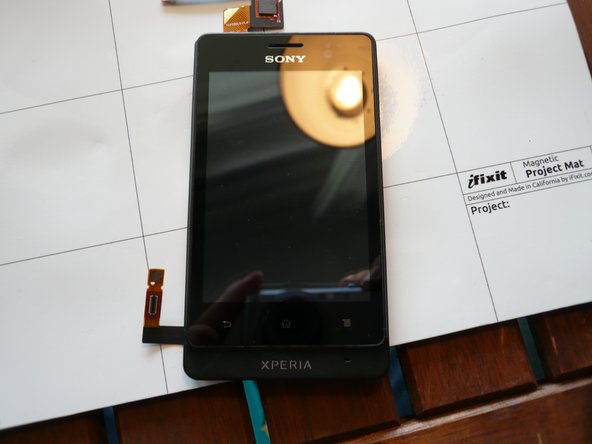
Show here is a Sony xperia go with broken glass digitizer.
 Ask FixBot
-
-
-
Remove backcover, and remove all screws.
-
1 Torx screw
-
7 star screws (don't know their name)
-
Note some of the screws have rubber spacers, use caution to avoid breaking them. (See second Picture in this step)
-
Remove sim card tray. (See third picture)
-
-
-
-
Now the front can be seperated from the back.
-
CAUTION! there are some doublesided tape blocks situated on top of the connectors to the digitizer.
-
Use spudger to seperate these carefully from eachother.
-
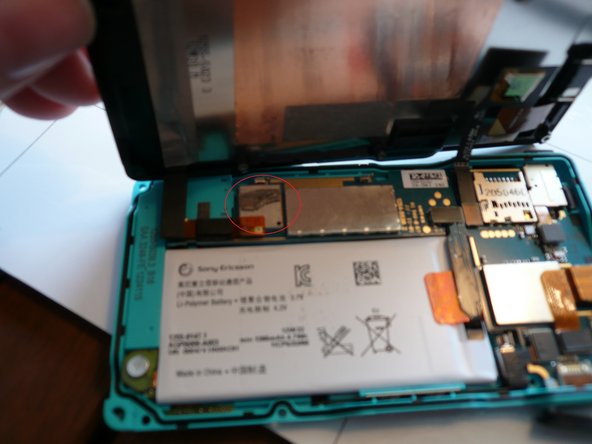
Now you can open the phone sideways. Once opened, please disconnect the battery, marked on third Picture with a yellow circle.
-
Now you can disconnect digitizer cable and screen cable, marked with red circles on third picture.
-
Now you will be able to remove the front from the back of the phone.
-
-
-
Using a heat gun, heat around the edges and seperate the glass from the front cover. Work from bottom up.
-
Note the digitizer cable runs through a small hole behind the lcd, in the top of the phone.
-
When the glass is seperated, carefully lift the lcd a bit, to get the digitizer cable through the hole.
-
To protect the lcd from residue and fingerprints, cover it with masking tape, until you are ready to seal the glass to the cover.
-
When you have prepared new adhesive tape and the digitizer cable has been pulled through the hole to the backside of the phone.
-
Remove the masking tape from the lcd, and using some canned air, blow away dust and close the glass cover.
-
Finally reverse the disassembly and enjoy.
-
-






To reassemble your device, follow these instructions in reverse order.
Cancel: I did not complete this guide.
22 other people completed this guide.

10 Guide Comments
Hello sorry for my late reply.
I haven't had the chance to replace the loudspeaker, but earpiece is a square block, that you can pry out and replace, after you have seperated the front from the back.
Dissasembly will most likely break waterproof. Haven't tested.
Nice guide and easy to follow. Thank you.
