Free Shipping on Domestic Orders $75+

Sony Xperia XA1 Screen Replacement

What you need

  1. Sony Xperia XA1 Screen Replacement, Phone Back Cover: step 1, image 1 of 3 Sony Xperia XA1 Screen Replacement, Phone Back Cover: step 1, image 2 of 3 Sony Xperia XA1 Screen Replacement, Phone Back Cover: step 1, image 3 of 3
    • Using a hair dryer, apply heat evenly around the edges of the back of the phone. This will loosen the adhesive and allow you to remove the back panel.

    • As you're heating up the phone, begin to pry open the back starting from the middle, and going to the corners.

    • Do not apply heat in one area for too long.

    Ask FixBot

    Add Comment

  2. Sony Xperia XA1 Screen Replacement, Speaker: step 2, image 1 of 3 Sony Xperia XA1 Screen Replacement, Speaker: step 2, image 2 of 3 Sony Xperia XA1 Screen Replacement, Speaker: step 2, image 3 of 3
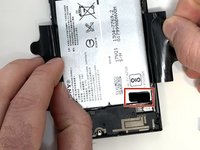
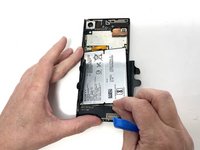
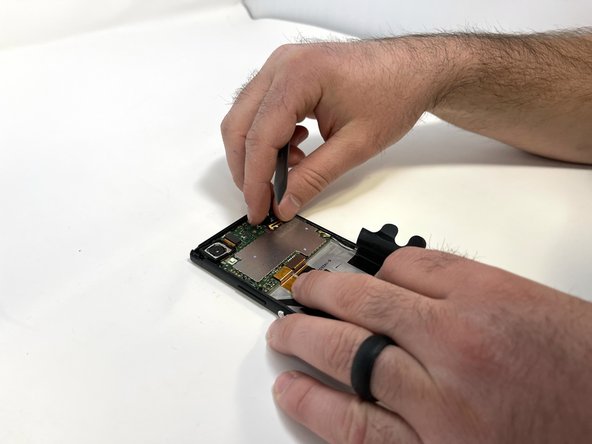
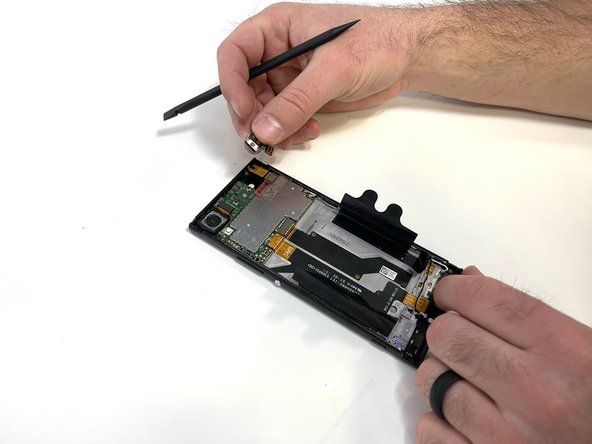
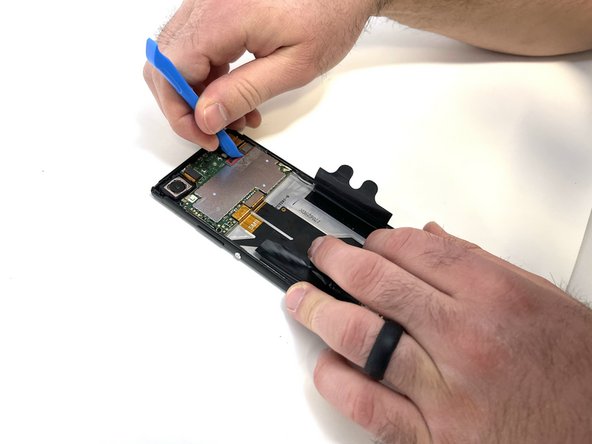
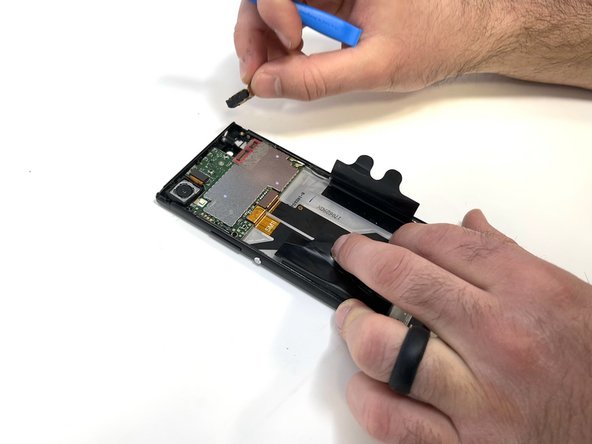
    • Use a plastic opening tool to lift the battery connector.

    • Lift the flaps on both sides of the battery.

    Ask FixBot

    Add Comment

  3. Sony Xperia XA1 Screen Replacement: step 3, image 1 of 3 Sony Xperia XA1 Screen Replacement: step 3, image 2 of 3 Sony Xperia XA1 Screen Replacement: step 3, image 3 of 3
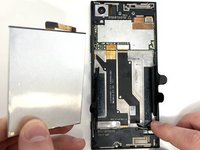
    • Pinch the pull tab at the bottom of the battery.

    • Gently lift the battery out.

    • Handle the battery with caution. It is very fragile.

    Ask FixBot

    Add Comment

  4. Sony Xperia XA1 Screen Replacement: step 4, image 1 of 2 Sony Xperia XA1 Screen Replacement: step 4, image 2 of 2
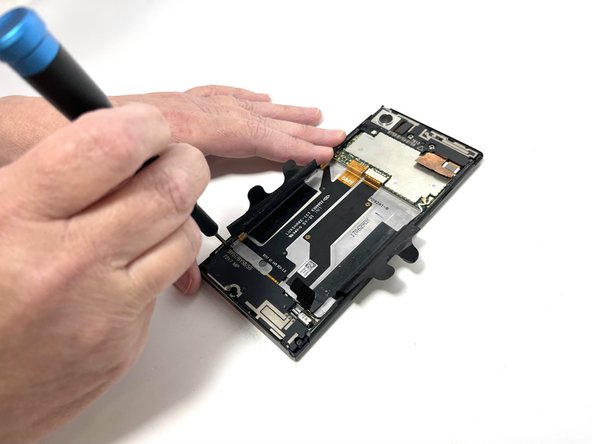
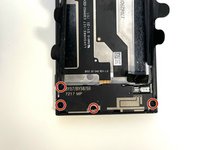
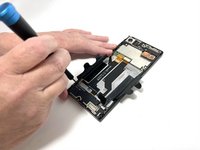
    • Use a Phillips #000 screwdriver to remove the four 3 mm screws that secure the bottom component.

    Ask FixBot

    Add Comment

  5. Sony Xperia XA1 Screen Replacement: step 5, image 1 of 3 Sony Xperia XA1 Screen Replacement: step 5, image 2 of 3 Sony Xperia XA1 Screen Replacement: step 5, image 3 of 3
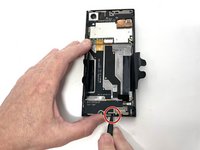
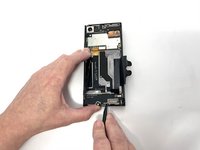
    • Insert a spudger into the opening above the charging port, and apply gentle pressure to free the speaker piece.

    • Once the piece is loose, use your hand to remove the speaker from the phone.

    Ask FixBot

    Add Comment

  6. Sony Xperia XA1 Screen Replacement, USB-C Module: step 6, image 1 of 3 Sony Xperia XA1 Screen Replacement, USB-C Module: step 6, image 2 of 3 Sony Xperia XA1 Screen Replacement, USB-C Module: step 6, image 3 of 3
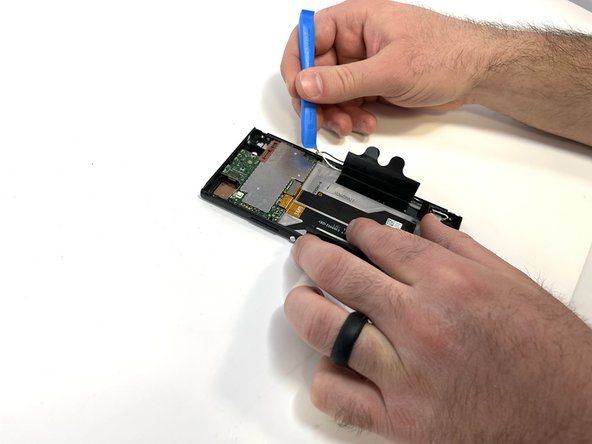
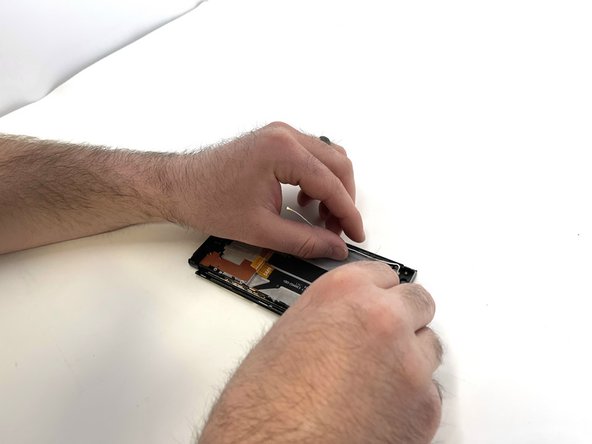
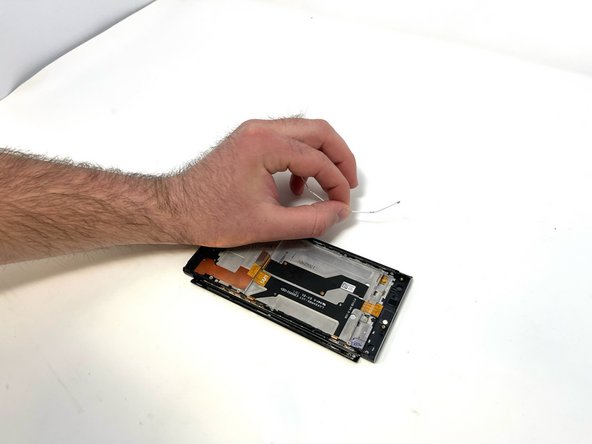
    • Locate the connecting cable and use a spudger or iFixit Opening Tool to remove the connector.

    • Disconnect the wifi/Bluetooth antenna wire, located at the top right of the USB-C charger board.

    Ask FixBot

    Add Comment

  7. Sony Xperia XA1 Screen Replacement: step 7, image 1 of 3 Sony Xperia XA1 Screen Replacement: step 7, image 2 of 3 Sony Xperia XA1 Screen Replacement: step 7, image 3 of 3
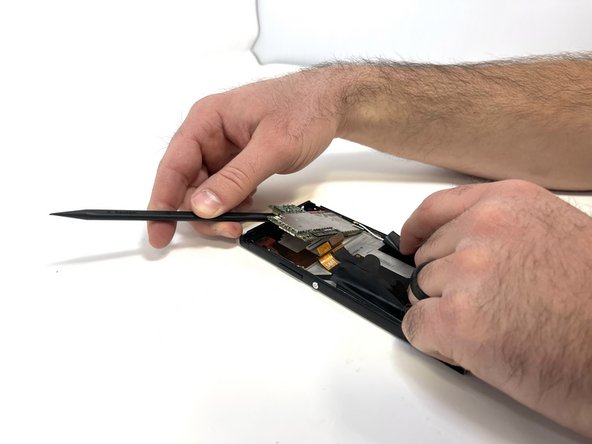
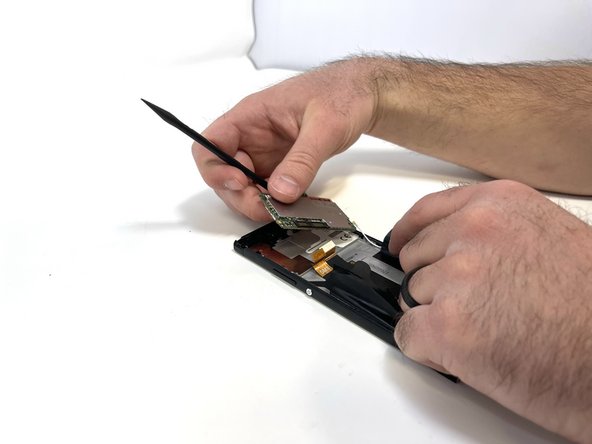
    • After removing the connector and antennas, you are able to pry the USB-C board using a plastic spudger.

    • Be cautious, little effort is required to lift up the board, if too much force is applied this could damage the board.

    Ask FixBot

    Add Comment

  8. Sony Xperia XA1 Screen Replacement, Screen: step 8, image 1 of 3 Sony Xperia XA1 Screen Replacement, Screen: step 8, image 2 of 3 Sony Xperia XA1 Screen Replacement, Screen: step 8, image 3 of 3
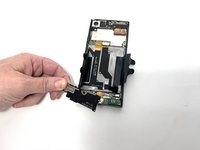
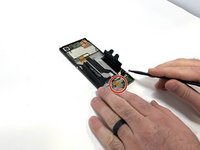
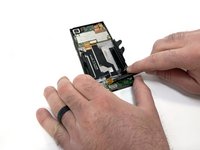
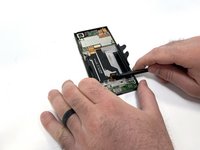
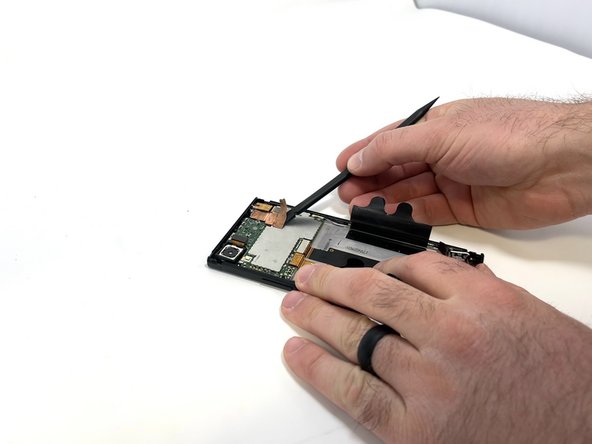
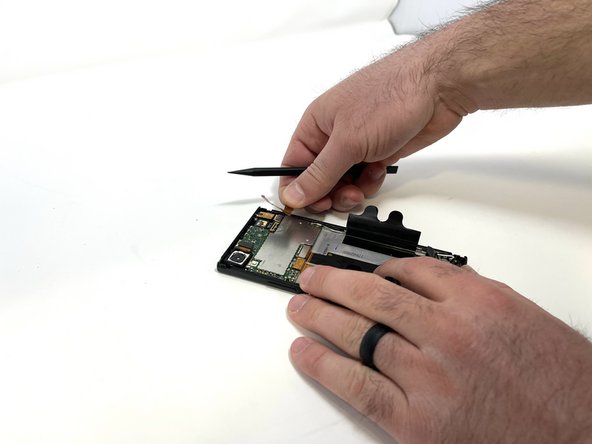
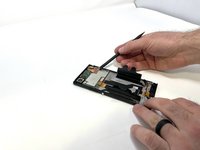
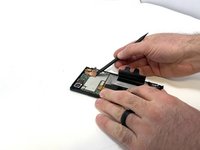
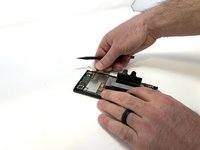
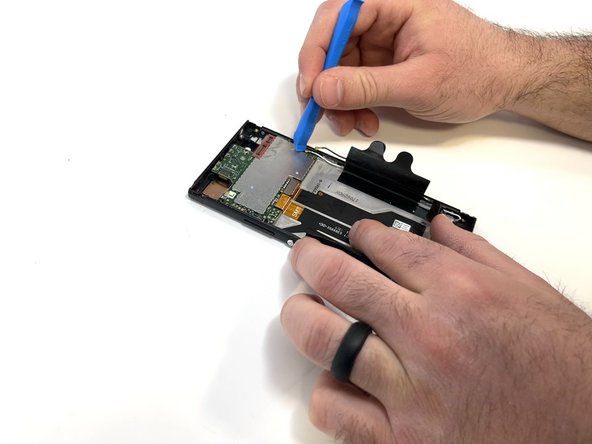
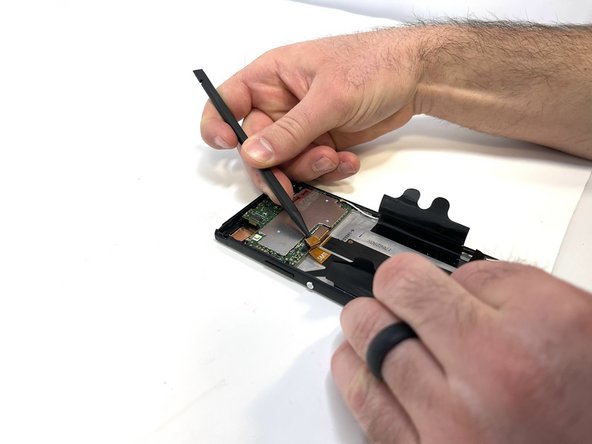
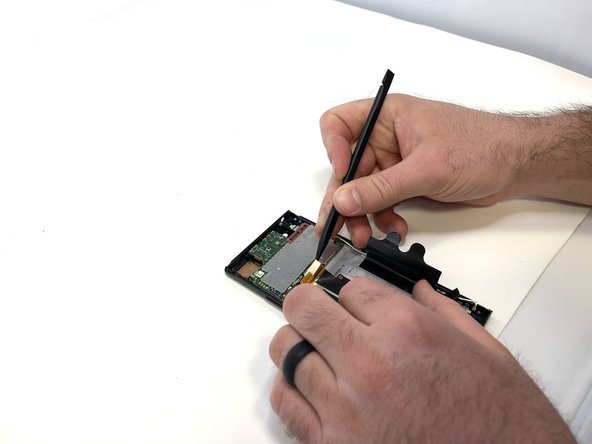
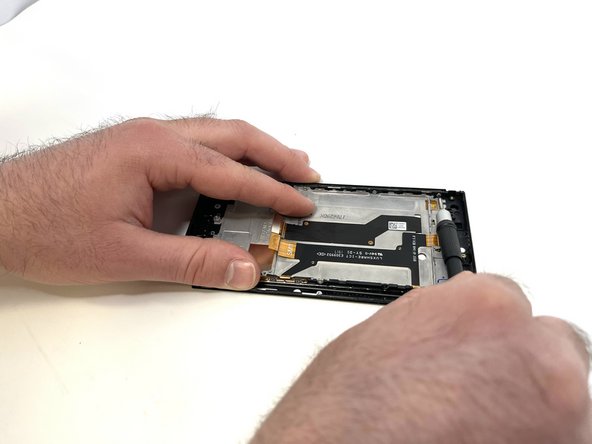
    • Using a spudger, carefully remove the thin copper piece attached to the motherboard.

    • This part is very easy to damage and can not be reused if damaged too much.

    Ask FixBot

    Add Comment

  9. Sony Xperia XA1 Screen Replacement: step 9, image 1 of 3 Sony Xperia XA1 Screen Replacement: step 9, image 2 of 3 Sony Xperia XA1 Screen Replacement: step 9, image 3 of 3
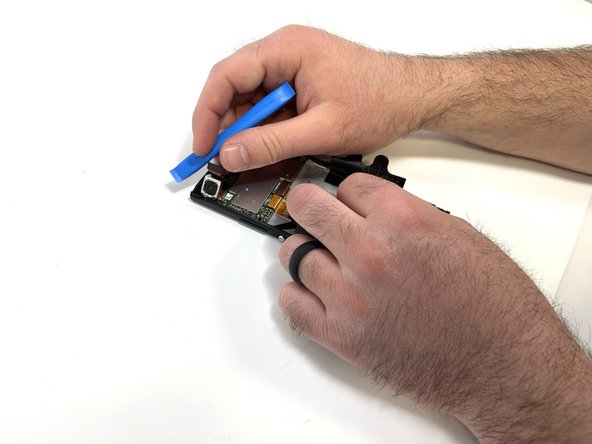
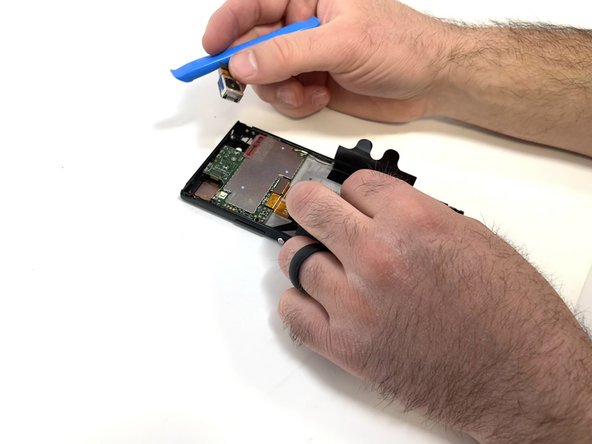
    • Carefully remove the front-facing camera with a spudger or your fingers.

    Ask FixBot

    Add Comment

  10. Sony Xperia XA1 Screen Replacement: step 10, image 1 of 3 Sony Xperia XA1 Screen Replacement: step 10, image 2 of 3 Sony Xperia XA1 Screen Replacement: step 10, image 3 of 3
    • Remove the single 3mm screw holding the audio jack using a Phillips #000 bit.

    • Using an iFixit Opening Tool, disconnect the audio jack from the motherboard.

    • Use a prying tool, such as a spudger, to remove the audio jack.

    Ask FixBot

    Add Comment

  11. Sony Xperia XA1 Screen Replacement: step 11, image 1 of 3 Sony Xperia XA1 Screen Replacement: step 11, image 2 of 3 Sony Xperia XA1 Screen Replacement: step 11, image 3 of 3
    • Disconnect the camera using an iFixit opening tool and remove it with your fingers.

    Ask FixBot

    Add Comment

  12. Sony Xperia XA1 Screen Replacement: step 12, image 1 of 3 Sony Xperia XA1 Screen Replacement: step 12, image 2 of 3 Sony Xperia XA1 Screen Replacement: step 12, image 3 of 3
    Tool used on this step:
    Tweezers
    $4.99
    Buy
    • Disconnect the two antennas from the motherboard using an iFixit opening tool or pair of tweezers.

    Ask FixBot

    Add Comment

  13. Sony Xperia XA1 Screen Replacement: step 13, image 1 of 3 Sony Xperia XA1 Screen Replacement: step 13, image 2 of 3 Sony Xperia XA1 Screen Replacement: step 13, image 3 of 3
    • Remove the SIM tray using your fingernail.

    • Using a spudger, remove the two connector tabs attached to the motherboard

    Ask FixBot

    Add Comment

  14. Sony Xperia XA1 Screen Replacement: step 14, image 1 of 3 Sony Xperia XA1 Screen Replacement: step 14, image 2 of 3 Sony Xperia XA1 Screen Replacement: step 14, image 3 of 3
    • Remove the single 3mm screw from the motherboard using a Phillips #000 bit.

    • Use a spudger to gently pry the motherboard free.

    Ask FixBot

    Add Comment

  15. Sony Xperia XA1 Screen Replacement: step 15, image 1 of 3 Sony Xperia XA1 Screen Replacement: step 15, image 2 of 3 Sony Xperia XA1 Screen Replacement: step 15, image 3 of 3
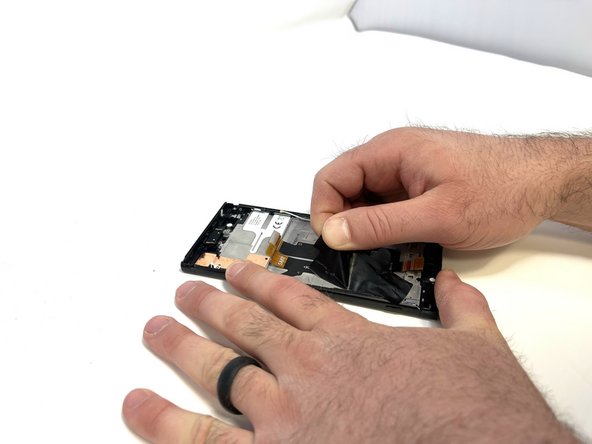
    • Peel the plastic battery tabs free.

    Ask FixBot

    Add Comment

  16. Sony Xperia XA1 Screen Replacement: step 16, image 1 of 3 Sony Xperia XA1 Screen Replacement: step 16, image 2 of 3 Sony Xperia XA1 Screen Replacement: step 16, image 3 of 3
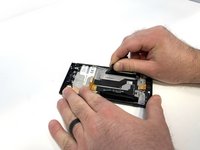
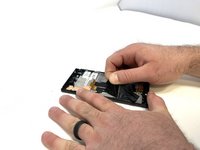
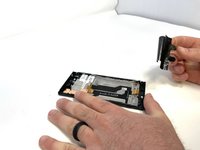
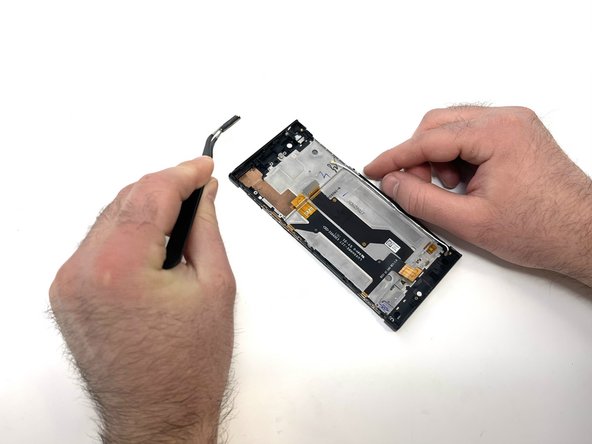
    • Using a pair of angled tweezers, carefully remove the earpiece.

    • The ear piece is attached using a sticky adhesive

    Ask FixBot

    Add Comment

  17. Sony Xperia XA1 Screen Replacement: step 17, image 1 of 3 Sony Xperia XA1 Screen Replacement: step 17, image 2 of 3 Sony Xperia XA1 Screen Replacement: step 17, image 3 of 3
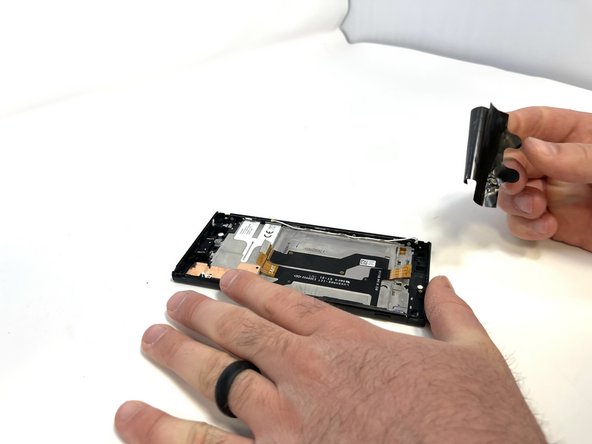
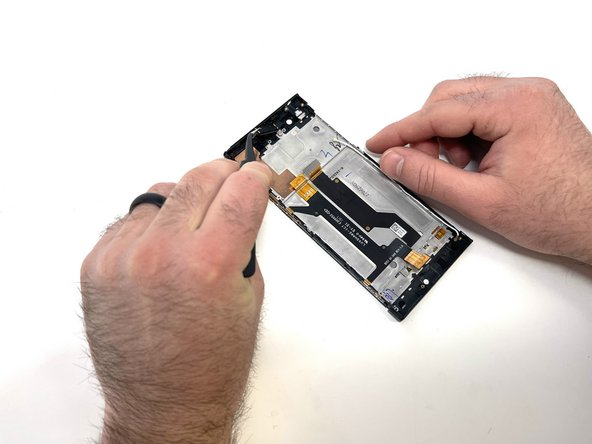
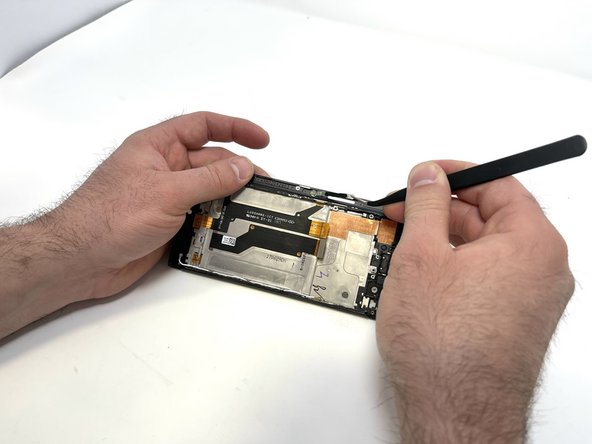
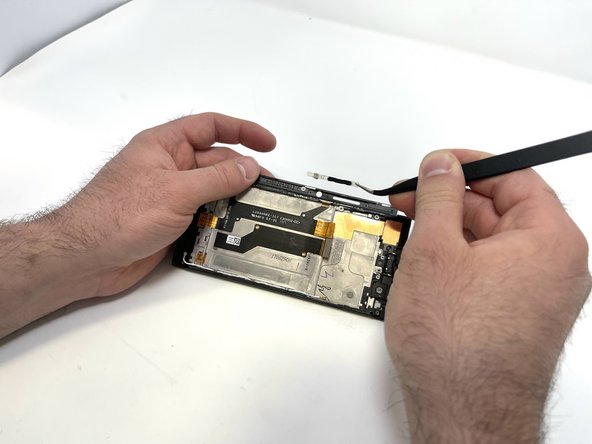
    • Using a pair of angled tweezers, carefully remove the small metal bracket from the top left side of the phone.

    Ask FixBot

    Add Comment

  18. Sony Xperia XA1 Screen Replacement: step 18, image 1 of 3 Sony Xperia XA1 Screen Replacement: step 18, image 2 of 3 Sony Xperia XA1 Screen Replacement: step 18, image 3 of 3
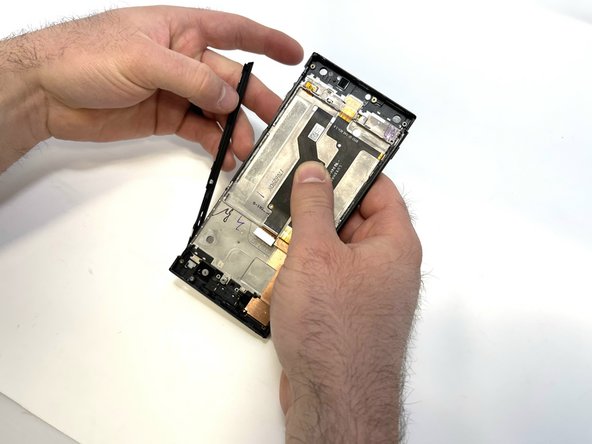
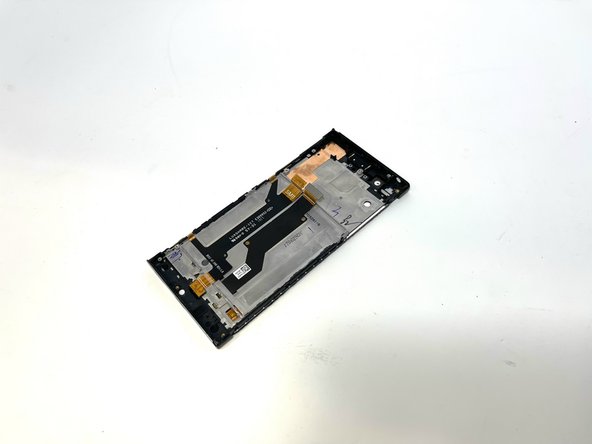
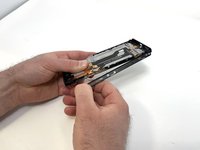
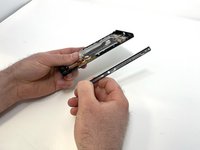
    • Remove the four 3mm silver screws located on the left side of the case using a Phillips #000 bit.

    • Once the screws are removed, unfold the side piece.

    Ask FixBot

    Add Comment

  19. Sony Xperia XA1 Screen Replacement: step 19, image 1 of 3 Sony Xperia XA1 Screen Replacement: step 19, image 2 of 3 Sony Xperia XA1 Screen Replacement: step 19, image 3 of 3
    • Using a pair of angled tweezers, remove the power and volume buttons.

    Ask FixBot

    Add Comment

  20. Sony Xperia XA1 Screen Replacement: step 20, image 1 of 3 Sony Xperia XA1 Screen Replacement: step 20, image 2 of 3 Sony Xperia XA1 Screen Replacement: step 20, image 3 of 3
    • Carefully remove the antennas.

    • Use a pair of tweezers if needed.

    Ask FixBot

    Add Comment

  21. Sony Xperia XA1 Screen Replacement: step 21, image 1 of 3 Sony Xperia XA1 Screen Replacement: step 21, image 2 of 3 Sony Xperia XA1 Screen Replacement: step 21, image 3 of 3
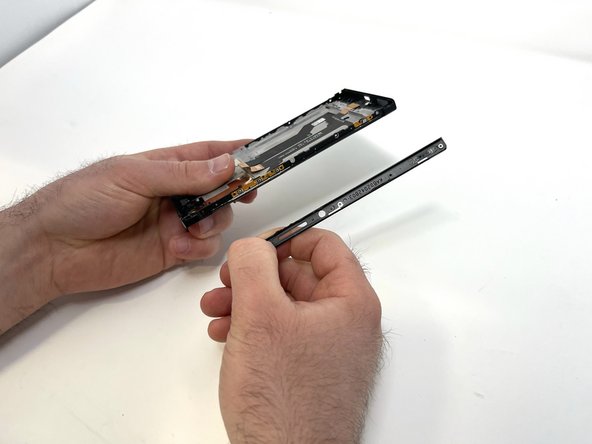
    • Remove the four 3mm silver screws from the right side of the phone using a Phillips #000 bit.

    • Once unfolded, peel the side piece from the phone, separating the glue that holds the two pieces together.

    Ask FixBot

    Add Comment

  22. Sony Xperia XA1 Screen Replacement: step 22, image 1 of 3 Sony Xperia XA1 Screen Replacement: step 22, image 2 of 3 Sony Xperia XA1 Screen Replacement: step 22, image 3 of 3
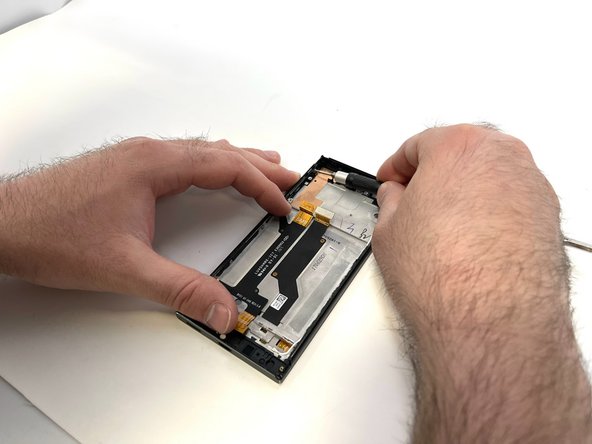
    • Remove the other side in the same manner.

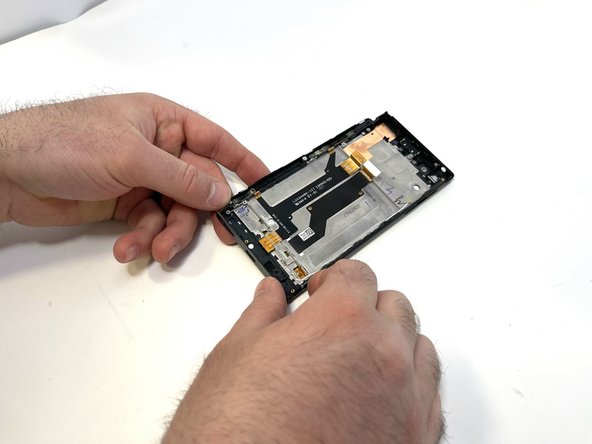
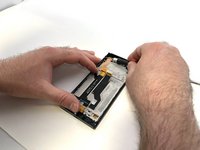
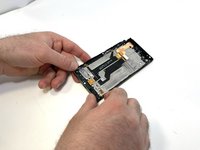
    • All removeable components should be free, ready to be installed into your replacement screen.

    Ask FixBot

    Add Comment

Conclusion

To reassemble your device, follow these instructions in reverse order.

Cancel: I did not complete this guide.

Hunter

Member since: 02/14/23

349 Reputation

2 Guides authored

0 Guide Comments

Add Comment

View Statistics:

Past 24 Hours: 2

Past 7 Days: 20

Past 30 Days: 60

All Time: 942