
Sony Xperia XA1 Battery Replacement

Lindsey Taysom and 3 other contributors
Last updated on Jun 6, 2023
Views: 1.7K
View statistics:
- Past 24 Hours:
- 3
- Past 7 Days:
- 20
- Past 30 Days:
- 91
- All Time:
- 1,675
Comments: 0
No one has left comments on this guide. Will you be first?
Go to guide commentsCompleted: 0 1
No one has marked this guide "completed." Will you be the first?
1 person has marked this guide "completed." It's you — great job!
Favorites: 0 1
No one has favorited (and subscribed to) this guide. Will you be the first?
1 person has favorited (and subscribed to) this guide — and that's you!
Introduction
Go to step 1 ↓This guide is for the Sony Xperia G3123, a replacement for a faulty battery.
The Sony Xperia XA1 has been plagued with battery issues since its initial release back in 2017. One of the biggest complaints about the phone is about the battery and how little it lasts, and how it stops working after a year.
Before using this guide, be sure to check out the troubleshooting page to ensure the battery needs to be replaced.
What you need
Tools


-
-
-
Using a hair dryer, apply heat evenly around the edges of the back of the phone. This will loosen the adhesive and allow you to remove the back panel.
-
As you're heating up the phone, begin to pry open the back starting from the middle, and going to the corners.
 Ask FixBot
-
-
-
-
-
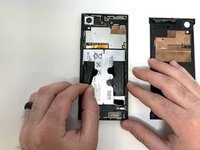
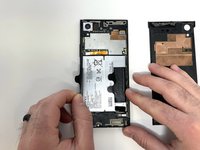
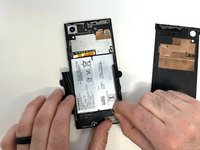
Disconnect the battery from the motherboard using an opening tool or spudger.
-
-
-
-
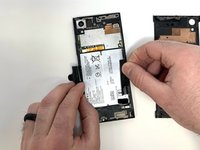
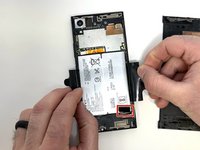
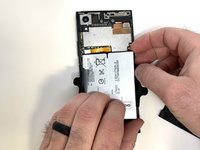
Lift the pull tab at the bottom to unseat the battery.
-
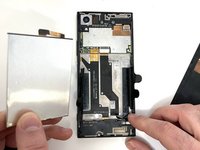
After unseating the battery with the pull tab, lift it out of the case.
-
-






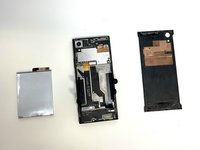
To reassemble your device, follow these instructions in reverse order.
Take your e-waste to an R2 or e-Stewards certified recycler.

Team

Utah Tech University, Team 1-4, McMurrin Spring 2023 Member of Utah Tech University, Team 1-4, McMurrin Spring 2023
UTAHTECH-MCMURRIN-S23S1G4
3 Members
84 Guides authored
