Free Shipping on Domestic Orders $75+

Sony Xperia Sola Touch Screen Replacement

Views: 979

View statistics:

Past 24 Hours:
2
Past 7 Days:
17
Past 30 Days:
92
All Time:
979
Comments: 0

No one has left comments on this guide. Will you be first?

Go to guide comments
Completed: 3

3 people have marked this guide "completed." Will you be next?

Favorites: 1

1 person has favorited (and subscribed to) this guide. Will you be next?

Time Required: 30 minutes
Difficulty: Moderate
Sony Xperia Sola Touch Screen Replacement

Introduction

Go to step 1 ↓

If the Sony Xperia Sola does not know you are touching it when you are pressing the screen, this guide will show you how to replace the touch screen.

What you need

Tools

    1. Sony Xperia Sola Touch Screen Replacement, Touch Screen: step 1, image 1 of 1
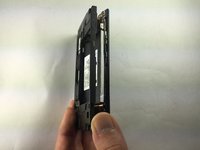
      • Lay the phone as shown and put the camera facing up.

      Ask FixBot
      Add Comment

    2. Sony Xperia Sola Touch Screen Replacement: step 2, image 1 of 2 Sony Xperia Sola Touch Screen Replacement: step 2, image 2 of 2
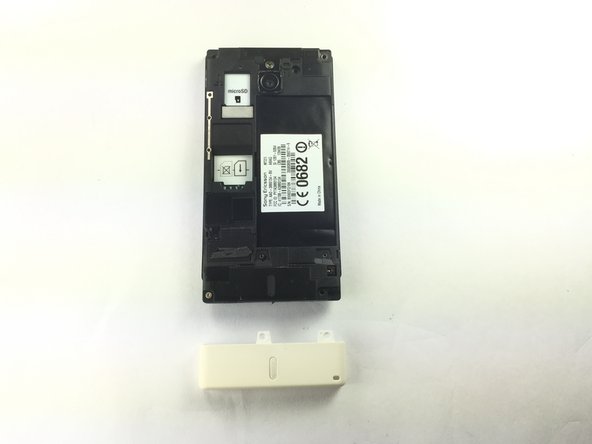
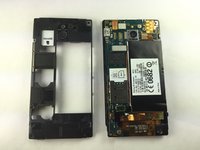
      • Push the back cover as shown, then lift the cover off.

      Ask FixBot
      Add Comment

    3. Sony Xperia Sola Touch Screen Replacement: step 3, image 1 of 3 Sony Xperia Sola Touch Screen Replacement: step 3, image 2 of 3 Sony Xperia Sola Touch Screen Replacement: step 3, image 3 of 3
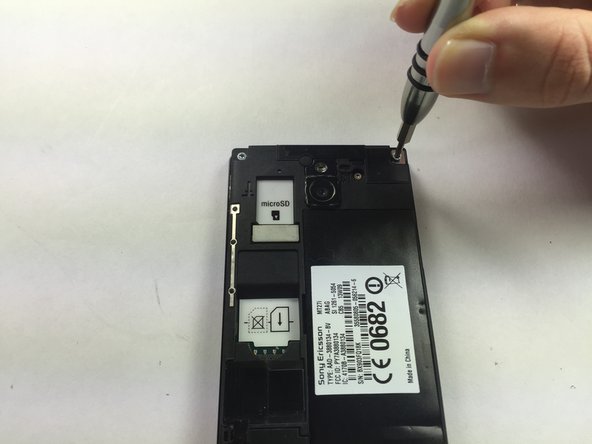
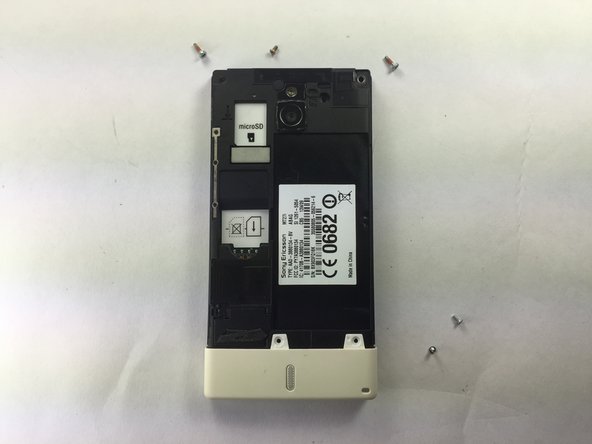
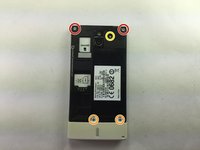
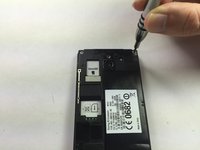
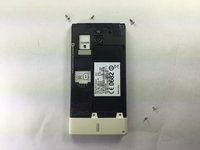
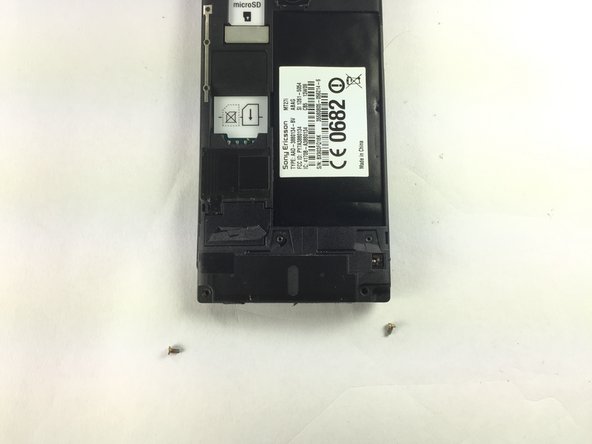
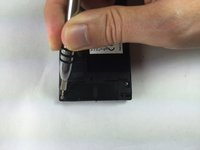
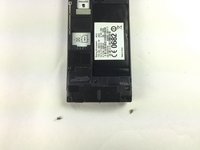
      • Remove the five screws as shown on the phone by using 26 Bit Kit.

      • Use a T6 screwdriver bit to remove top two screws.

      • Use a J000 screwdriver bit to remove the bottom two screws.

      • Use a T3 screwdriver bit to remove the middle screw (close to camera).

      Ask FixBot

      Add Comment

    4. Sony Xperia Sola Touch Screen Replacement: step 4, image 1 of 2 Sony Xperia Sola Touch Screen Replacement: step 4, image 2 of 2
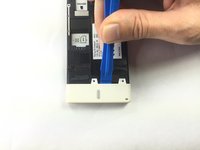
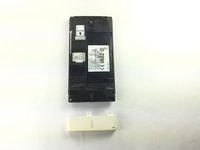
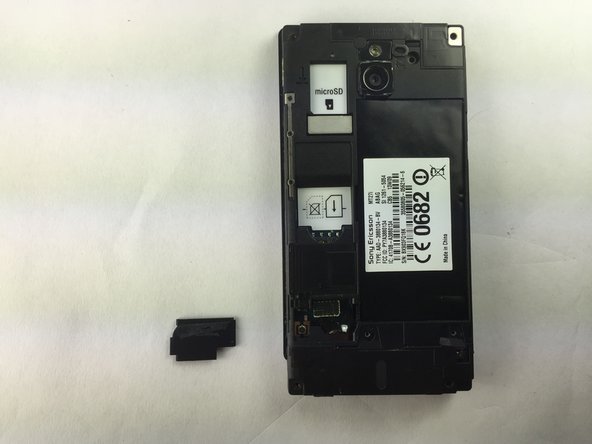
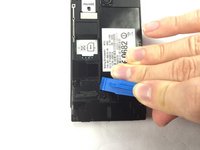
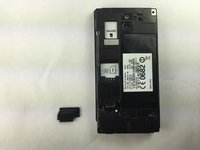
      • Use plastic opening tool to remove the bottom white cover as shown.

      Ask FixBot
      Add Comment

    5. Sony Xperia Sola Touch Screen Replacement: step 5, image 1 of 2 Sony Xperia Sola Touch Screen Replacement: step 5, image 2 of 2
      • There are two additional screws under the bottom white cover as shown.

      • Use T3 drivers to remove two additional screws as shown.

      Ask FixBot
      Add Comment

    6. Sony Xperia Sola Touch Screen Replacement: step 6, image 1 of 3 Sony Xperia Sola Touch Screen Replacement: step 6, image 2 of 3 Sony Xperia Sola Touch Screen Replacement: step 6, image 3 of 3
      Tool used on this step:
      Tweezers
      $4.99
      Buy
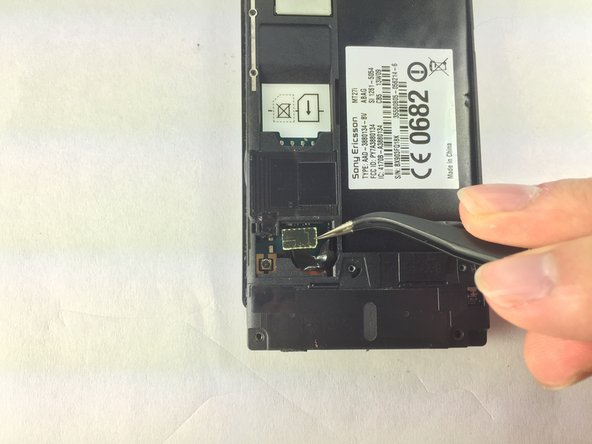
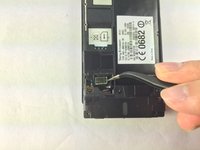
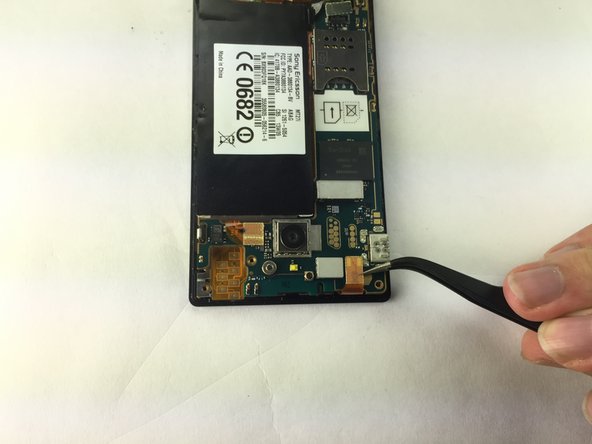
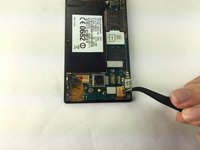
      • Using plastic opening tool, lift to remove the small black cover on the bottom left of phone as shown.

      • Then, using tweezers to lift the connector straight up to disconnect the battery's circuit as shown.

      Ask FixBot
      Add Comment

    7. Sony Xperia Sola Touch Screen Replacement: step 7, image 1 of 3 Sony Xperia Sola Touch Screen Replacement: step 7, image 2 of 3 Sony Xperia Sola Touch Screen Replacement: step 7, image 3 of 3
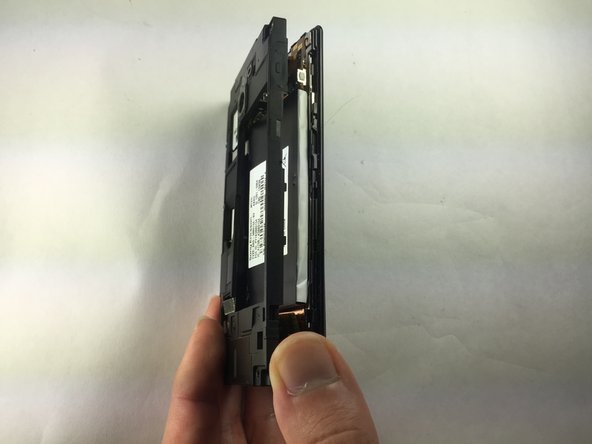
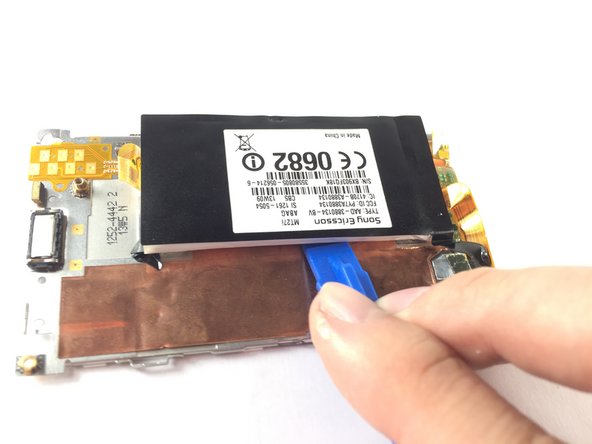
      • Turn the phone onto its side and insert a flat object and gently remove cover, using plastic opening tool as shown.

      Ask FixBot

      Add Comment

    8. Sony Xperia Sola Touch Screen Replacement: step 8, image 1 of 2 Sony Xperia Sola Touch Screen Replacement: step 8, image 2 of 2
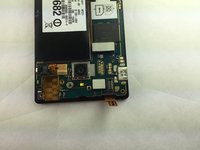
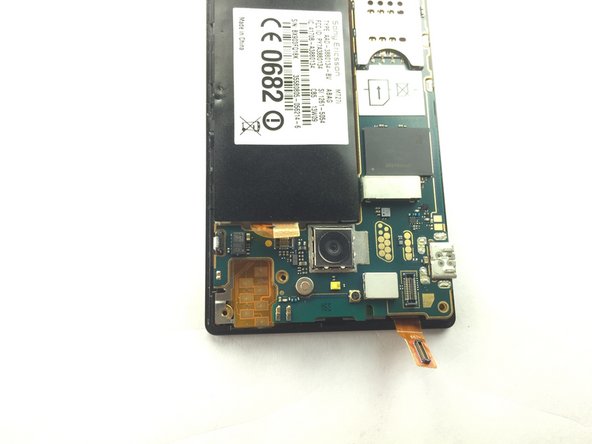
      • Lay the phone down as shown. Then use tweezers to pull additional power circuit up gently to remove it as shown.

      Ask FixBot
      Add Comment

    9. Sony Xperia Sola Touch Screen Replacement: step 9, image 1 of 2 Sony Xperia Sola Touch Screen Replacement: step 9, image 2 of 2
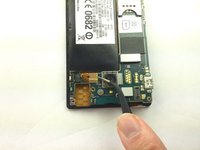
      • Repeat the last step as shown to remove additional power circuit which is on the top of the battery.

      Ask FixBot
      Add Comment

    10. Sony Xperia Sola Touch Screen Replacement: step 10, image 1 of 2 Sony Xperia Sola Touch Screen Replacement: step 10, image 2 of 2
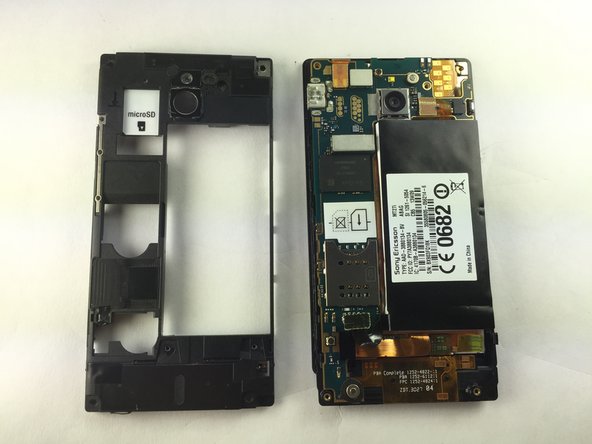
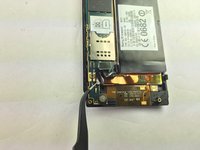
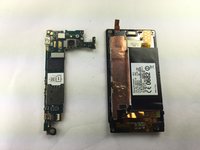
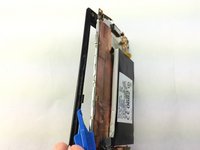
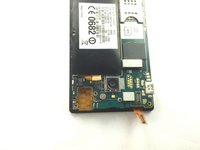
      • After removing all connectors, Use the plastic opening tool to slide it under the top left of the board then lift the board straight up.

      Ask FixBot
      Add Comment

    11. Sony Xperia Sola Touch Screen Replacement: step 11, image 1 of 3 Sony Xperia Sola Touch Screen Replacement: step 11, image 2 of 3 Sony Xperia Sola Touch Screen Replacement: step 11, image 3 of 3
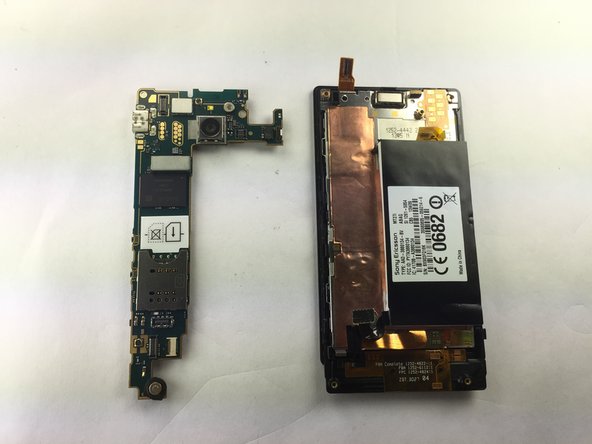
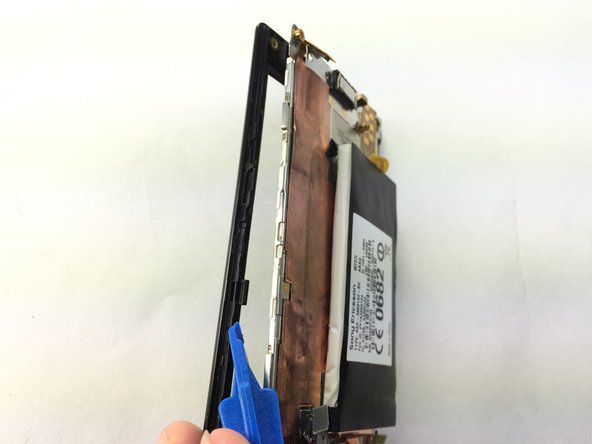
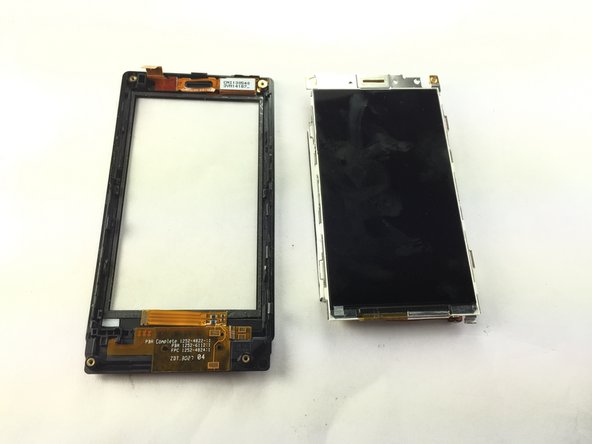
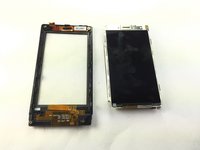
      • Separate the screen from the touch screen sensor, use the spudger to do this job.

      • The left piece is the plastic screen.

      • The right piece is the touch screen sensor that you are looking to replace.

      Ask FixBot

      Add Comment

    12. Sony Xperia Sola Touch Screen Replacement: step 12, image 1 of 3 Sony Xperia Sola Touch Screen Replacement: step 12, image 2 of 3 Sony Xperia Sola Touch Screen Replacement: step 12, image 3 of 3
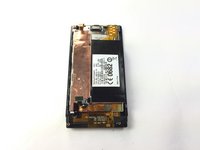
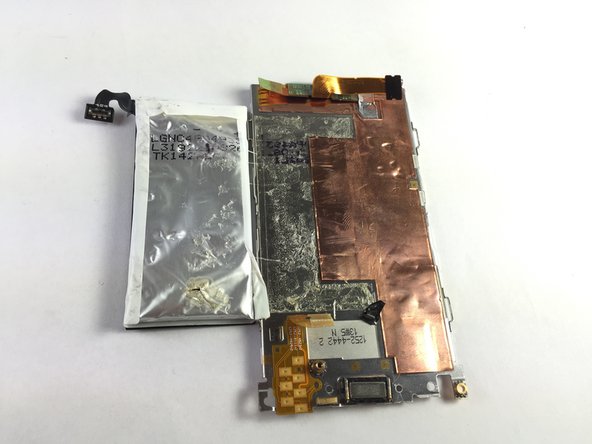
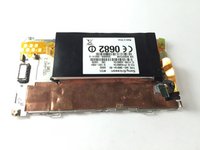
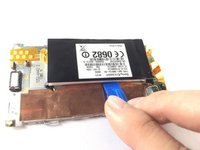
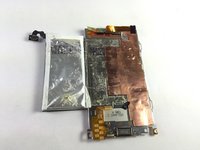
      • Flip the touch screen sensor over and remove the battery from the back of it.

      • The battery might be glued on so some force might be needed.

      Ask FixBot

      Add Comment

Conclusion

To reassemble your device, follow these instructions in reverse order.

Cancel: I did not complete this guide.

3 other people completed this guide.

Bo Wu

Member since: 02/15/17

292 Reputation

2 Guides authored

Team

USF Tampa, Team S5-G3, Lacy Spring 2017 Member of USF Tampa, Team S5-G3, Lacy Spring 2017

USFT-LACY-S17S5G3

3 Members

24 Guides authored

0 Guide Comments

Add Comment

View Statistics:

Past 24 Hours: 2

Past 7 Days: 17

Past 30 Days: 92

All Time: 979