Free Shipping on Domestic Orders $75+

Sony Xperia M2 Motherboard Replacement

What you need

Video Overview

    1. Sony Xperia M2 Motherboard Replacement, Rear Cover: step 1, image 1 of 3 Sony Xperia M2 Motherboard Replacement, Rear Cover: step 1, image 2 of 3 Sony Xperia M2 Motherboard Replacement, Rear Cover: step 1, image 3 of 3
      Tool used on this step:
      iOpener
      $24.95
      Buy
      • Warm the back cover using an iOpener or a hairdryer.

      • Be careful! The cover is made of plastic and can be easily deformed by excessive heat.

      • Use a small suction cup and plastic opening tools to carefully separate the cover from the frame.

      • Before reassembly, clean the frame from any old adhesive and apply new adhesive

      Ask FixBot

      Add Comment

    1. Sony Xperia M2 Motherboard Replacement, Battery: step 2, image 1 of 3 Sony Xperia M2 Motherboard Replacement, Battery: step 2, image 2 of 3 Sony Xperia M2 Motherboard Replacement, Battery: step 2, image 3 of 3
      • Disconnect the battery cable from the motherboard.

      • The battery is secured to the phone frame with adhesive. Carefully use the white pull tab to remove it.

      • Li-Polymer Battery, 2230 mAh

      • Part number: LIS1551ERPC

      Ask FixBot

      Add Comment

    1. Sony Xperia M2 Motherboard Replacement, Motherboard: step 3, image 1 of 2 Sony Xperia M2 Motherboard Replacement, Motherboard: step 3, image 2 of 2
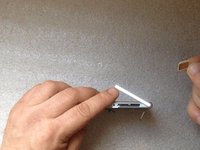
      • Remove the SIM and the memory cards.

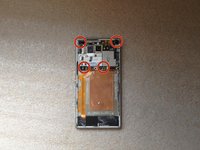
      • Remove 4x T4 Torx screws

      Ask FixBot

      Add Comment

    2. Sony Xperia M2 Motherboard Replacement: step 4, image 1 of 1
      • Disconnect:

      • Touchscreen flex cable

      • Proximity sensor flex cable

      • Side buttons flex cable

      • SIM & Micro SD flex cable

      • Coaxial antenna cable

      Ask FixBot

      Add Comment

    3. Sony Xperia M2 Motherboard Replacement: step 5, image 1 of 2 Sony Xperia M2 Motherboard Replacement: step 5, image 2 of 2
      • Disconnect the LCD Display flex cable located on the other side of the board.

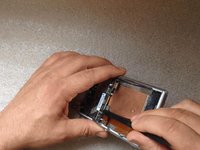
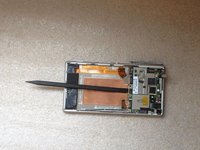
      • Put a plastic tool between the motherboard and the frame.

      Ask FixBot

      Add Comment

    4. Sony Xperia M2 Motherboard Replacement: step 6, image 1 of 3 Sony Xperia M2 Motherboard Replacement: step 6, image 2 of 3 Sony Xperia M2 Motherboard Replacement: step 6, image 3 of 3
      • Make sure to only use plastic tools, so you don't damage the board.

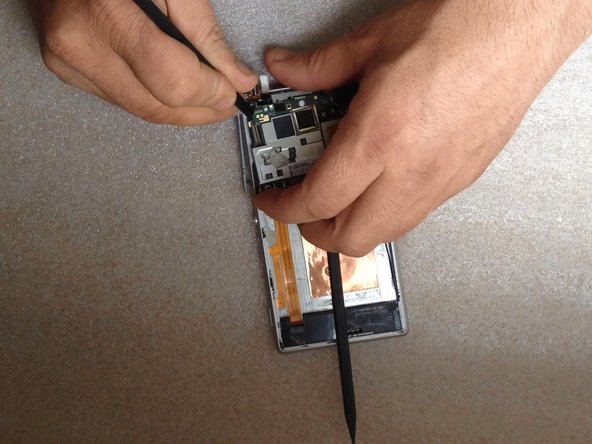
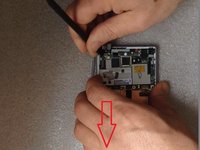
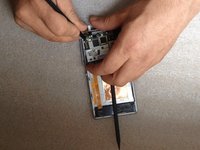
      • Move the left side of the board downward.

      • Take the left side out of the frame.

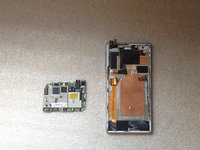
      • Take out the whole motherboard.

      Ask FixBot

      Add Comment

Conclusion

To reassemble your device, follow these instructions in reverse order.

Cancel: I did not complete this guide.

16 other people completed this guide.

ZFix

Member since: 12/09/13

197,699 Reputation

330 Guides authored

Team

Master Techs Member of Master Techs

Community

335 Members

8,282 Guides authored

2 Guide Comments

My mobile charge bin problem how to find that problem , no charged my mobile…

jeeva jeeva - Reply Share

Removing the motherboard is unnecessarily difficult on this model! Why make it like this? One would figure the screws would do a good enough job of securing it to the frame. I guess having to wiggle it out is just part of the fun, right?

Also, getting parts for this model (and it’s water-resistant twin) sucks. I’m currently in the market for a display+touch assembly and it seems I’ll have to resort to importing from AliExpress.

Luis Alejandro Araúz - Reply Share

Add Comment

View Statistics:

Past 24 Hours: 3

Past 7 Days: 24

Past 30 Days: 122

All Time: 15,249