Introduction
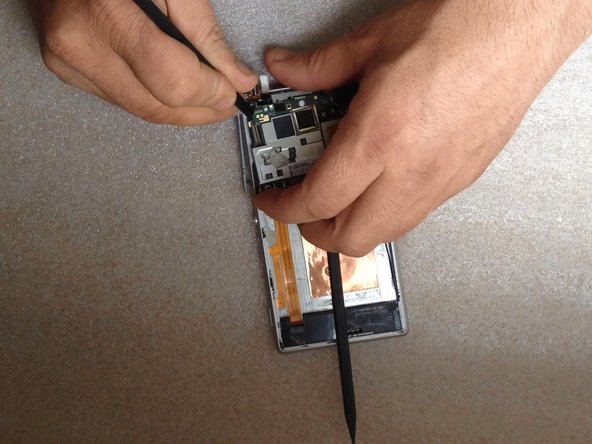
For this model ,removing the Logic board is very difficult operation!!!! If you do something wrong, you may damage the board.
What you need
Video Overview
-
-
-
Warm the Back Cover. You can use a hairdryer.
-
Use a small suction cup and plastic tools for separating the Rear panel.
-
Before installing the new cover, you must clean the phone from the old adhesive tape and install a new one if your spare part has come without double sided adhesive tape.
 Ask FixBot
-
-
-
-
-
Disconnect the Battery Cable.
-
The battery is stuck to the phone fame. Use the white tape to remove it.
-
Li-Polymer Battery, 2230 mAh
-
Part number: LIS1551ERPC
-
-
-
-
-
-
Remove the SIM and the memory cards.
-
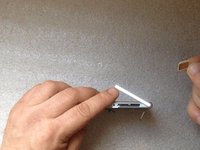
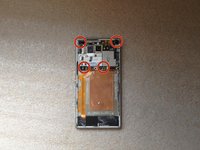
Remove x4 T5 Torx Corner screws & x2 T5 Torx Screws on the Board
-
-
-
Disconnect one by one:
-
Touchscreen flex cable
-
Proximity sensor flex cable
-
Power on, Volume buttons cable
-
SIM & Micro SD flex cable
-
Coaxial antenna cable
-
-
-
Disconnect the LCD Display flex cable. The connector is on the other side of the board, under the Power/Volume buttons flex cable connector.
-
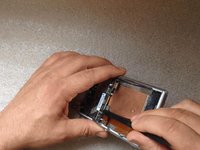
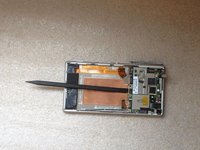
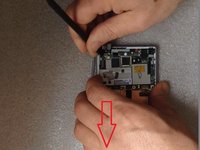
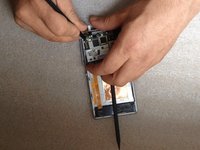
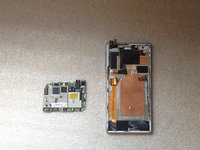
Put one plastic spudger between the Logic board and the Main frame.
-
-






To reassemble your device, follow these instructions in reverse order.
Cancel: I did not complete this guide.
16 other people completed this guide.

Team

2 Guide Comments
My mobile charge bin problem how to find that problem , no charged my mobile…
Removing the motherboard is unnecessarily difficult on this model! Why make it like this? One would figure the screws would do a good enough job of securing it to the frame. I guess having to wiggle it out is just part of the fun, right?
Also, getting parts for this model (and it’s water-resistant twin) sucks. I’m currently in the market for a display+touch assembly and it seems I’ll have to resort to importing from AliExpress.
