
Sony Xperia M2 Earpiece Replacement

Last updated on May 1, 2017
Views: 4.7K
View statistics:
- Past 24 Hours:
- 2
- Past 7 Days:
- 31
- Past 30 Days:
- 100
- All Time:
- 4,739
Comments: 3
3 comments on steps.
Completed: 3 4
3 people have marked this guide "completed." Will you be next?
4 people have marked this guide "completed." Including you — great job!
Favorites: 6 7
6 people have favorited (and subscribed to) this guide. Will you be next?
7 people have favorited (and subscribed to) this guide — including you!
Community-Contributed Guide
An awesome member of our community made this guide. It was not created by iFixit staff.
Introduction
Go to step 1 ↓How to disassemble the phone and change the Earpiece.
What you need
Tools
-
-
Spudger4.9


Video Overview
-
-
Tool used on this step:iOpener$24.95
-
Warm the back cover using an iOpener or a hairdryer.
-
Use a small suction cup and plastic opening tools to carefully separate the cover from the frame.
-
Before reassembly, clean the frame from any old adhesive and apply new adhesive
 Ask FixBot
-
-
-
-
-
Disconnect the battery cable from the motherboard.
-
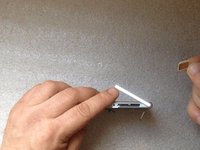
The battery is secured to the phone frame with adhesive. Carefully use the white pull tab to remove it.
-
Li-Polymer Battery, 2230 mAh
-
Part number: LIS1551ERPC
-
-
-
-
-
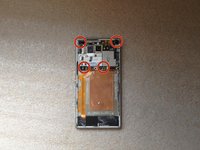
Disconnect:
-
Touchscreen flex cable
-
Proximity sensor flex cable
-
Side buttons flex cable
-
SIM & Micro SD flex cable
-
Coaxial antenna cable
-
-
-
Disconnect the LCD Display flex cable located on the other side of the board.
-
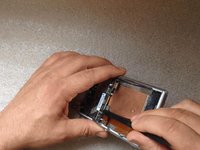
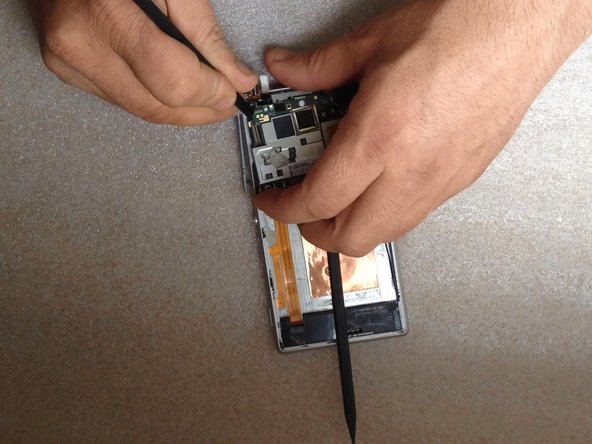
Put a plastic tool between the motherboard and the frame.
-
-
-
-
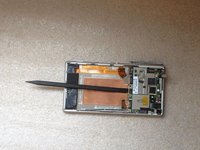
Move the left side of the board downward.
-
Take the left side out of the frame.
-
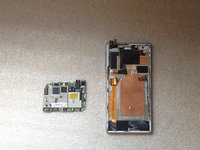
Take out the whole motherboard.
-
-








To reassemble your device, follow these instructions in reverse order.
Cancel: I did not complete this guide.
3 other people completed this guide.


