Introduction
I recently had to replace a broken screen on a Sony Xperia 10 VI. I could not find any guides online, so I created this one.
Please note that this guide is a bit sparse and targeted at folks who have done similar repair jobs before.
What you need
-
-
-
Replacing the screen on this mobile is quite involved. You have to detach the screen and also to open the backside to get to the connector.
 Ask FixBot
-
-
-
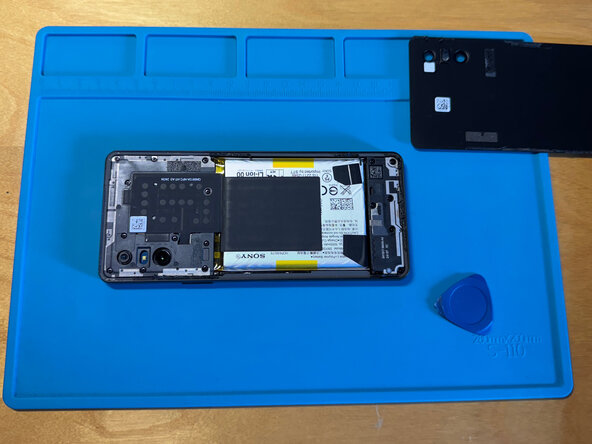
To remove the back cover, you have to do the usual: heating with a heat gun and then pry it open with opening picks.
-
-
-
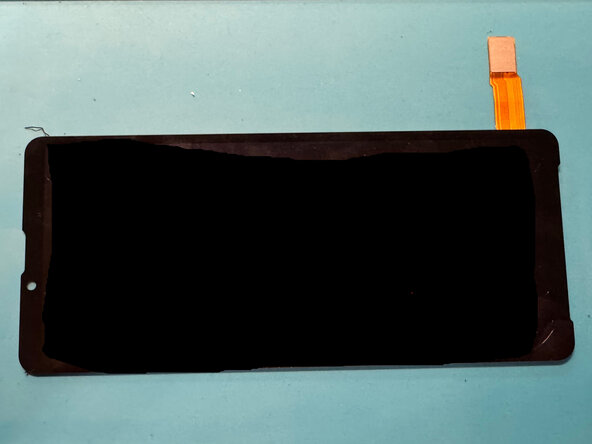
As a next step, heat evenly along the side of the screen with the heat gun. Pry open carefully from the bottom where the microphone is located, as all the other sides are too tight to get into. Be careful with the screen connector, this is attached to the screen on the bottom right when looked at from above. It cannot be disconnected at this step.
-
-
-
-
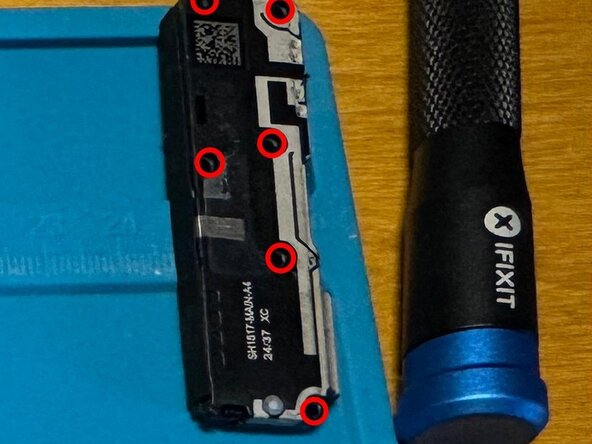
Remove the six screws which hold the charge cover using a PH000 screwdriver.
-
-
-
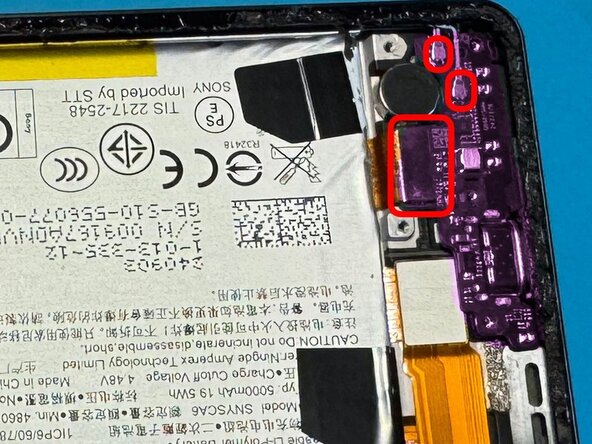
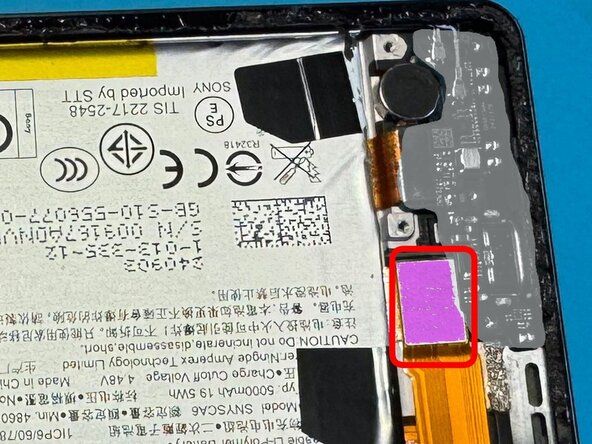
As the charger board overlaps the screen connector, it needs to be removed. For this, you'll need to disconnect the cable press connector and the two flex cable connectors.
-
-
-
With the charger board (grey) removed, you are able to detach the screen from the press cable connector.
-
-
-
Now attach the new screen, reassemble (use suitable glue for screen and backcover) and enjoy.
-
-

To reassemble your device, follow these instructions in reverse order.
Cancel: I did not complete this guide.
2 other people completed this guide.

1 Guide Comment
Just changed the display, in my case removal of the small PCB (marked grey) was not needed. In my case there was enough space to carefully remove the connector and connect the new one.
