Free Shipping on Domestic Orders $75+

Sony XDR-S50 DAB Radio DAB Module Removal

  1. Sony XDR-S50 DAB Radio DAB Module Removal, Opening the case: step 1, image 1 of 2 Sony XDR-S50 DAB Radio DAB Module Removal, Opening the case: step 1, image 2 of 2
    • Remove the batteries.

    • Remove 4 cross-head screws from the rear of the case and a fifth in the battery compartment.

    • The back should now lift off.

    • A wire is still connecting the aerial to the main circuit board. Do not strain it unduly.

    Ask FixBot

    Add Comment

  2. Sony XDR-S50 DAB Radio DAB Module Removal, Disconnecting the aerial: step 2, image 1 of 2 Sony XDR-S50 DAB Radio DAB Module Removal, Disconnecting the aerial: step 2, image 2 of 2
    • Remove the aerial retaining screw.

    • Lift the aerial slightly in order to release the aerial connecting tag. You can now put the case rear cover aside.

    Ask FixBot

    Add Comment

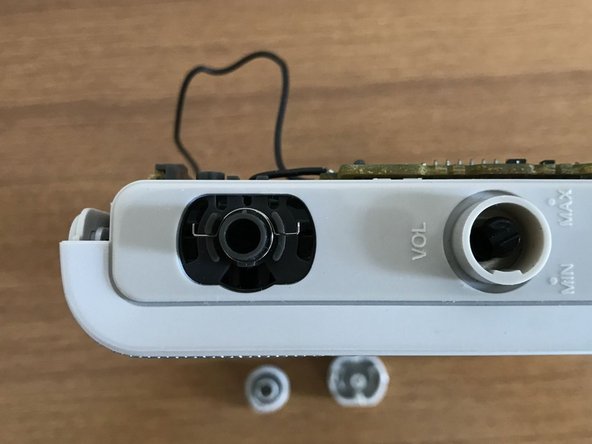
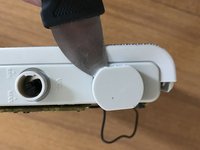
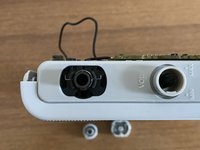
  3. Sony XDR-S50 DAB Radio DAB Module Removal, Removing the knobs: step 3, image 1 of 2 Sony XDR-S50 DAB Radio DAB Module Removal, Removing the knobs: step 3, image 2 of 2
    • Pull off the volume knob.

    • To remove the tuning knob, gently prise it off with a jimmy.

    • Under the tuning knob you will see a spring. Note its position for reassembly and remove it, taking care it doesn't take flight.

    Ask FixBot

    Add Comment

  4. Sony XDR-S50 DAB Radio DAB Module Removal, Releasing the midframe: step 4, image 1 of 1
    • Unsolder the two wires connecting to the loud speaker. (This is not essential but will save you from straining these wires.)

    • Remove 2 screws from the grey midframe, one on the lower right on the battey connector and the other on the upper left above the tuning knob.

    • Release the two cables from their retaining clips under the battery compartment.

    Ask FixBot

    Add Comment

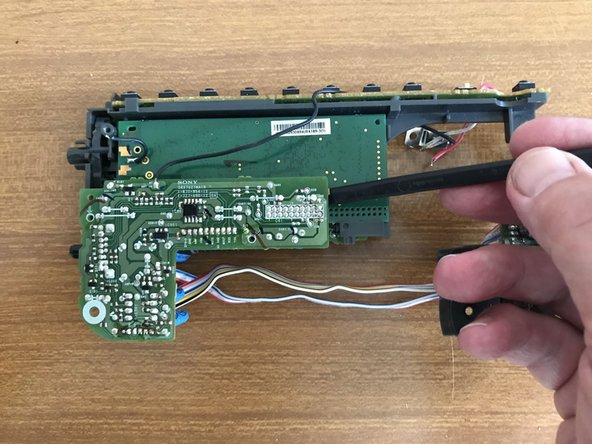
  5. Sony XDR-S50 DAB Radio DAB Module Removal, Removing the midframe: step 5, image 1 of 1
    • Lift the grey battery connector slightly to disengage a bush where you removed a screw in the previous step. (On reassembly, ensure this is snapped back in place.)

    • Ease the power and headphone sockets out of their holes in the case, using a spudger or similar tool.

    • You can now lift the midframe and attached assemblies out of the case, first lifting the right hand side by the power and headphone sockets, and hence withdrawing the volume and tuning spindles from the left hand side.

    • Before reassembly it's worth dusting the LCD display and the inside of the display window.

    Ask FixBot

    Add Comment

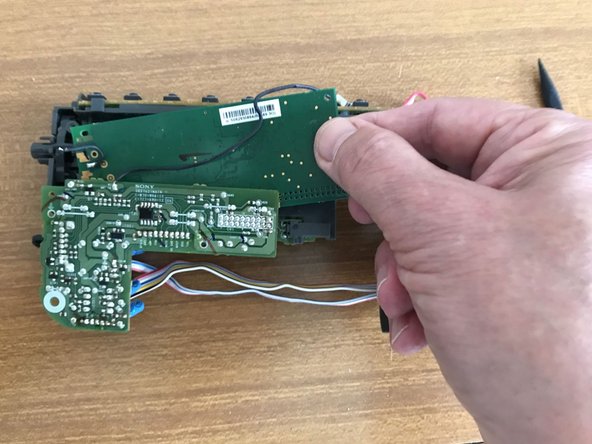
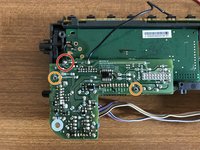
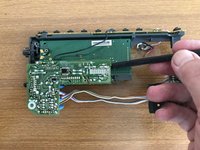
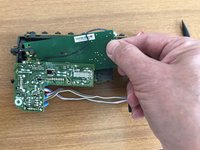
  6. Sony XDR-S50 DAB Radio DAB Module Removal, Sony XDR-S50 DAB Radio DAB Module Removal: step 6, image 1 of 3 Sony XDR-S50 DAB Radio DAB Module Removal, Sony XDR-S50 DAB Radio DAB Module Removal: step 6, image 2 of 3 Sony XDR-S50 DAB Radio DAB Module Removal, Sony XDR-S50 DAB Radio DAB Module Removal: step 6, image 3 of 3
    • Unsolder the connection on thecircuit board to the DAB tuner module below.

    • Remove two screws marked on the circuit board (marked on the board with arrows).

    • The circuit board is attached to the DAB radio module beneath by a multi-way connector. Gently lift the right hand side of the board in order to release it.

    • The DAB radio module will now simply lift out.

    Ask FixBot

    Add Comment

  7. Sony XDR-S50 DAB Radio DAB Module Removal: step 7, image 1 of 1
    • You can now inspect the DAB module.

    Ask FixBot

    Add Comment

Conclusion

To reassemble your device, follow these instructions in reverse order.

Cancel: I did not complete this guide.

Philip Le Riche

Member since: 02/18/14

32,564 Reputation

48 Guides authored

Team

Restart Project Member of Restart Project

Local Repair Groups

29 Members

420 Guides authored

0 Guide Comments

Add Comment

View Statistics:

Past 24 Hours: 7

Past 7 Days: 9

Past 30 Days: 37

All Time: 1,055