
Sony XAV-AX100 Display Replacement

Abdulaziz Redha and one other contributor
Last updated on Jun 28, 2018
Views: 6.7K
View statistics:
- Past 24 Hours:
- 2
- Past 7 Days:
- 32
- Past 30 Days:
- 132
- All Time:
- 6,715
Comments: 4
1 comment on steps, 3 guide comments.
Go to guide commentsCompleted: 6 7
6 people have marked this guide "completed." Will you be next?
7 people have marked this guide "completed." Including you — great job!
Favorites: 1 2
1 person has favorited (and subscribed to) this guide. Will you be next?
2 people have favorited (and subscribed to) this guide — including you!
Introduction
Go to step 1 ↓By following this repair guide, you will be able to replace the full Head Display; thus, providing yourself with better visuals and imaging.
What you need
Tools
-
Spudger4.9


-
-
-
Place the device on a flat surface, upside down, so the bottom of the screen would be facing upwards.
-
Remove the ten 3.5mm Phillips #0 screws from the back plate.
 Ask FixBot
-
-
-
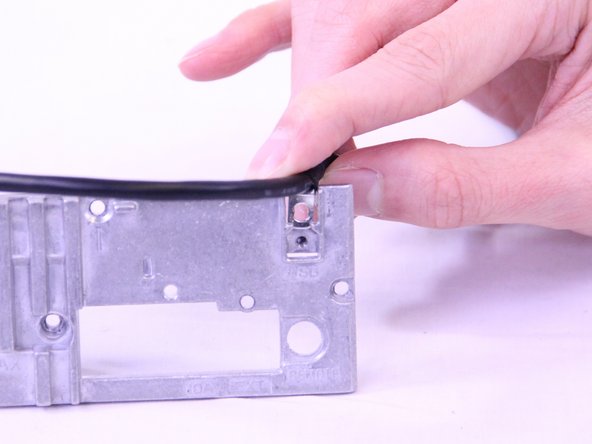
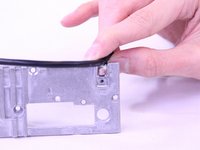
Adjust the rubber holders that are keeping the USB cable still on the motherboard, so you can remove the cable entirely from the inner compartment.
-
-
-
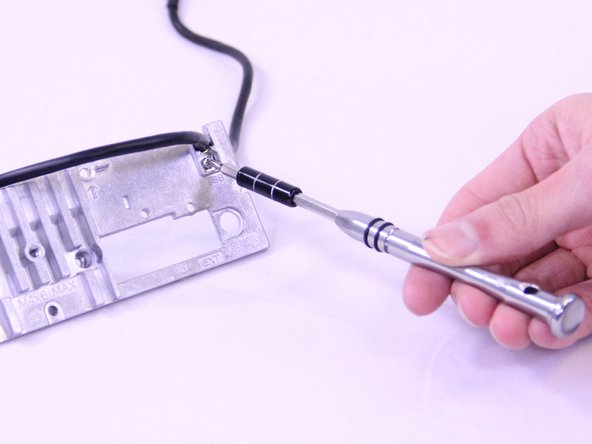
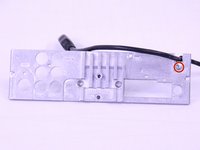
Remove the 3.5mm Phillip #0 screw that secures the USB cable to the back panel.
-
Pull the USB cable off of the back plate.
-
-
-
-
-
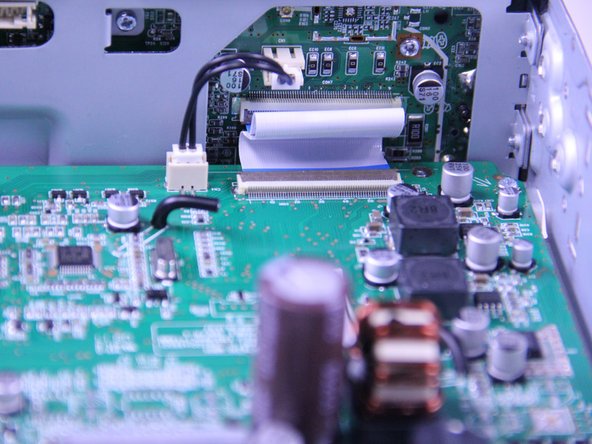
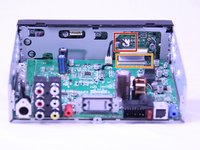
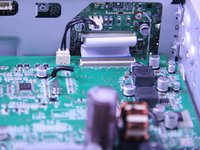
Disconnect the display power cable from the motherboard.
-
Use a spudger to flip up the retaining flap on the display ribbon cable ZIF socket.
-
-
-
-
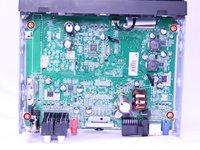
Unscrew the four 3.5mm Phillips #0 screws from the motherboard.
-
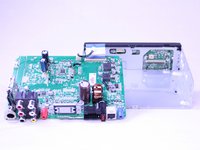
Use a spudger to gently lift the motherboard up and out of the radio.
-
-
-
-
-
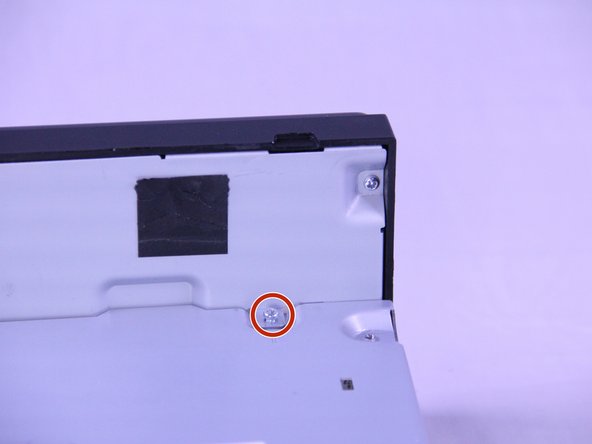
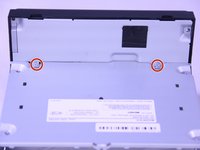
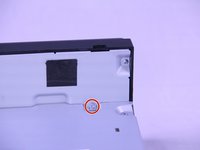
Remove the four 3.5mm Phillips #0 screws from the sides of the display.
-
-





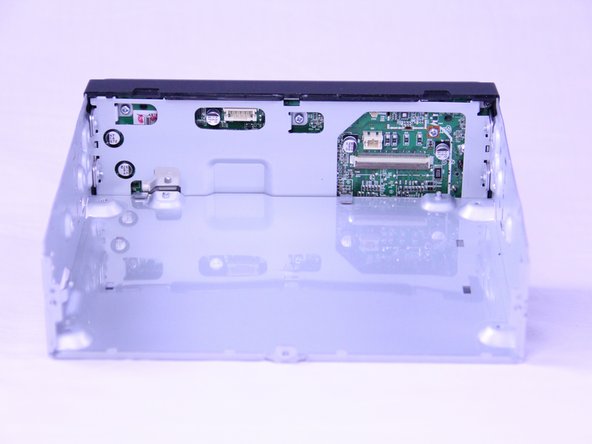


To reassemble your device, follow these instructions in reverse order.
Cancel: I did not complete this guide.
6 other people completed this guide.

Team

USF Tampa, Team S1-G5, Cagle Spring 2018 Member of USF Tampa, Team S1-G5, Cagle Spring 2018
USFT-CAGLE-S18S1G5
2 Members
60 Guides authored
3 Guide Comments
Where do you get a replacement screen?
I need one for a xav 3005 db
Thank you very much for this great write up.
However after having performed it, if all you are doing is replacing the screen, then steps 1, 4, 5 and 7 are actually completely unnecessary . There is no need to remove the back panel or the motherboard.
but thank you nonetheless for having shown the way.
I need to get a replacement screen for a Sony xav 1500 any idea of a cheap place?
