Free Shipping on Domestic Orders $75+

Sony XAV-AX100 Display Board Replacement

What you need

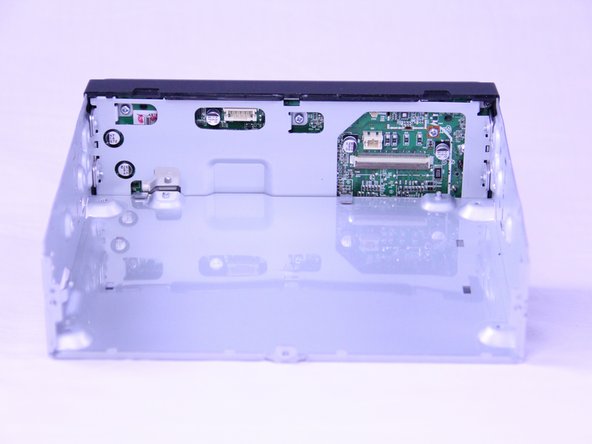
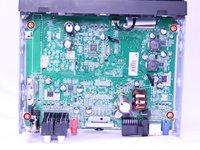
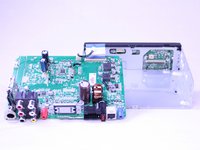
    1. Sony XAV-AX100 Display Board Replacement, USB Cable: step 1, image 1 of 3 Sony XAV-AX100 Display Board Replacement, USB Cable: step 1, image 2 of 3 Sony XAV-AX100 Display Board Replacement, USB Cable: step 1, image 3 of 3
      • Place the device on a flat surface, upside down, so the bottom of the screen would be facing upwards.

      • Remove the ten 3.5mm Phillips #0 screws from the back plate.

      Ask FixBot

      Add Comment

    2. Sony XAV-AX100 Display Board Replacement: step 2, image 1 of 2 Sony XAV-AX100 Display Board Replacement: step 2, image 2 of 2
      • Use a plastic opening tool to remove the back plate.

      • Don't remove completely as there will still be cables connected.

      Ask FixBot

      Add Comment

    3. Sony XAV-AX100 Display Board Replacement: step 3, image 1 of 1
      • Disconnect the USB cable from the display board.

      Ask FixBot

      Add Comment

    4. Sony XAV-AX100 Display Board Replacement: step 4, image 1 of 1
      • Adjust the rubber holders that are keeping the USB cable still on the motherboard, so you can remove the cable entirely from the inner compartment.

      • The rubber holders are extremely sensitive to any applied force. Therefore, be careful while turning them around.

      Ask FixBot

      Add Comment

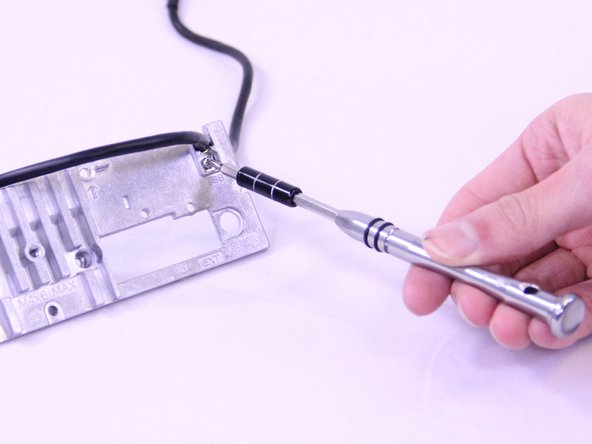
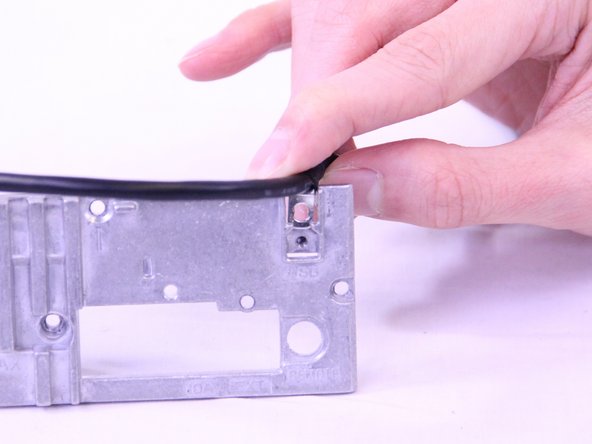
    5. Sony XAV-AX100 Display Board Replacement: step 5, image 1 of 3 Sony XAV-AX100 Display Board Replacement: step 5, image 2 of 3 Sony XAV-AX100 Display Board Replacement: step 5, image 3 of 3
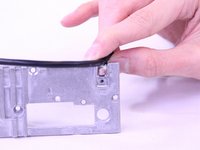
      • Remove the 3.5mm Phillip #0 screw that secures the USB cable to the back panel.

      • Pull the USB cable off of the back plate.

      Ask FixBot

      Add Comment

    1. Sony XAV-AX100 Display Board Replacement, Motherboard: step 6, image 1 of 2 Sony XAV-AX100 Display Board Replacement, Motherboard: step 6, image 2 of 2
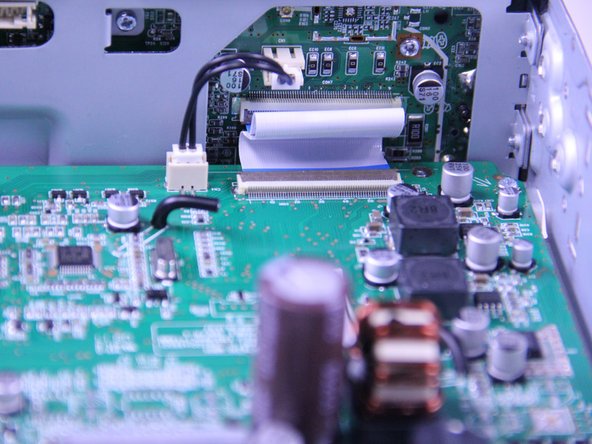
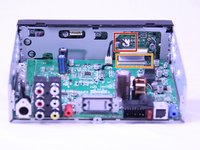
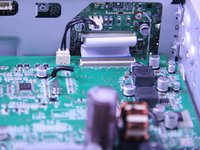
      • Disconnect the display power cable from the motherboard.

      • Use a spudger to flip up the retaining flap on the display ribbon cable ZIF socket.

      Ask FixBot

      Add Comment

    2. Sony XAV-AX100 Display Board Replacement: step 7, image 1 of 3 Sony XAV-AX100 Display Board Replacement: step 7, image 2 of 3 Sony XAV-AX100 Display Board Replacement: step 7, image 3 of 3
      • Unscrew the four 3.5mm Phillips #0 screws from the motherboard.

      • Use a spudger to gently lift the motherboard up and out of the radio.

      Ask FixBot

      Add Comment

    1. Sony XAV-AX100 Display Board Replacement, Display: step 8, image 1 of 1
      • Remove the four 3.5mm Phillips #0 screws from the sides of the display.

      Ask FixBot

      Add Comment

    2. Sony XAV-AX100 Display Board Replacement: step 9, image 1 of 2 Sony XAV-AX100 Display Board Replacement: step 9, image 2 of 2
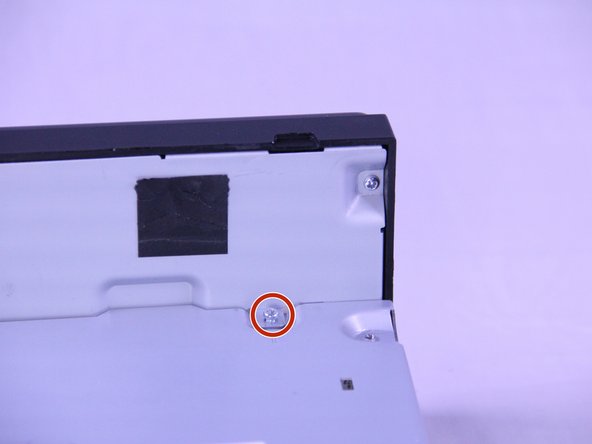
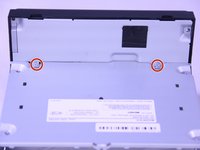
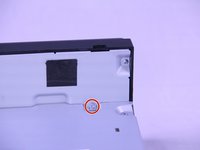
      • Remove two 3.5mm Phillips #0 screws from the back of the head unit.

      Ask FixBot

      Add Comment

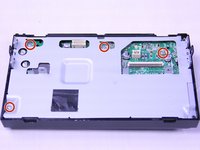
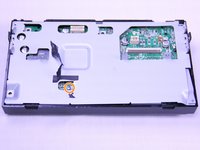
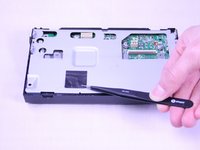
    1. Sony XAV-AX100 Display Board Replacement, Display Board: step 10, image 1 of 3 Sony XAV-AX100 Display Board Replacement, Display Board: step 10, image 2 of 3 Sony XAV-AX100 Display Board Replacement, Display Board: step 10, image 3 of 3
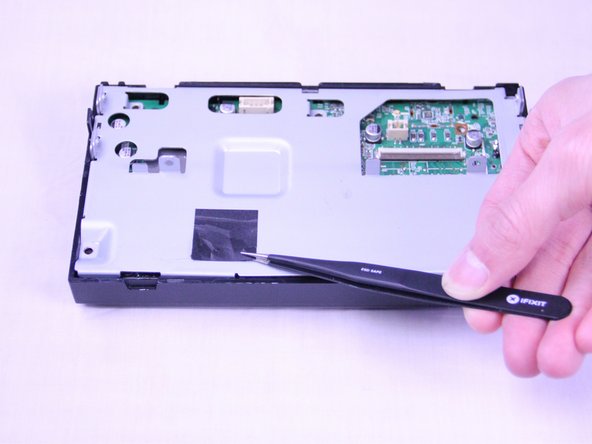
      • Remove the four 3.5mm Phillips #0 screws from the display board.

      • Remove the black tape using a precise tweezer.

      • Remove the 3.5mm Phillips #0 screw from underneath the tape.

      Ask FixBot

      Add Comment

    2. Sony XAV-AX100 Display Board Replacement: step 11, image 1 of 1
      • Remove the two 2mm Phillips #0 screws from the back plate.

      • Remove the back plate.

      Ask FixBot

      Add Comment

    3. Sony XAV-AX100 Display Board Replacement: step 12, image 1 of 1
      • Remove the single 2mm Phillips #0 screw from the motherboard.

      • Use a spudger to flip up the retaining flap on the display ribbon cable ZIF socket.

      Ask FixBot

      Add Comment

    4. Sony XAV-AX100 Display Board Replacement: step 13, image 1 of 1
      • Use a plastic opening tool to remove the display board from the radio.

      Ask FixBot

      Add Comment

Conclusion

To reassemble your device, follow these instructions in reverse order.

Cancel: I did not complete this guide.

One other person completed this guide.

Abdulaziz Redha

Member since: 02/22/18

741 Reputation

5 Guides authored

Team

USF Tampa, Team S1-G5, Cagle Spring 2018 Member of USF Tampa, Team S1-G5, Cagle Spring 2018

USFT-CAGLE-S18S1G5

2 Members

60 Guides authored

1 Guide Comment

Where can I purchase the touch panel glass screen?

Steven olivarez - Reply Share
Add Comment

View Statistics:

Past 24 Hours: 1

Past 7 Days: 19

Past 30 Days: 42

All Time: 2,600