Introduction
Blunt force or exposure to water may lead to the microphone being damaged. Replacing the microphone on the Sony WH-CH520 is a moderately difficult task that requires a basic ability to solder along with a few tools and supplies.
Note: It may be possible to do this repair without extra solder if you reuse the solder connecting the wires and motherboard, but it is always good to have extra.
What you need
-
-
-
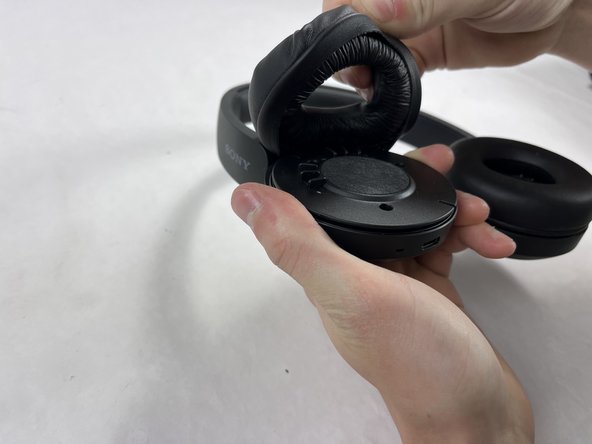
Hold the headphones in one hand, and with your other hand lightly pinch the earpad cushion.
 Ask FixBot
-
-
-
Pull the pinched portion of the cushion up and towards yourself.
-
Pull part of the cushion off of the lip of the headphones.
-
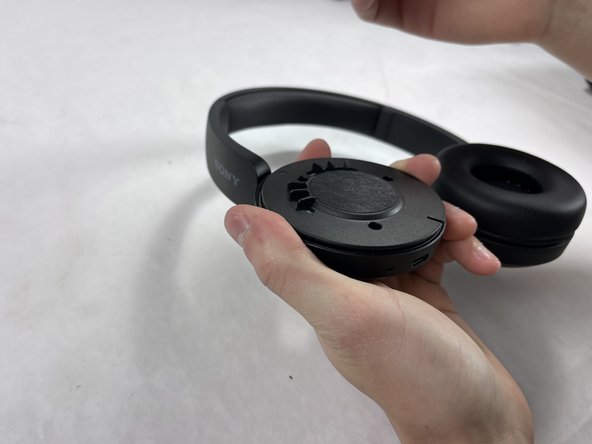
Fully remove by pulling the earpad cushion down and away from yourself.
-
-
-
-
-
-
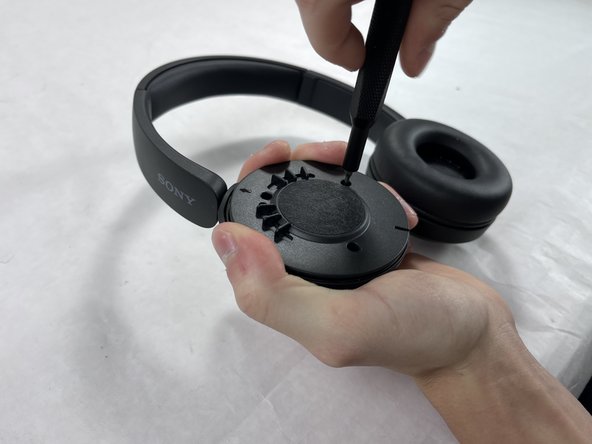
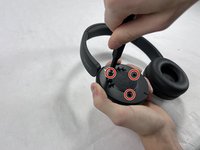
Remove the three 2.5 mm screws from the headphones using a JIS #00 screwdriver.
-
-
-
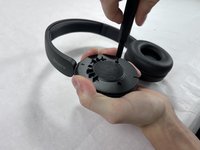
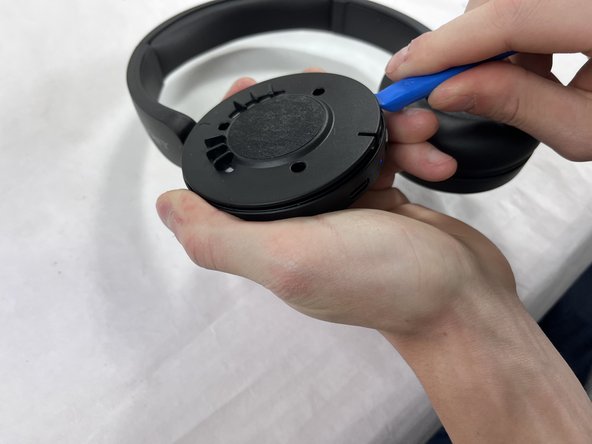
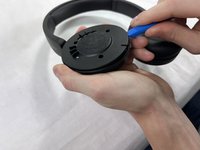
Place one end of an opening tool against the edge of the base with the hook-like side pushing up against the covering.
-
Carefully pull the tool down against the edge to lift the covering.
-
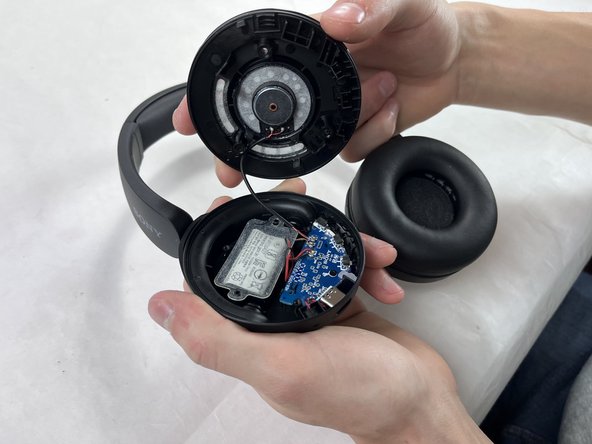
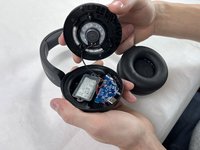
Move the tool to different spots around the base of the headphones to pry it up until the covering comes off.
-
-
-
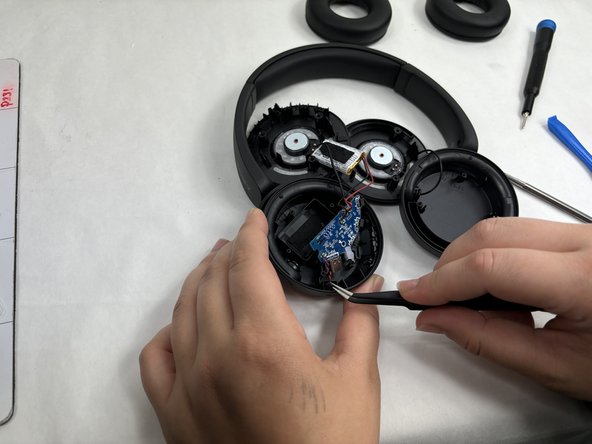
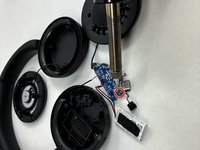
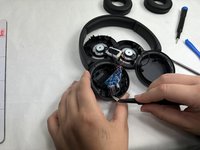
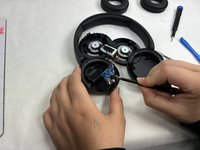
Desolder the wire attached to the M- terminal first.
-
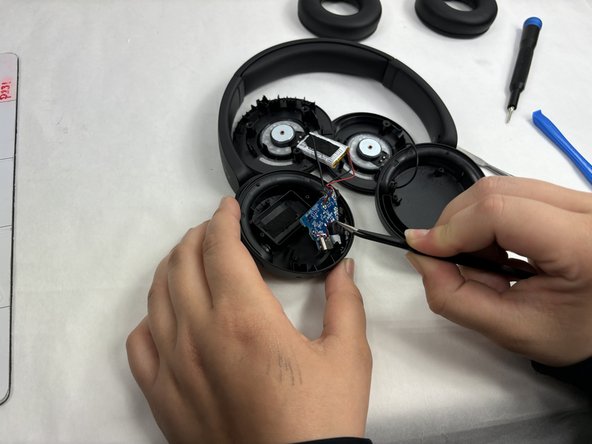
Desolder the wires attached to the microphone from the motherboard.
-
Remove the microphone using tweezers.
-
-







To reassemble your device, follow these instructions in reverse order.

Team

UMass Dartmouth, Team 2-2, Konn Fall 2024 Member of UMass Dartmouth, Team 2-2, Konn Fall 2024
UMASSD-KONN-F24S2G2
4 Members
60 Guides authored
