Introduction
Over time or with overuse, batteries can become corroded. If you notice the battery life decreasing significantly or possibly a strange smell coming from the Sony WH-CH520, it could mean it's time for a battery change. Replacing a battery requires being able to handle tools in small electronics and soldering experience.
What you need
-
-
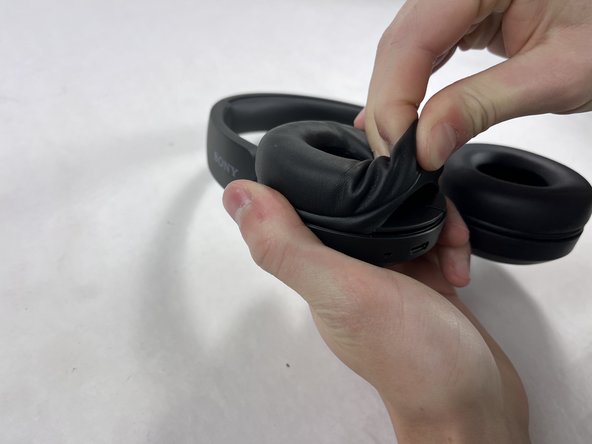
Lay headphones flat against the surface with the ear cushions oriented upwards.
-
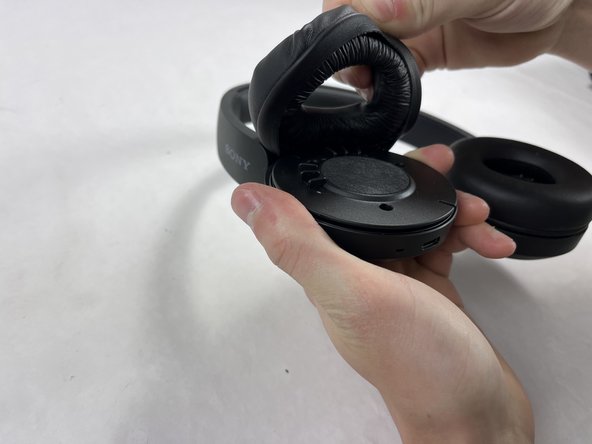
Pinch the cushion of the right labeled headphone near the edge of the device to carefully pull the cushion off.
 Ask FixBot
-
-
-
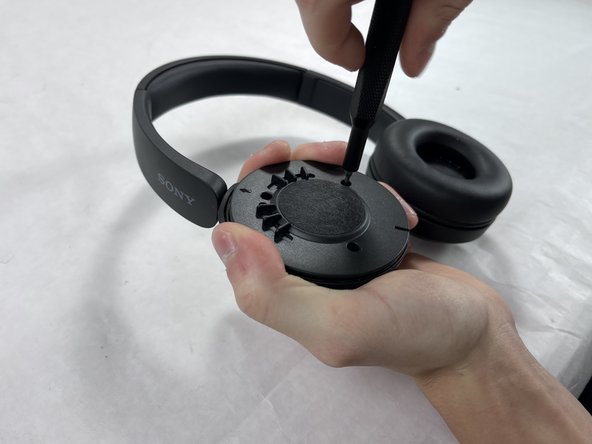
Remove the three 2.5 mm screws from the headphones using a JIS #00 screwdriver.
-
-
-
-
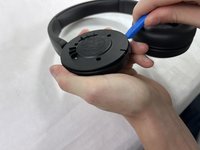
Place one end of an opening tool against the edge of the base with the hook-like side pushing up against the covering.
-
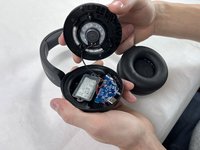
Carefully pull the tool down against the edge to lift the covering.
-
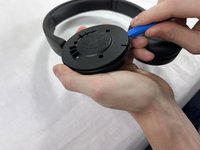
Move the tool to different spots around the base of the headphones to pry it up until the covering comes off.
-
-
-
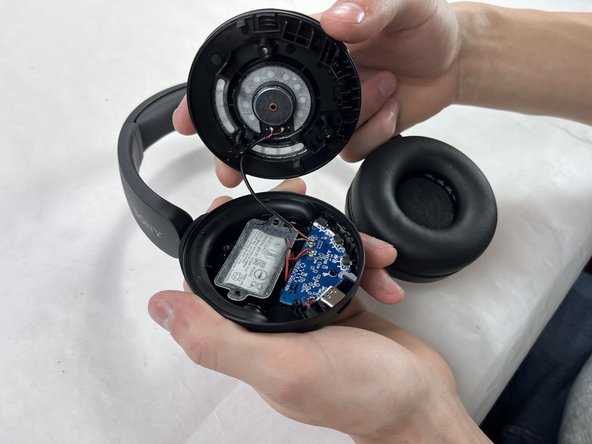
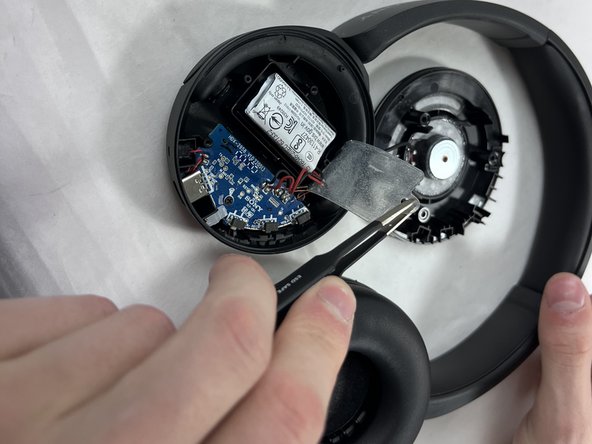
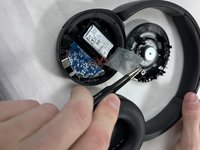
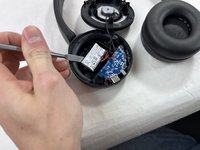
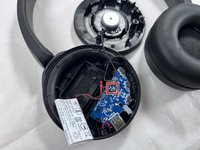
Carefully remove the film adhesive on top of the battery using a pair of tweezers.
-
-
-
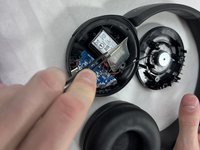
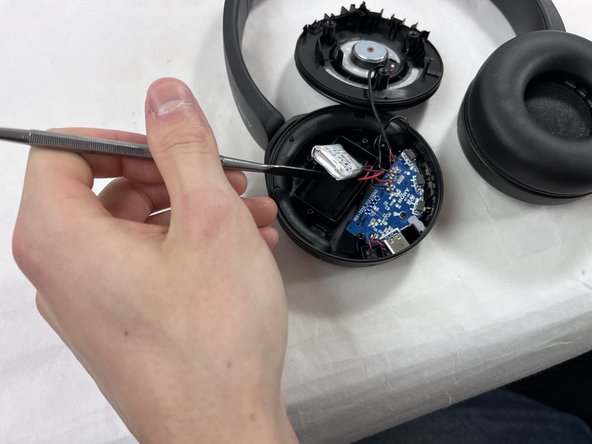
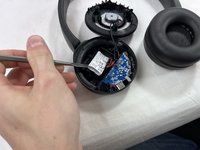
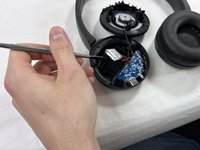
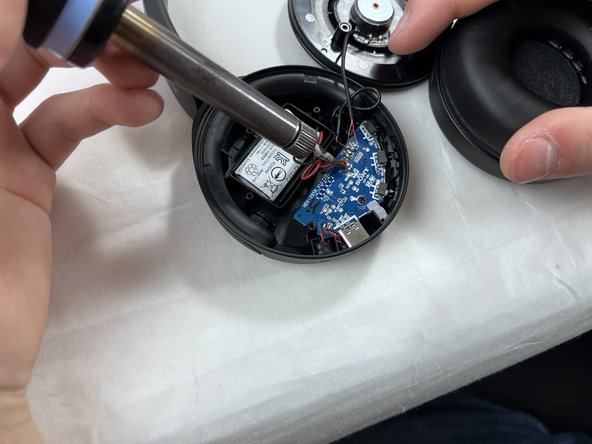
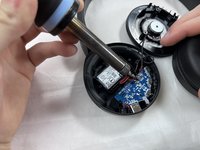
Find the wires connecting the motherboard to the battery.
-
Using a soldering iron, carefully desolder the red and black wires from the motherboard and replace with the new battery and wires.
-


To reassemble your device, follow these instructions in reverse order.

Team

UMass Dartmouth, Team 2-2, Konn Fall 2024 Member of UMass Dartmouth, Team 2-2, Konn Fall 2024
UMASSD-KONN-F24S2G2
4 Members
5 Guides authored