Introduction
If the Sony WF-1000XM3 charging case battery can no longer hold a charge or if the earbuds themselves cannot be charged, it may need to be replaced. Use this guide to safely replace it.
Before using this guide, check to see if the charging port on the case or the charging pins inside the case need to be cleaned. A small amount of contact cleaner can get rid of any dust or debris. Otherwise, the problem may be internal like the battery, the charging port, or the charging pins.
What you need
-
-
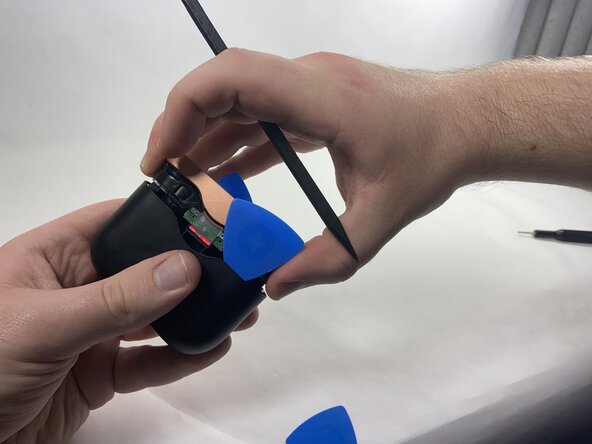
Use plastic opening picks to release the locking mechanism that secures the plastic shell of the charging case to its internal components.
-
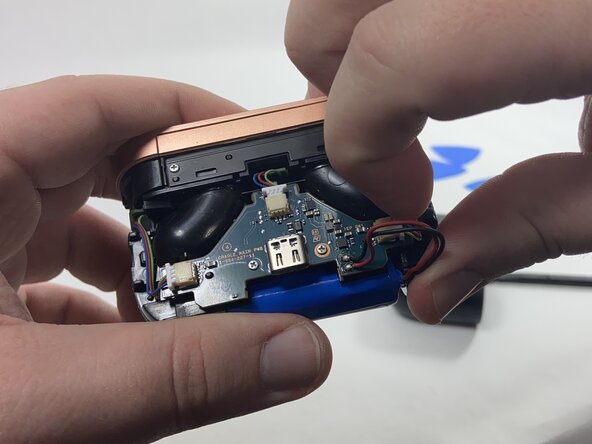
Use a spudger to release the final lock and slide out the internal components of the charging case.
 Ask FixBot
-
-
-
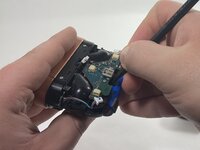
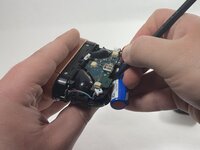
Use the point of a spudger to push on alternating sides of each connector to "walk" it out of its socket.
-
-
-
-
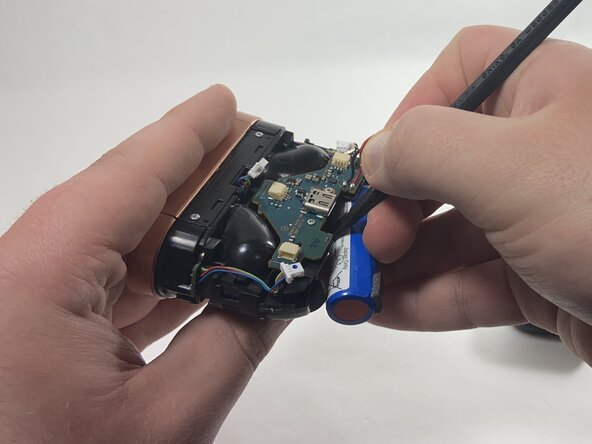
Use a plastic spudger to carefully remove the battery from the double-sided tape securing it in place, then remove it from the battery compartment.
-
-
-
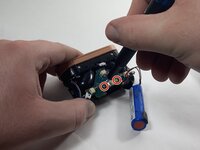
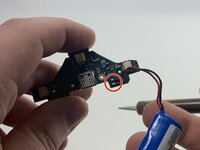
Remove the two metal 3 mm screws from the motherboard using a Phillips #000 screwdriver.
-
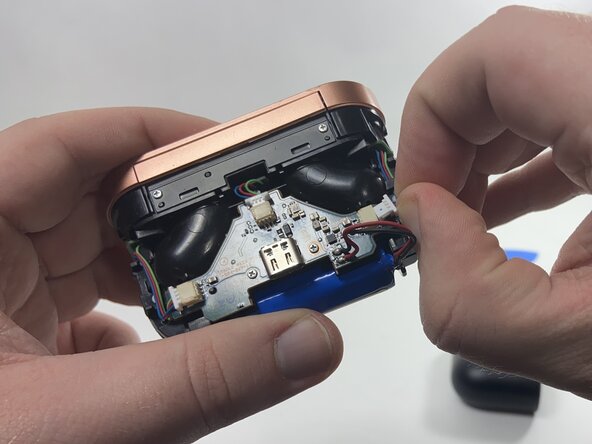
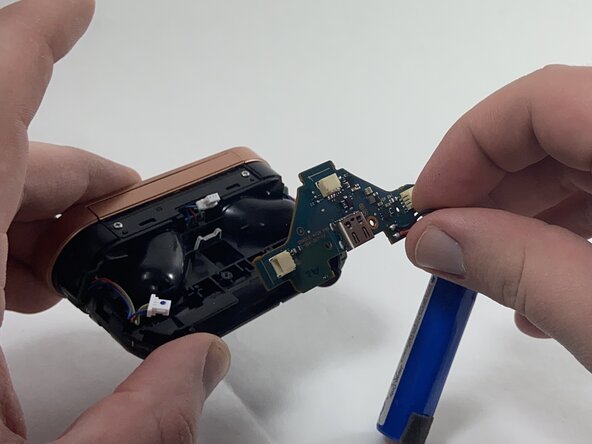
Remove the motherboard and battery assembly from the battery case
-
-
-
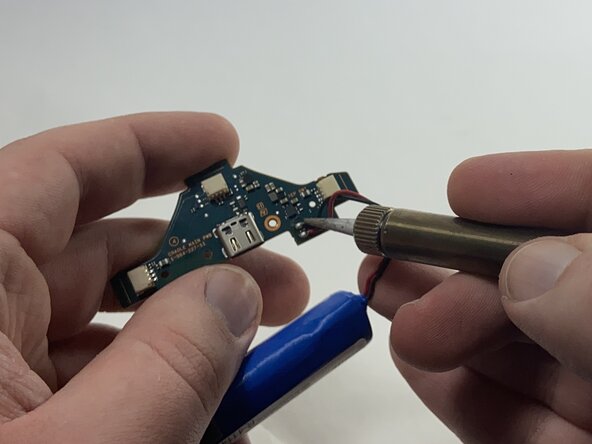
Desolder the red and black wires that connect the battery to the motherboard.
-
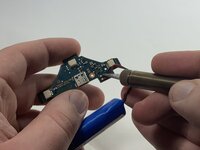
Solder the wires from the replacement battery into the circuit board following the same configuration.
-


To reassemble your device, follow these instructions in reverse order. Take your e-waste to an R2 or e-Stewards certified recycler.
Cancel: I did not complete this guide.
3 other people completed this guide.
Team

UMass Dartmouth, Team 3-6, Santin Fall 2024 Member of UMass Dartmouth, Team 3-6, Santin Fall 2024
UMASSD-SANTIN-F24S3G6
3 Members
9 Guides authored
4 Guide Comments
what kind of battery is in the case?
What is the battery model of the battery?
14500 3.7v, as seen in the battery label on Step 2
Has anyone had any success getting the case flush again? I've done cable management and the battery wires are out of the way and stuck down but the outer shell does not want to go back flush.