
Sony Vaio VPCW21FX Keyboard Replacement

Nicholas Corcoran and 3 other contributors
Last updated on Mar 24, 2023
Views: 3K
View statistics:
- Past 24 Hours:
- 4
- Past 7 Days:
- 24
- Past 30 Days:
- 101
- All Time:
- 3,024
Comments: 0
No one has left comments on this guide. Will you be first?
Go to guide commentsCompleted: 1 2
1 person has marked this guide "completed." Will you be next?
2 people have marked this guide "completed." Including you — great job!
Favorites: 0 1
No one has favorited (and subscribed to) this guide. Will you be the first?
1 person has favorited (and subscribed to) this guide — and that's you!
Introduction
Go to step 1 ↓In this guide, you will learn how to remove and replace the Keyboard from your laptop. If you have this exact laptop, follow the below steps. If you have another laptop, that is still okay, these steps will give you a basic understanding on how to remove the Keyboard and you can adapt them to your own computer.
What you need
Tools


-
-
-
Turn the device over onto its back, where the battery is at the top of the device. Slide the "lock" switch to the right.
 Ask FixBot
-
-
-
Slide the "release" switch to the left and gently lift the battery up to remove it.
-
Completely remove the battery from the device.
-
-
-
-
-
-
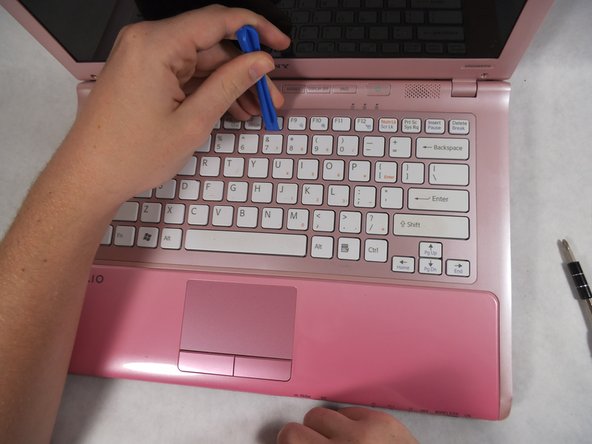
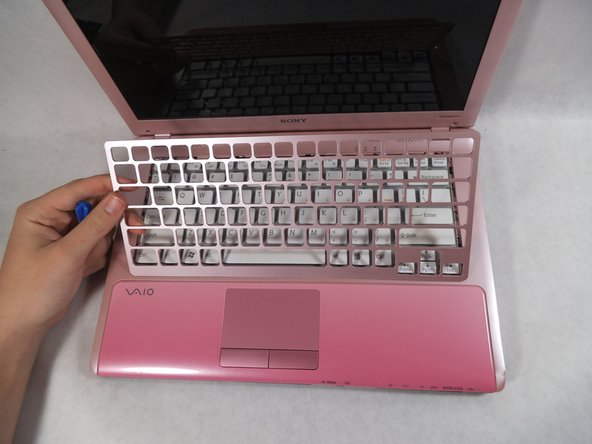
Open the Lid of the laptop
-
Then using they pry tool to carefully remove the plastic cover around the keyboard
-
-
-
Close the lid and flip the laptop over
-
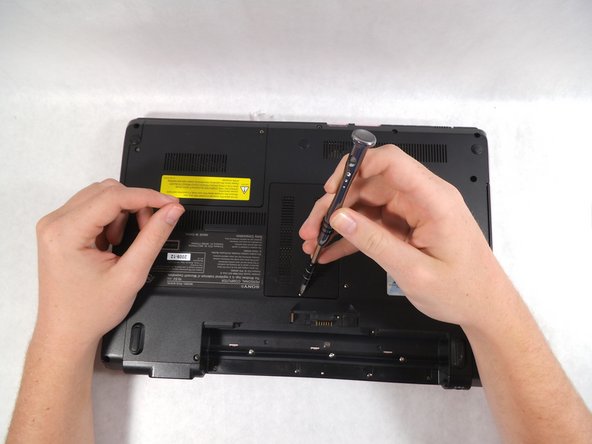
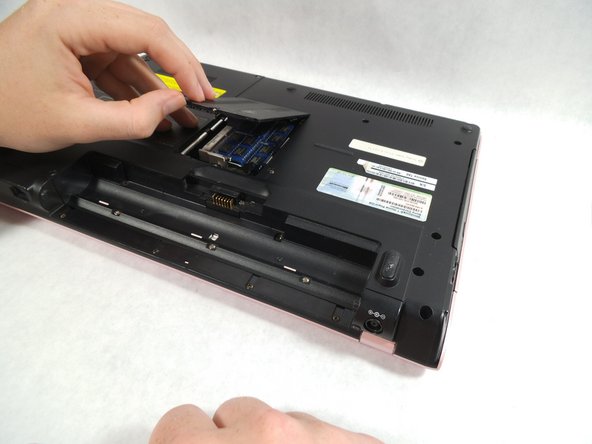
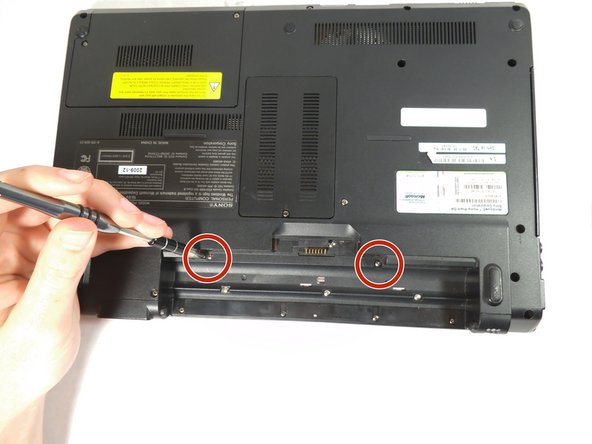
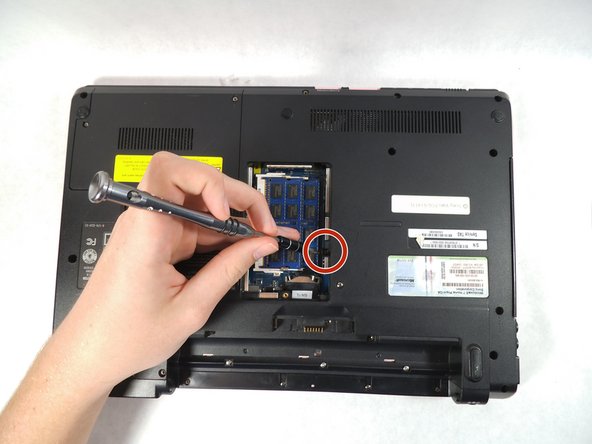
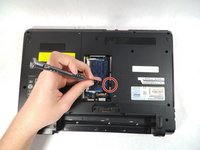
Loosen but do not remove the screw on center panel and remove Panel.
-
-
-
Flip laptop over again and open the lid
-
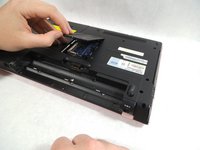
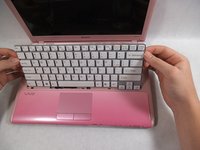
Lift up the keyboard from the top and lean it toward you to expose the connector on the back
-
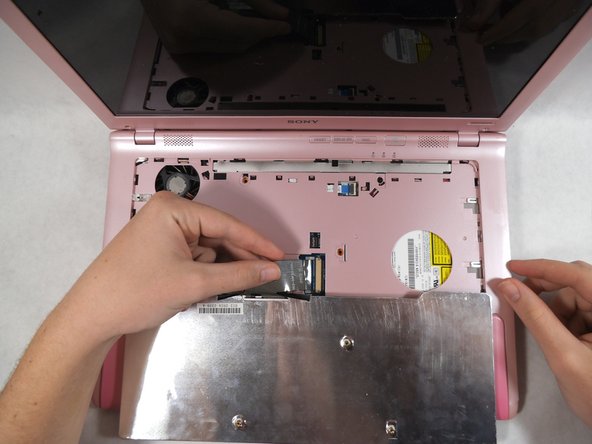
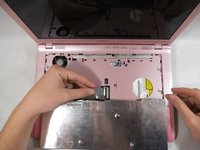
Grab the wire from the keyboard close to the connector and pull carefully to the left to disconnect it from the laptop.
-
-






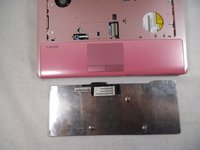
To reassemble your device, follow these instructions in reverse order.
Cancel: I did not complete this guide.
One other person completed this guide.

Team

UMass Dartmouth, Team S2-G5, Isaacson Spring 2017 Member of UMass Dartmouth, Team S2-G5, Isaacson Spring 2017
UMASSD-ISAACSON-S17S2G5
2 Members
48 Guides authored
