
Sony Vaio VPCW211AX Fan Replacement

Giselle Dougan and 3 other contributors
Last updated on Apr 25, 2018
Views: 1.2K
View statistics:
- Past 24 Hours:
- 1
- Past 7 Days:
- 13
- Past 30 Days:
- 72
- All Time:
- 1,156
Comments: 1
1 comment on steps.
Completed: 1 2
1 person has marked this guide "completed." Will you be next?
2 people have marked this guide "completed." Including you — great job!
Favorites: 0 1
No one has favorited (and subscribed to) this guide. Will you be the first?
1 person has favorited (and subscribed to) this guide — and that's you!
Community-Contributed Guide
An awesome member of our community made this guide. It was not created by iFixit staff.
Introduction
Go to step 1 ↓This guide will show you how to replace the fan in your Sony Vaio computer. You will need to have completed the keyboard replacement guide first.
What you need
Parts
Tools


-
-
-
Use a plastic opening tool to pry up the keyboard. Start at the end closest to the screen.
-
-
-
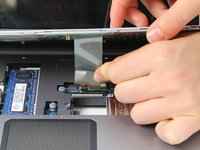
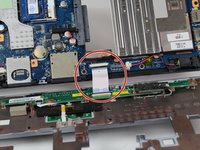
Carefully detach the ribbon from the base of the computer with your hands.
-
Remove the keyboard.
-
-
-
-
-
Using a metal spudger, pry open at the seams.
-
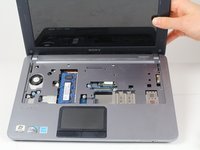
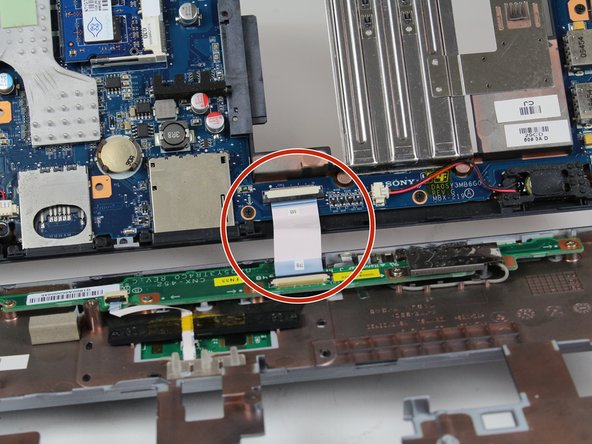
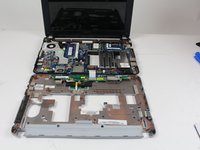
Open the gray top of the laptop from the base black portion.
-
Slide the spudger along the seam, and then carefully open the top.
-
-
-
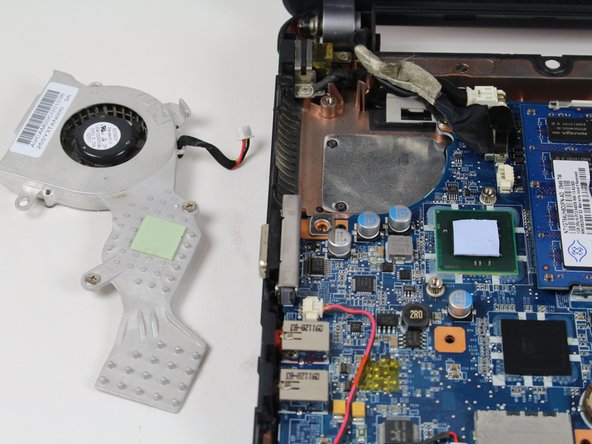
The fan will still be attached by a small red and yellow wire, with your fingers detach this carefully.
-
Remove the fan.
-

 Ask FixBot











To reassemble your device, follow these instructions in reverse order.
Cancel: I did not complete this guide.
One other person completed this guide.

