
Sony Vaio VPCEG26FX Fan Replacement

Sara Alfaro and 4 other contributors
Last updated on Dec 10, 2022
Views: 804
View statistics:
- Past 24 Hours:
- 3
- Past 7 Days:
- 18
- Past 30 Days:
- 62
- All Time:
- 804
Comments: 0
No one has left comments on this guide. Will you be first?
Go to guide commentsCompleted: 0 1
No one has marked this guide "completed." Will you be the first?
1 person has marked this guide "completed." It's you — great job!
Favorites: 0 1
No one has favorited (and subscribed to) this guide. Will you be the first?
1 person has favorited (and subscribed to) this guide — and that's you!
Inconsistent Images
Updating the images on this guide to be more consistent with the prerequisites would increase its awesomeness.
Introduction
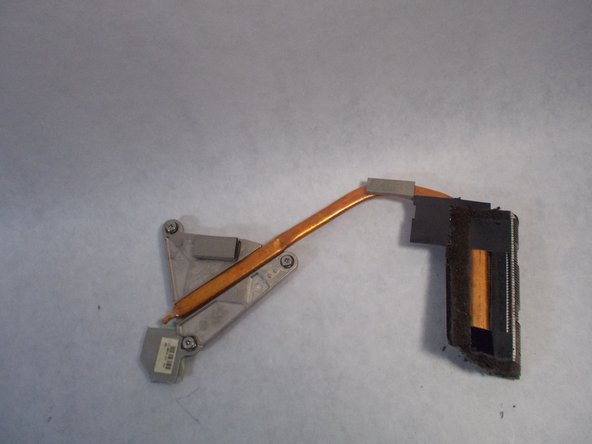
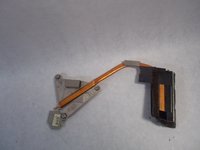
Go to step 1 ↓In order to successfully complete this guide, please first follow the prerequisite guides. The fan will need to be replaced if the laptop gets hot to the touch while making a lot of noise or no noise at all. Be careful to not bend the copper heat pipe when removing the CPU cooler. The fan should lift off the motherboard without force.
What you need
Tools
-
Spudger4.9
-


-
-
-
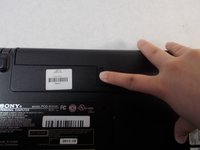
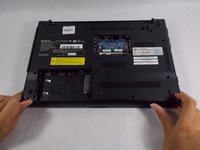
Flip the laptop so the bottom is facing up with the model number visible.
 Ask FixBot
-
-
-
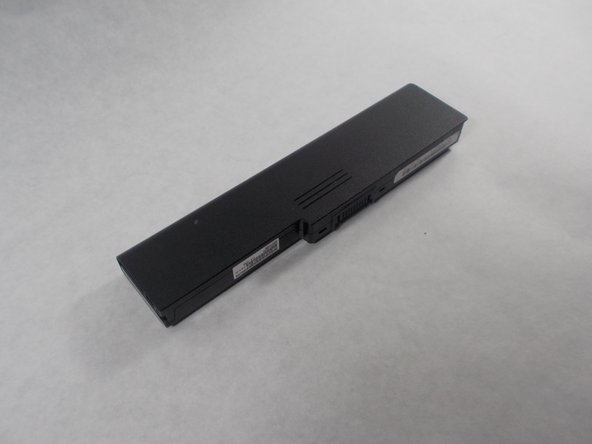
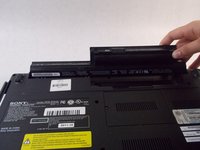
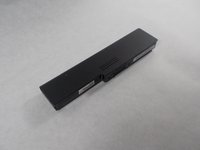
Slide the release slider up and simultaneously push the battery upwards away from the device until it falls out of place.
-
-
-
-
-
-
Remove the remaining eleven 7mm screws from back panel using the JIS #0 screwdriver.
-
-
-
-
-
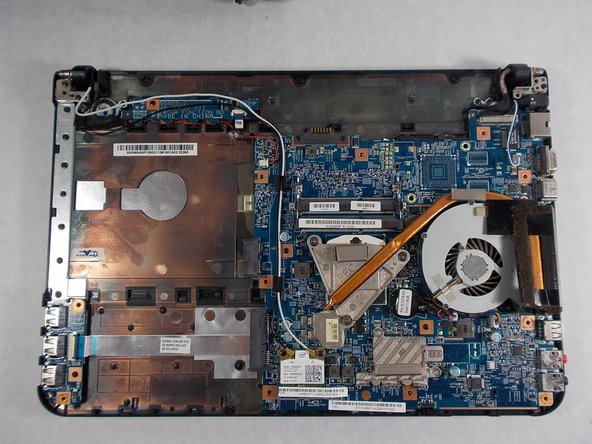
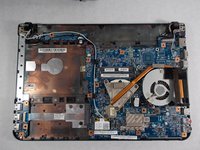
Remove the three 7mm screws attached to the fan using the JIS #0 screwdriver.
-
-








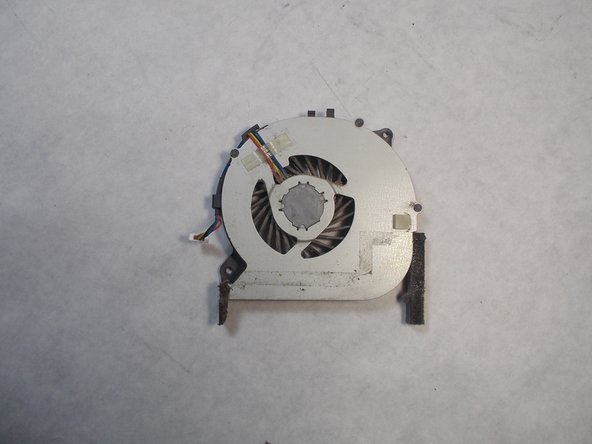
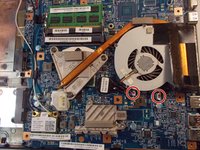
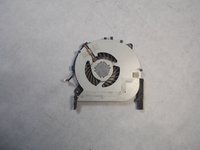
To reassemble your device, follow these instructions in reverse order.

Team

UMass Dartmouth, Team S1-G4, Botvin Spring 2019 Member of UMass Dartmouth, Team S1-G4, Botvin Spring 2019
UMASSD-BOTVIN-S19S1G4
4 Members
60 Guides authored
