Free Shipping on Domestic Orders $75+

Sony Vaio VPCEB11FM Hard Drive Replacement

Views: 5.3K

View statistics:

Past 24 Hours:
1
Past 7 Days:
22
Past 30 Days:
105
All Time:
5,268
Comments: 0

No one has left comments on this guide. Will you be first?

Go to guide comments
Completed: 2

2 people have marked this guide "completed." Will you be next?

Favorites: 0

No one has favorited (and subscribed to) this guide. Will you be the first?

Time Required: 10 minutes
Difficulty: Easy
Markup Mishap

This guide needs better markups. Help out by correcting or making some markup annotations.

Better Introduction

Improve this guide by completing or revising its introduction.

Sony Vaio VPCEB11FM Hard Drive Replacement

What you need

Fix Kit

This kit contains all the parts and tools needed to complete this guide.

Parts

Tools

    1. Sony Vaio VPCEB11FM Hard Drive Replacement, Battery: step 1, image 1 of 1
      • Power down and disconnect the laptop from power supply.

      • Using your fingers, unlock the tab by pushing on the slide.

      Ask FixBot

      Add Comment

    2. Sony Vaio VPCEB11FM Hard Drive Replacement: step 2, image 1 of 1
      • While holding the release slide, use your thumb to lift the lip of the battery to pull it out.

      Ask FixBot

      Add Comment

    3. Sony Vaio VPCEB11FM Hard Drive Replacement: step 3, image 1 of 1
      • Pull the battery out.

      Ask FixBot

      Add Comment

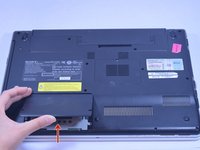
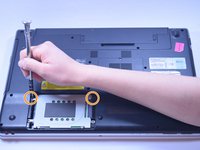
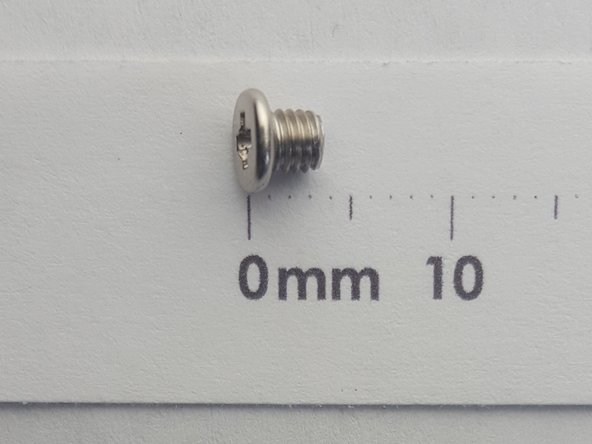
    1. Sony Vaio VPCEB11FM Hard Drive Replacement, Hard Drive: step 4, image 1 of 2 Sony Vaio VPCEB11FM Hard Drive Replacement, Hard Drive: step 4, image 2 of 2
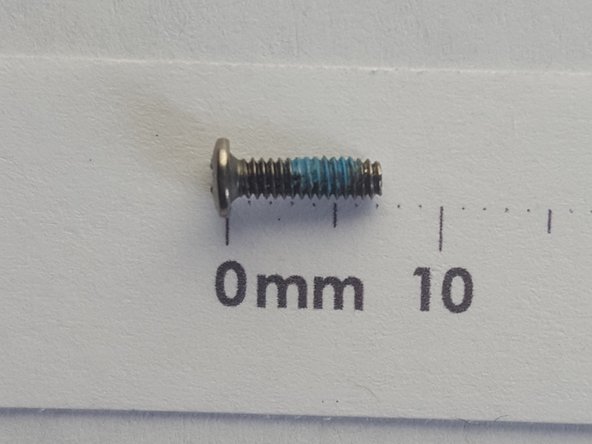
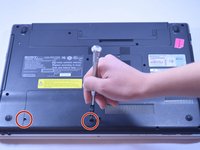
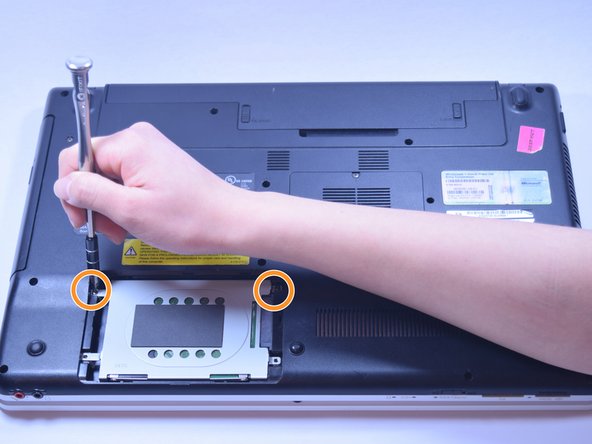
      • Using the Phillips #01 Screwdriver, remove the two 7mm screws.

      Ask FixBot

      Add Comment

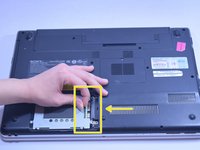
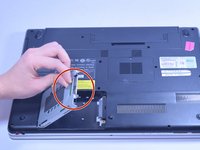
    2. Sony Vaio VPCEB11FM Hard Drive Replacement: step 5, image 1 of 3 Sony Vaio VPCEB11FM Hard Drive Replacement: step 5, image 2 of 3 Sony Vaio VPCEB11FM Hard Drive Replacement: step 5, image 3 of 3
      • Use your fingers to pry the cover upward.

      • Unscrew the two 7mm screws.

      • Pull the plastic tab in the direction of the arrow to take out.

      Ask FixBot

      Add Comment

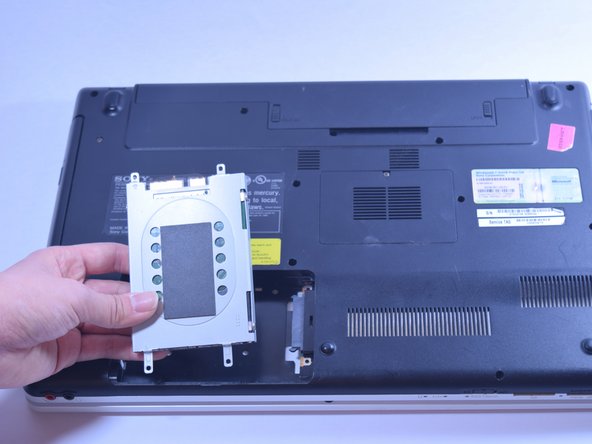
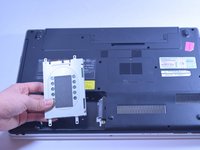
    3. Sony Vaio VPCEB11FM Hard Drive Replacement: step 6, image 1 of 2 Sony Vaio VPCEB11FM Hard Drive Replacement: step 6, image 2 of 2
      • Lift plug side first.

      • Remove all the way.

      Ask FixBot

      Add Comment

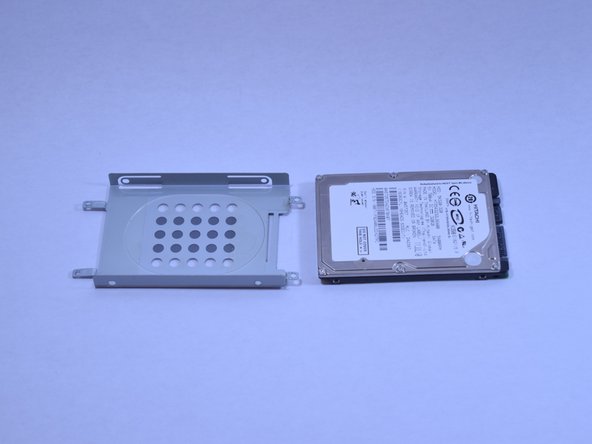
    4. Sony Vaio VPCEB11FM Hard Drive Replacement: step 7, image 1 of 3 Sony Vaio VPCEB11FM Hard Drive Replacement: step 7, image 2 of 3 Sony Vaio VPCEB11FM Hard Drive Replacement: step 7, image 3 of 3
      • Skip to next step if accessing other components.

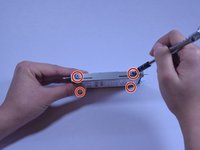
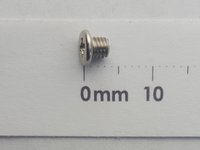
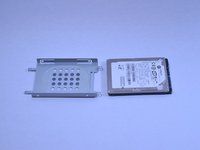
      • Remove the 3mm screws with the Phillips #1 Screwdriver from hard drive bracket.

      Ask FixBot

      Add Comment

Conclusion

To reassemble your device, follow these instructions in reverse order.

Cancel: I did not complete this guide.

2 other people completed this guide.

Maxine Filcher

Member since: 01/30/17

1,153 Reputation

8 Guides authored

Team

UW Tacoma, Team 1-5, Rose Winter 2017 Member of UW Tacoma, Team 1-5, Rose Winter 2017

UWT-ROSE-W17S1G5

4 Members

96 Guides authored

0 Guide Comments

Add Comment

View Statistics:

Past 24 Hours: 1

Past 7 Days: 22

Past 30 Days: 105

All Time: 5,268