Free Shipping on Domestic Orders $75+

Sony Vaio VPCEB11FM Cooling Fan Replacement

What you need

    1. Sony Vaio VPCEB11FM Cooling Fan Replacement, Battery: step 1, image 1 of 1
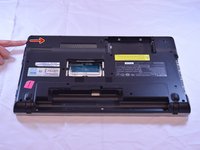
      • Power down and disconnect the laptop from power supply.

      • Using your fingers, unlock the tab by pushing on the slide.

      Ask FixBot
      Add Comment

    2. Sony Vaio VPCEB11FM Cooling Fan Replacement: step 2, image 1 of 1
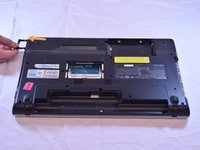
      • While holding the release slide, use your thumb to lift the lip of the battery to pull it out.

      Ask FixBot
      Add Comment

    3. Sony Vaio VPCEB11FM Cooling Fan Replacement: step 3, image 1 of 1
      • Pull the battery out.

      Ask FixBot
      Add Comment

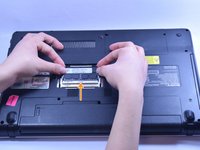
    1. Sony Vaio VPCEB11FM Cooling Fan Replacement, RAM: step 4, image 1 of 2 Sony Vaio VPCEB11FM Cooling Fan Replacement, RAM: step 4, image 2 of 2
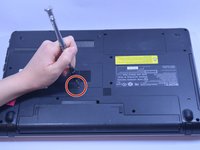
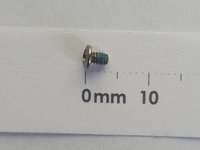
      • Unscrew the RAM cover plate using the Phillips #1 Screwdriver.

      • Once the cover has been loosened, pry the cover with your finger for it to come off.

      Ask FixBot
      Add Comment

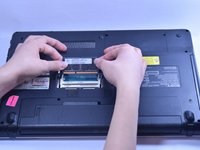
    2. Sony Vaio VPCEB11FM Cooling Fan Replacement: step 5, image 1 of 3 Sony Vaio VPCEB11FM Cooling Fan Replacement: step 5, image 2 of 3 Sony Vaio VPCEB11FM Cooling Fan Replacement: step 5, image 3 of 3
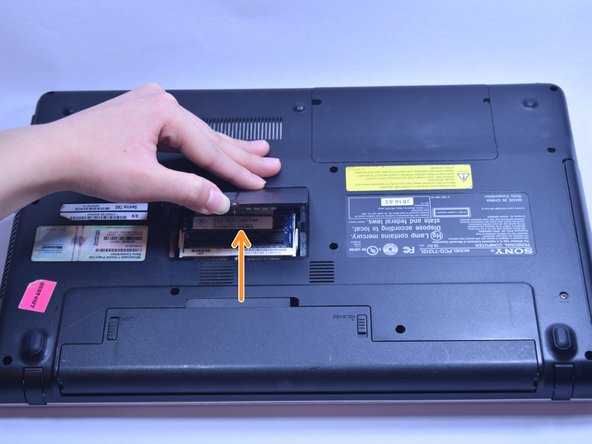
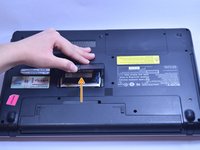
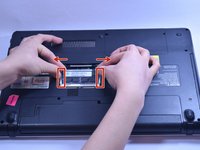
      • Use your fingers to gently pull the white plastic strip outward on both sides.

      • Once you pull the strip, the strip of RAM will loosen up. Once loose the strip of RAM should lift out.

      • Once done with the top strip of RAM continue for all continuous strips.

      Ask FixBot

      Add Comment

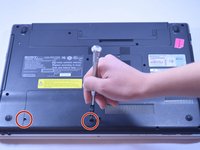
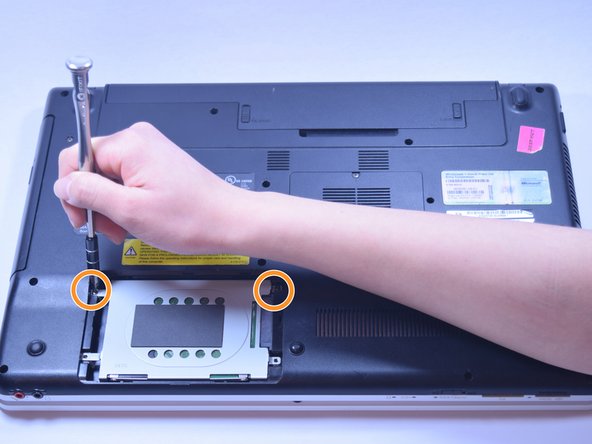
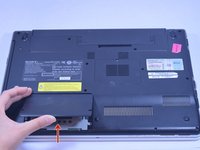
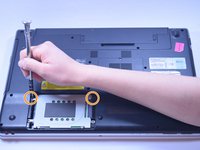
    1. Sony Vaio VPCEB11FM Cooling Fan Replacement, Hard Drive: step 6, image 1 of 2 Sony Vaio VPCEB11FM Cooling Fan Replacement, Hard Drive: step 6, image 2 of 2
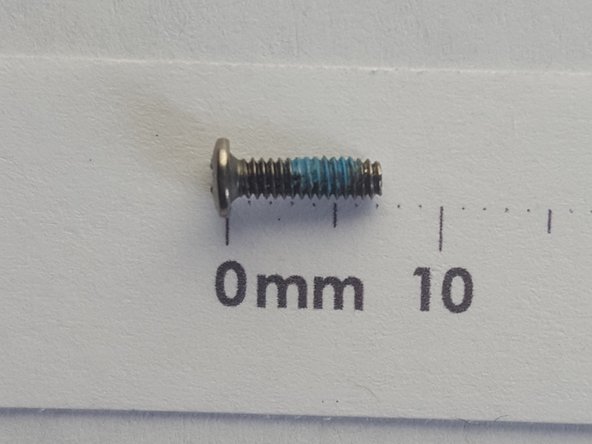
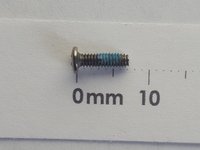
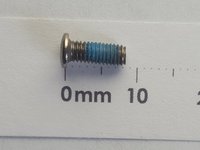
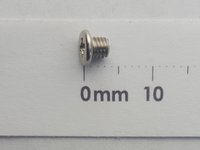
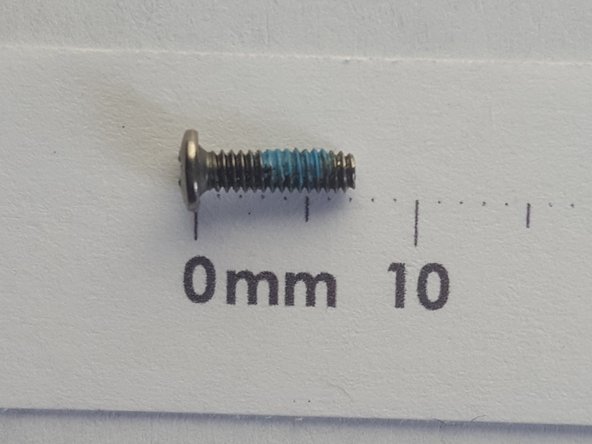
      • Using the Phillips #01 Screwdriver, remove the two 7mm screws.

      Ask FixBot
      Add Comment

    2. Sony Vaio VPCEB11FM Cooling Fan Replacement: step 7, image 1 of 3 Sony Vaio VPCEB11FM Cooling Fan Replacement: step 7, image 2 of 3 Sony Vaio VPCEB11FM Cooling Fan Replacement: step 7, image 3 of 3
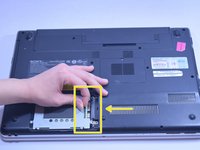
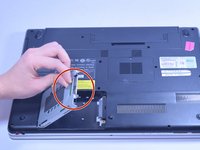
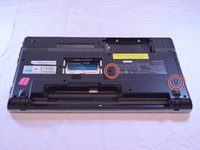
      • Use your fingers to pry the cover upward.

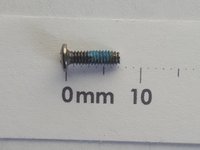
      • Unscrew the two 7mm screws.

      • Pull the plastic tab in the direction of the arrow to take out.

      Ask FixBot
      Add Comment

    3. Sony Vaio VPCEB11FM Cooling Fan Replacement: step 8, image 1 of 2 Sony Vaio VPCEB11FM Cooling Fan Replacement: step 8, image 2 of 2
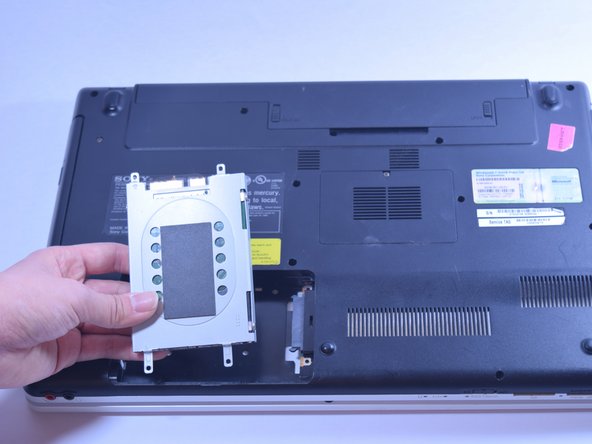
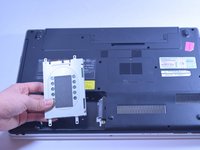
      • Lift plug side first.

      • Remove all the way.

      Ask FixBot
      Add Comment

    4. Sony Vaio VPCEB11FM Cooling Fan Replacement: step 9, image 1 of 3 Sony Vaio VPCEB11FM Cooling Fan Replacement: step 9, image 2 of 3 Sony Vaio VPCEB11FM Cooling Fan Replacement: step 9, image 3 of 3
      • Skip to next step if accessing other components.

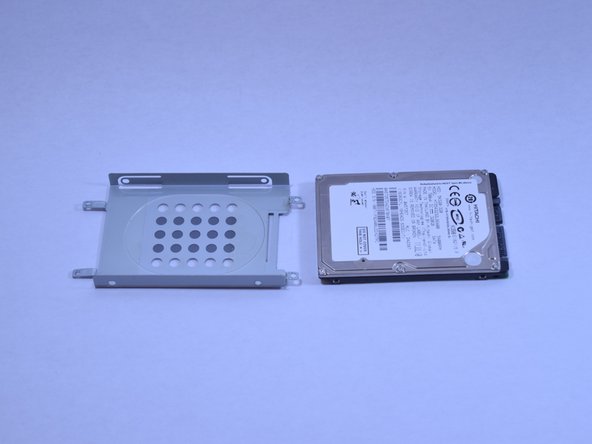
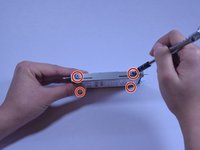
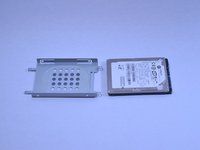
      • Remove the 3mm screws with the Phillips #1 Screwdriver from hard drive bracket.

      Ask FixBot

      Add Comment

    1. Sony Vaio VPCEB11FM Cooling Fan Replacement, DVD Drive: step 10, image 1 of 2 Sony Vaio VPCEB11FM Cooling Fan Replacement, DVD Drive: step 10, image 2 of 2
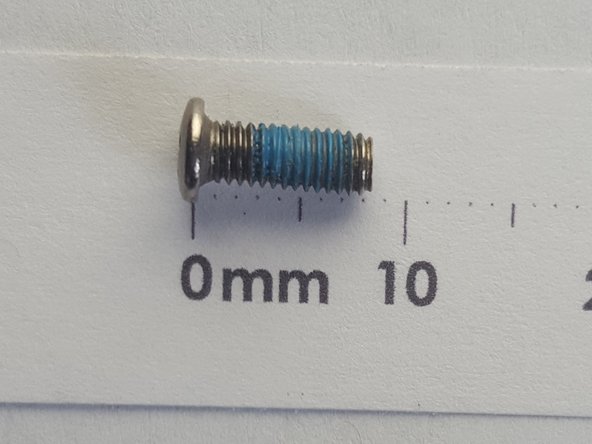
      • Remove the 7mm screws with the Phillips #1 Screwdriver.

      Ask FixBot

      Add Comment
    2. Sony Vaio VPCEB11FM Cooling Fan Replacement: step 11, image 1 of 1
      • Grasp the DVD drive's face plate with your fingers and pull out.

      Ask FixBot

      Add Comment

    1. Sony Vaio VPCEB11FM Cooling Fan Replacement, Cooling Fan: step 12, image 1 of 3 Sony Vaio VPCEB11FM Cooling Fan Replacement, Cooling Fan: step 12, image 2 of 3 Sony Vaio VPCEB11FM Cooling Fan Replacement, Cooling Fan: step 12, image 3 of 3
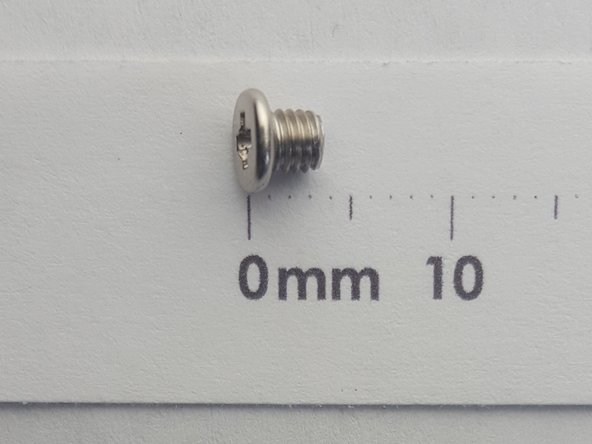
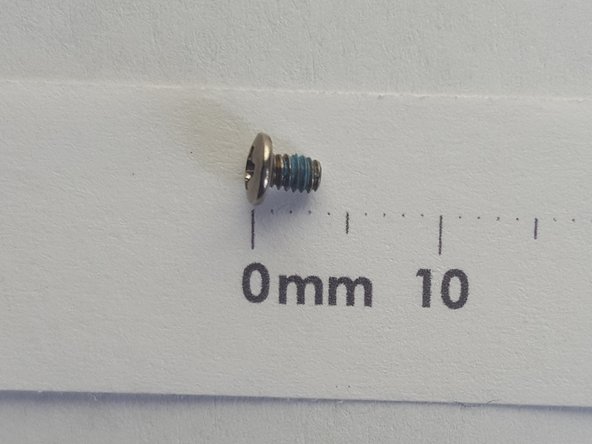
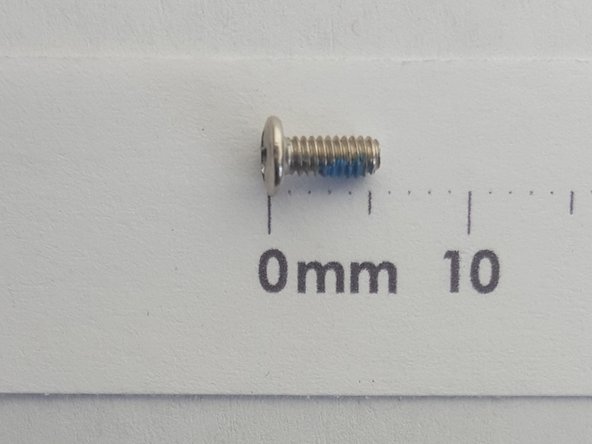
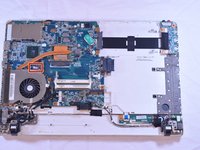
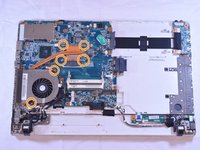
      • Remove ten 7mm screws with the Phillips #1 Screwdriver.

      • Remove two 8mm screws with the Phillips #1 Screwdriver.

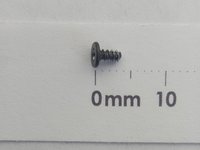
      • Remove two 3mm screws with the Phillips #1 Screwdriver.

      Ask FixBot

      Add Comment

    2. Sony Vaio VPCEB11FM Cooling Fan Replacement: step 13, image 1 of 2 Sony Vaio VPCEB11FM Cooling Fan Replacement: step 13, image 2 of 2
      • Remove SD card slot block by pushing it in until it releases.

      • Once released pull out to remove.

      Ask FixBot

      Add Comment

    3. Sony Vaio VPCEB11FM Cooling Fan Replacement: step 14, image 1 of 3 Sony Vaio VPCEB11FM Cooling Fan Replacement: step 14, image 2 of 3 Sony Vaio VPCEB11FM Cooling Fan Replacement: step 14, image 3 of 3
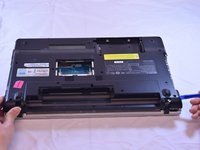
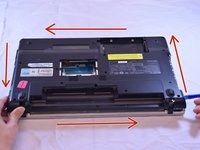
      • To take off the cover plate, start by finding a loose corner to begin prying it open.

      • Work the tool around the sides to release the cover. You may need a second tool to help keep your loose corner open.

      • Lift cover away.

      • NOTE: If you are attempting to access other components, skip 2 steps.

      Ask FixBot

      Add Comment

    4. Sony Vaio VPCEB11FM Cooling Fan Replacement: step 15, image 1 of 3 Sony Vaio VPCEB11FM Cooling Fan Replacement: step 15, image 2 of 3 Sony Vaio VPCEB11FM Cooling Fan Replacement: step 15, image 3 of 3
      • Remove the plug shown using a pry tool.

      • Remove seven 5mm screws with the Phillips #01 Screwdriver.

      Ask FixBot

      Add Comment

    5. Sony Vaio VPCEB11FM Cooling Fan Replacement: step 16, image 1 of 3 Sony Vaio VPCEB11FM Cooling Fan Replacement: step 16, image 2 of 3 Sony Vaio VPCEB11FM Cooling Fan Replacement: step 16, image 3 of 3
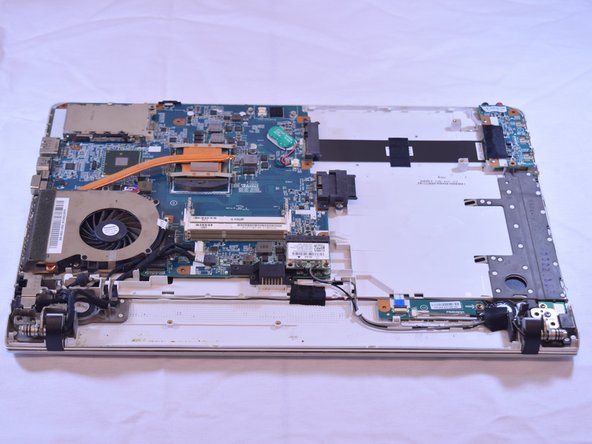
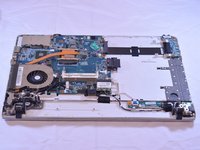
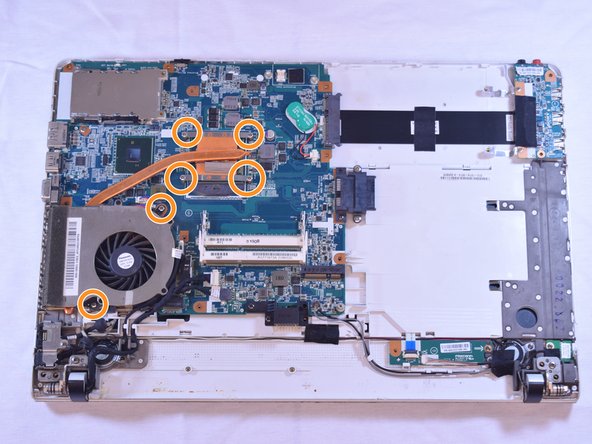
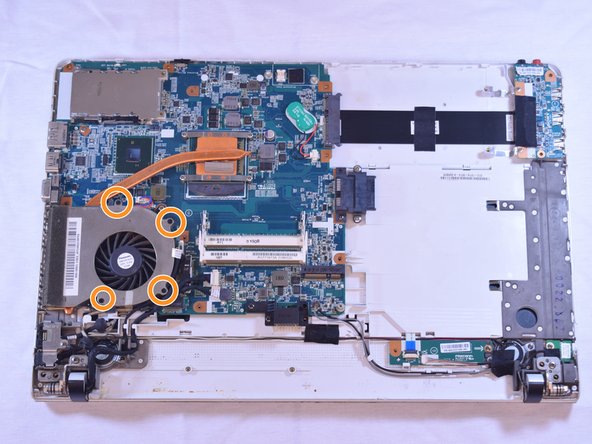
      • To break the thermal paste, apply gentle constant upward force until it comes free.

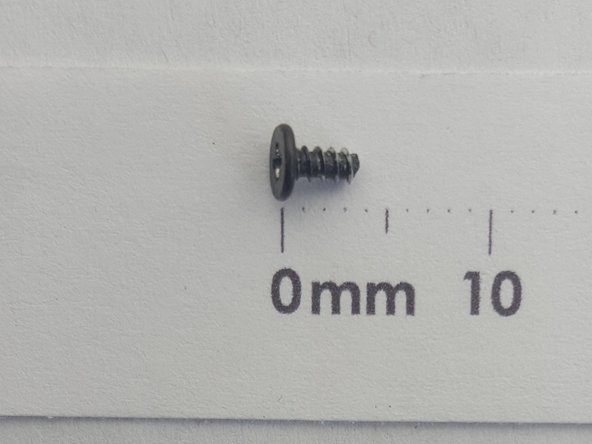
      • Remove four 3.5mm screws with the Phillips #000 Screwdriver to access cooling fan.

      Ask FixBot

      Add Comment

Conclusion

To reassemble your device, follow these instructions in reverse order.

Cancel: I did not complete this guide.

5 other people completed this guide.

Maxine Filcher

Member since: 01/30/17

1,153 Reputation

8 Guides authored

Team

UW Tacoma, Team 1-5, Rose Winter 2017 Member of UW Tacoma, Team 1-5, Rose Winter 2017

UWT-ROSE-W17S1G5

4 Members

96 Guides authored

1 Guide Comment

Wonderful guide, helped me upgrade the CPU on my laptop and clean the insides out while I was at it.

William - Reply Share

Add Comment

View Statistics:

Past 24 Hours: 3

Past 7 Days: 7

Past 30 Days: 24

All Time: 2,425