
Sony Vaio VPCCW17FX Fan Replacement

Ellie DePorter and 4 other contributors
Last updated on Nov 25, 2022
Views: 1.6K
View statistics:
- Past 24 Hours:
- 2
- Past 7 Days:
- 18
- Past 30 Days:
- 71
- All Time:
- 1,566
Comments: 0
No one has left comments on this guide. Will you be first?
Go to guide commentsCompleted: 0 1
No one has marked this guide "completed." Will you be the first?
1 person has marked this guide "completed." It's you — great job!
Favorites: 0 1
No one has favorited (and subscribed to) this guide. Will you be the first?
1 person has favorited (and subscribed to) this guide — and that's you!
Featured Student Guide
This guide has been the hard work of our awesome students and is found to be exceptionally cool by the iFixit staff.
Introduction
Go to step 1 ↓This guide provides users with a step-by-step process for accessing and replacing the fan component. This guide will be helpful to users who need to clean the fan or replace a damaged fan.
What you need
Tools


-
-
-
Remove the battery by pinching the two lock tabs towards the center.
-
Next, lift up on the battery to remove it.
-
-
-
Using a Phillips #00 screwdriver, remove the twenty-two 5.6 mm screws from the back of the laptop.
-
-
-
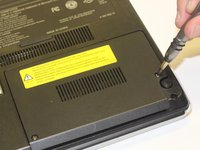
Now, remove the small covers from the back of the case.
-
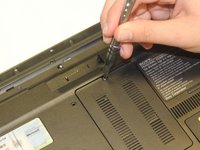
Using a Phillips #00 screwdriver, unscrew the three 5.6 mm screws from the covers (one screw on the RAM cover [middle] and two screws on the Hard Drive cover [bottom right]).
-
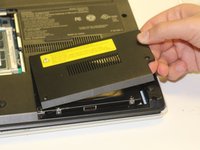
Then, lift up on and remove these covers as shown in the third image.
-
-
-
-
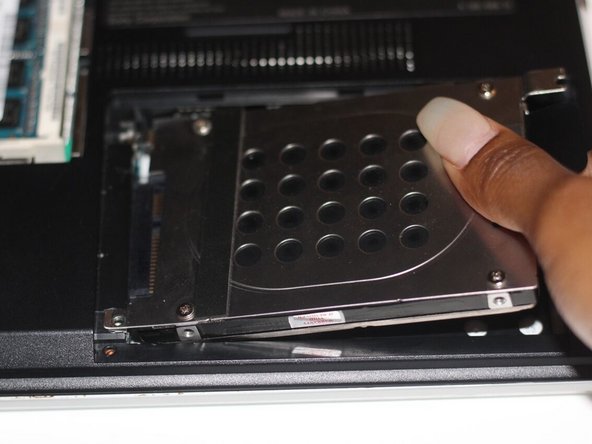
Remove the hard drive.
-
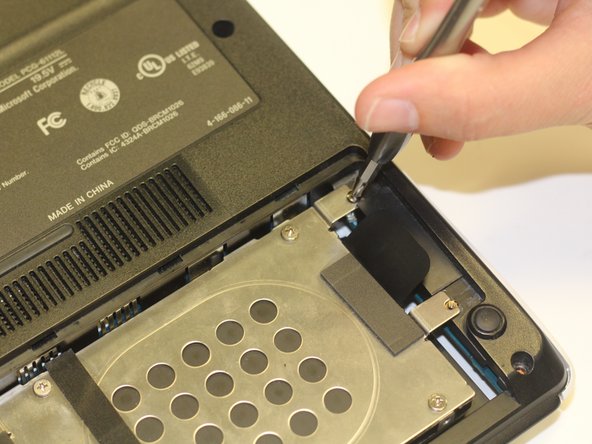
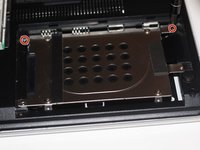
Using a Phillips #00 screwdriver, unscrew the two remaining 4.9 mm screws holding the hard drive into place.
-
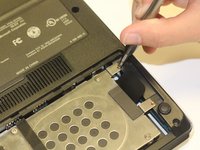
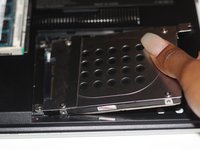
Next, lift up and pull outwards to release the hard drive from its socket.
-
-
-
Using your fingers, grasp the black tab and lightly pull up on the ribbon cable to detach it from the motherboard.
-
-
-
After proper removal of all necessary screws, gently lift up on the back case to remove it.
-
-
-
-
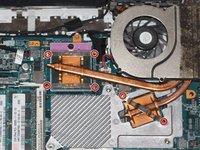
Locate the fan (top-right corner of the computer).
-
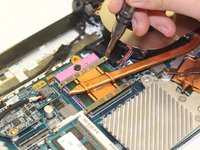
Using a Phillips #00 screwdriver, unscrew the six 2.7 mm screws that secure the fan to the motherboard.
-
-
-
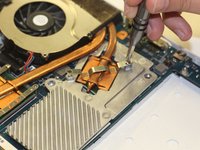
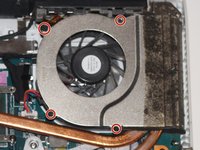
Using a Japanese Industrial Standard #00 screwdriver, unscrew four 3.7 mm screws located on the casing of the fan.
-
-
-
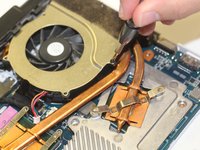
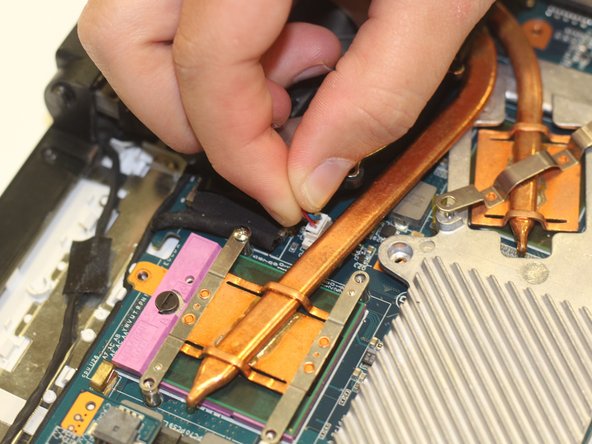
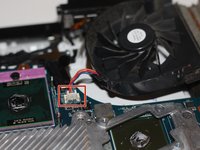
Using your fingers, grasp the white tab and firmly, yet gently, pull up on the wire to disconnect it from the motherboard.
-
-

 Ask FixBot








To reassemble your device, follow these instructions in reverse order.

Team

University of Alabama, Team S3-G9, Bedsole Spring 2018 Member of University of Alabama, Team S3-G9, Bedsole Spring 2018
UA-BEDSOLE-S18S3G9
3 Members
72 Guides authored
