Introduction
Watch out for applying to much pressure to your screen because it is possible to damage the screen by applying pressure or by bending the screen.
What you need
-
-
Unlock the battery and push the release lever to remove the battery from the laptop.
-
-
-
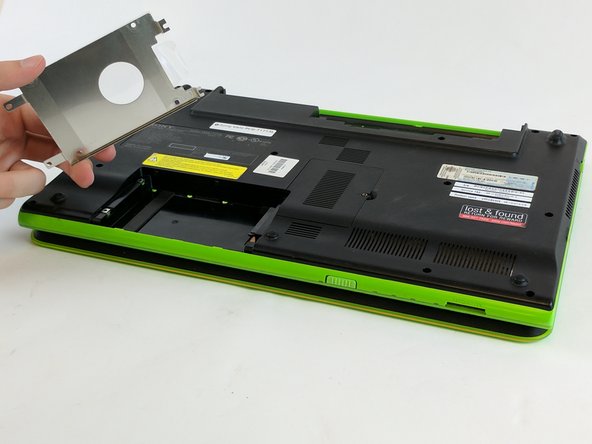
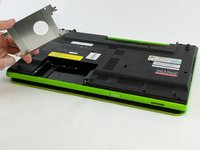
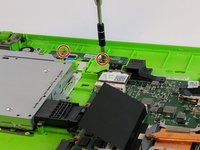
Remove the screws marked in red to remove the hard drive cover and the screws marked in blue to loosen the hard drive. Then gently slide the hard drive out.
-
-
-
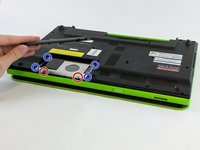
Remove all the screws that hold the plastic bottom on. There are some more screws that cant be seen in the photo.
-
-
-
-
Gently pry up the plastic bottom and if it feels like it is resisting check the surrounding areas for more screws.
-
-
-
Now that the backing plate is off make sure to be careful of the Motherboard and its components from being damaged. from here on out it is recommended that you wear a anti static bracelet or at the very least touching something metal to remove any static electricity that you may have built up
-
-
-
Use a common or lat head screw driver to gently untangle the wires from their paths.
-
-
-
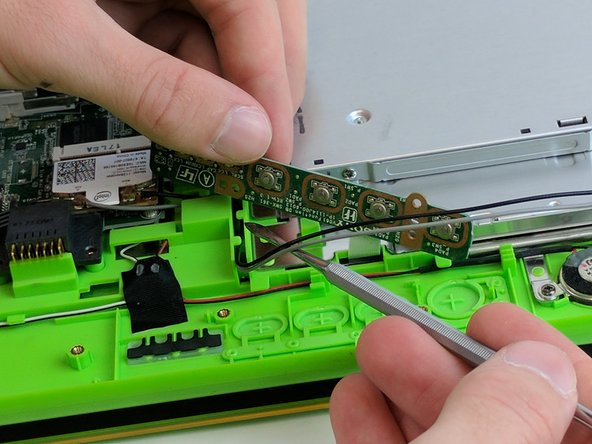
You will need to unscrew this small circuit board and fold it up to get the wires out from under it.
-
-
-
They are two hinges that hold the screen on. Make sure to pay attention to where the screws come from in order to put them back and to make installation easier.
-
-
-
By folding up the hinges the screen will simply slide away from the body of the computer and you can then put the new screen into place.
-


To reassemble your device, follow these instructions in reverse order.
Cancel: I did not complete this guide.
One other person completed this guide.
Team

USF Tampa, Team 20-5, Remmell Spring 2017 Member of USF Tampa, Team 20-5, Remmell Spring 2017
USFT-REMMELL-S17S20G5
3 Members
12 Guides authored