Free Shipping on Domestic Orders $75+

Sony Vaio VGN-TXN25N Display Screen Replacement

What you need

    1. Sony Vaio VGN-TXN25N Display Screen Replacement, Display Screen: step 1, image 1 of 2 Sony Vaio VGN-TXN25N Display Screen Replacement, Display Screen: step 1, image 2 of 2
      • Place the computer on a flat surface with the top facing up.

      • Open the screen.

      Ask FixBot

      Add Comment

    2. Sony Vaio VGN-TXN25N Display Screen Replacement: step 2, image 1 of 3 Sony Vaio VGN-TXN25N Display Screen Replacement: step 2, image 2 of 3 Sony Vaio VGN-TXN25N Display Screen Replacement: step 2, image 3 of 3
      • Locate the rubber screw caps at the two bottom corners of the screen.

      • Use your finger to remove the rubber screw caps.

      Ask FixBot

      Add Comment

    3. Sony Vaio VGN-TXN25N Display Screen Replacement: step 3, image 1 of 2 Sony Vaio VGN-TXN25N Display Screen Replacement: step 3, image 2 of 2
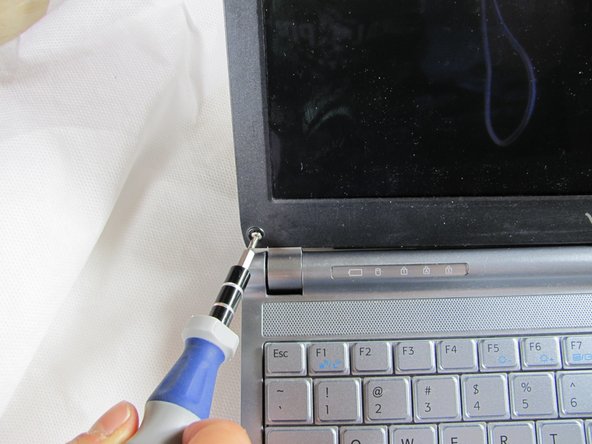
      • Locate the two screws, one on each bottom corner.

      • Unscrew the screws with a Phillips head size #0 screwdriver.

      • Keep track of the screws. They are small and easy to misplace.

      Ask FixBot

      Add Comment

    4. Sony Vaio VGN-TXN25N Display Screen Replacement: step 4, image 1 of 3 Sony Vaio VGN-TXN25N Display Screen Replacement: step 4, image 2 of 3 Sony Vaio VGN-TXN25N Display Screen Replacement: step 4, image 3 of 3
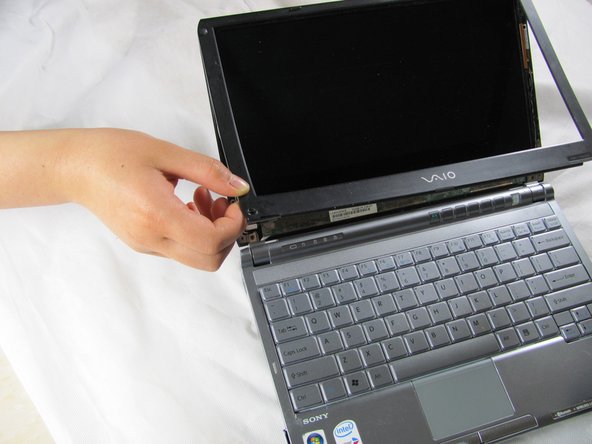
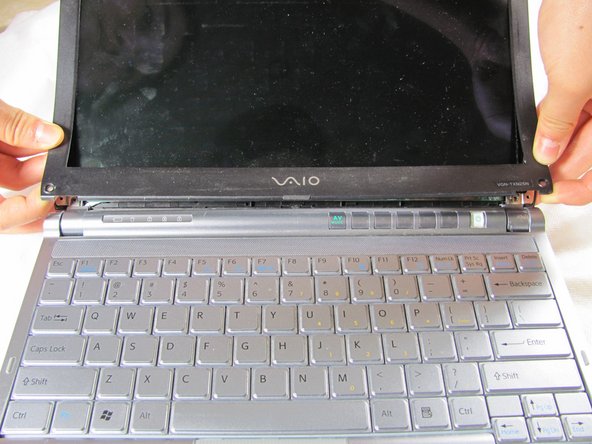
      • Use a plastic opening tool to gently lift the plastic casing that borders the screen.

      • Pop off the casing by working the tool around the outside of it.

      • Wiggling the tool may be required. The casing could be fitted snugly.

      Ask FixBot

      Add Comment

    5. Sony Vaio VGN-TXN25N Display Screen Replacement: step 5, image 1 of 3 Sony Vaio VGN-TXN25N Display Screen Replacement: step 5, image 2 of 3 Sony Vaio VGN-TXN25N Display Screen Replacement: step 5, image 3 of 3
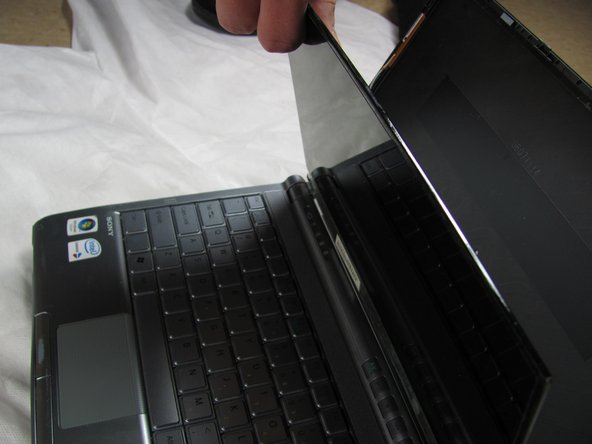
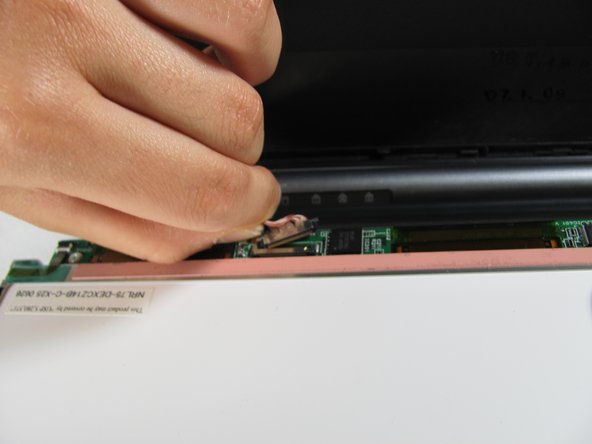
      • Carefully flip down the screen so it rests on the keyboard.

      • Locate the wire connector on the back of the screen and use a plastic opening tool to gently loosen the wire connection.

      Ask FixBot

      Add Comment

    6. Sony Vaio VGN-TXN25N Display Screen Replacement: step 6, image 1 of 1
      • Remove the screen.

      Ask FixBot

      Add Comment

Conclusion

To reassemble your device, follow these instructions in reverse order.

Cancel: I did not complete this guide.

One other person completed this guide.

Andrew Ricker

Member since: 04/04/12

71 Reputation

1 Guide authored

Team

Cal Poly, Team 5-3, Forte Spring 2012 Member of Cal Poly, Team 5-3, Forte Spring 2012

CPSU-FORTE-S12S5G3

5 Members

72 Guides authored

0 Guide Comments

Add Comment

View Statistics:

Past 24 Hours: 1

Past 7 Days: 5

Past 30 Days: 25

All Time: 4,065