Introduction
If your mouse pad is no longer registering, you may have to remove and replace the mouse assembly.
Hazards
Keep out of reach of children and pets.
DO NOT attempt to teardown or repair your device under the influence of drugs or alcohol.
DO NOT ingest any parts of the system.
Use the correct tools as stated in the tools section.
DO NOT touch any gold connectors on interior or exterior of the system.
Make sure system is unplugged and turned off before performing any maintenance on the system.
What you need
-
-
-
Set the computer display-side down.
-
Unlock the battery by sliding the port-side latch to the 'unlock' position.
 Ask FixBot
-
-
-
On the opposite side of the battery, press the release latch and slide the battery away from the main body to remove.
-
-
-
-
-
Remove the Torx security screw near the center of the battery-side edge.
-
-
-
-
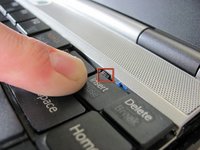
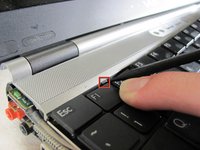
Press the tabs on each side of the display-side of the keyboard with the flat edge of a spudger.
-
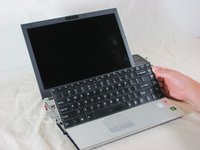
Pull the keyboard toward the mouse pad and gently lift up.
-
-
-
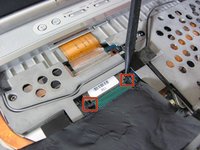
Disconnect the ribbon cable by pressing the tabs on either side of the connector. Pull the cable out parallel to the connector.
-
Remove the keyboard.
-
-
-
-
-
Turn the laptop upside down.
-
Remove the three screws from the front mouse panel located on the bottom of the laptop.
-
-
-
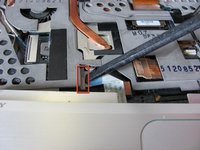
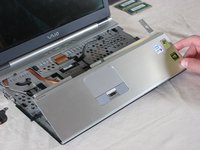
Lift the mouse assembly just enough to access the connecting ribbon cable.
-
Lift the ribbon cable lock to remove the cable.
-
Carefully remove the mouse panel assembly and set aside.
-
-






To reassemble your device, follow these instructions in reverse order.
Cancel: I did not complete this guide.
3 other people completed this guide.

Team

Cal Poly, Team 25-89, Amido Spring 2010 Member of Cal Poly, Team 25-89, Amido Spring 2010
CPSU-AMIDO-S10S25G89
4 Members
440 Guides authored
